Faux agate polymer clay bracelet – DIY tutorial
I saw that is a nice trend with polymer clay faux stone. For today we’ll learn to create a faux agate polymer clay bracelet. Actually after learning to create faux agate, you’ll be able to create any jewelry you have in mind!
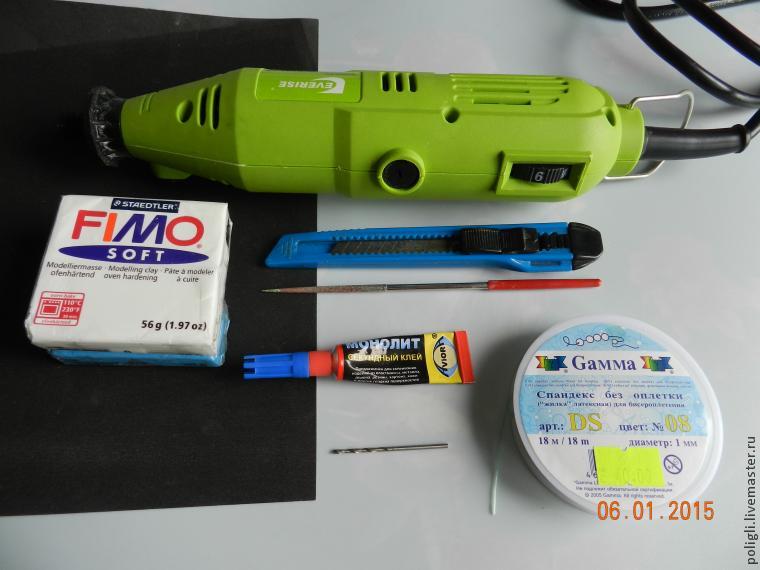
Tools and materials you need for this faux agate clay bracelet:
– polymer clay – white and translucent blue
– cutter or a knife
– sandpaper
– sanding machine
– drill 1 mm
– glue
– diamond file (cone)
– varnish
– brush for lacquer
For this tutorial the author first baked the beads of the bracelet and after created the holes. It’s easier to do so, but you can carefully create them before baking. Depending on the variant you choose, you may not need some of the tools listed above.
Let’s get to the actual process:
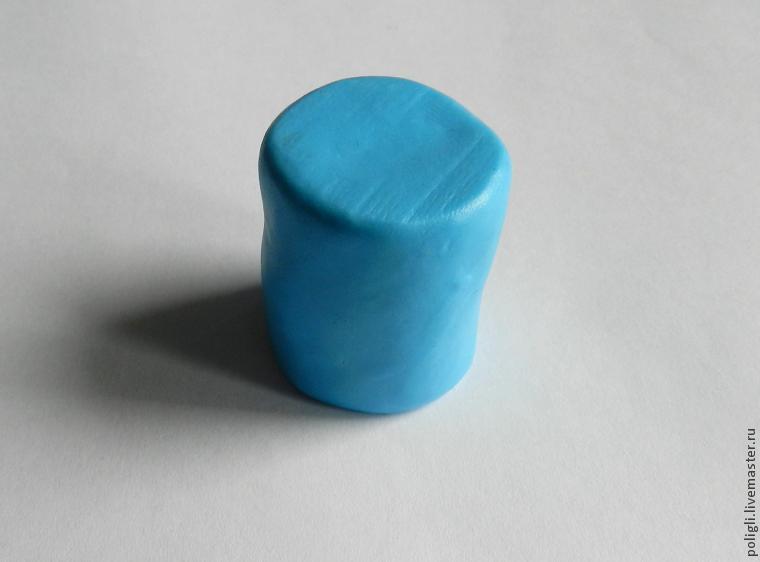
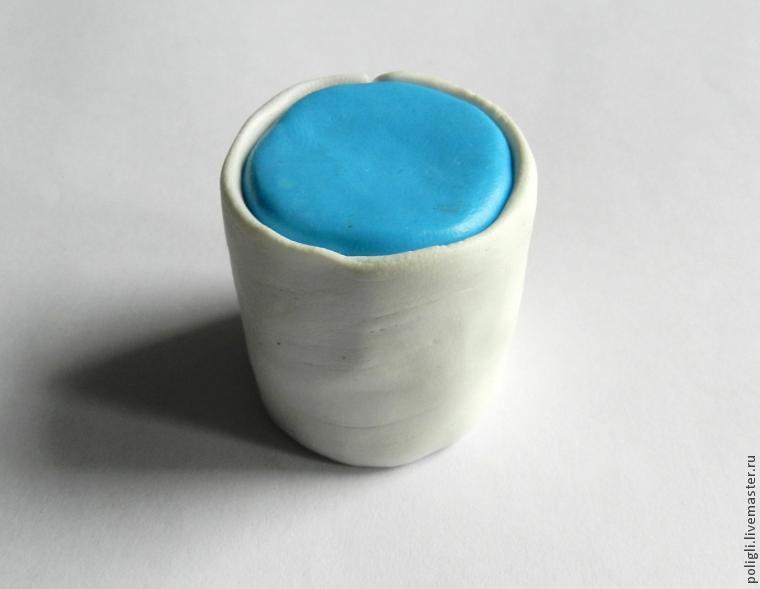
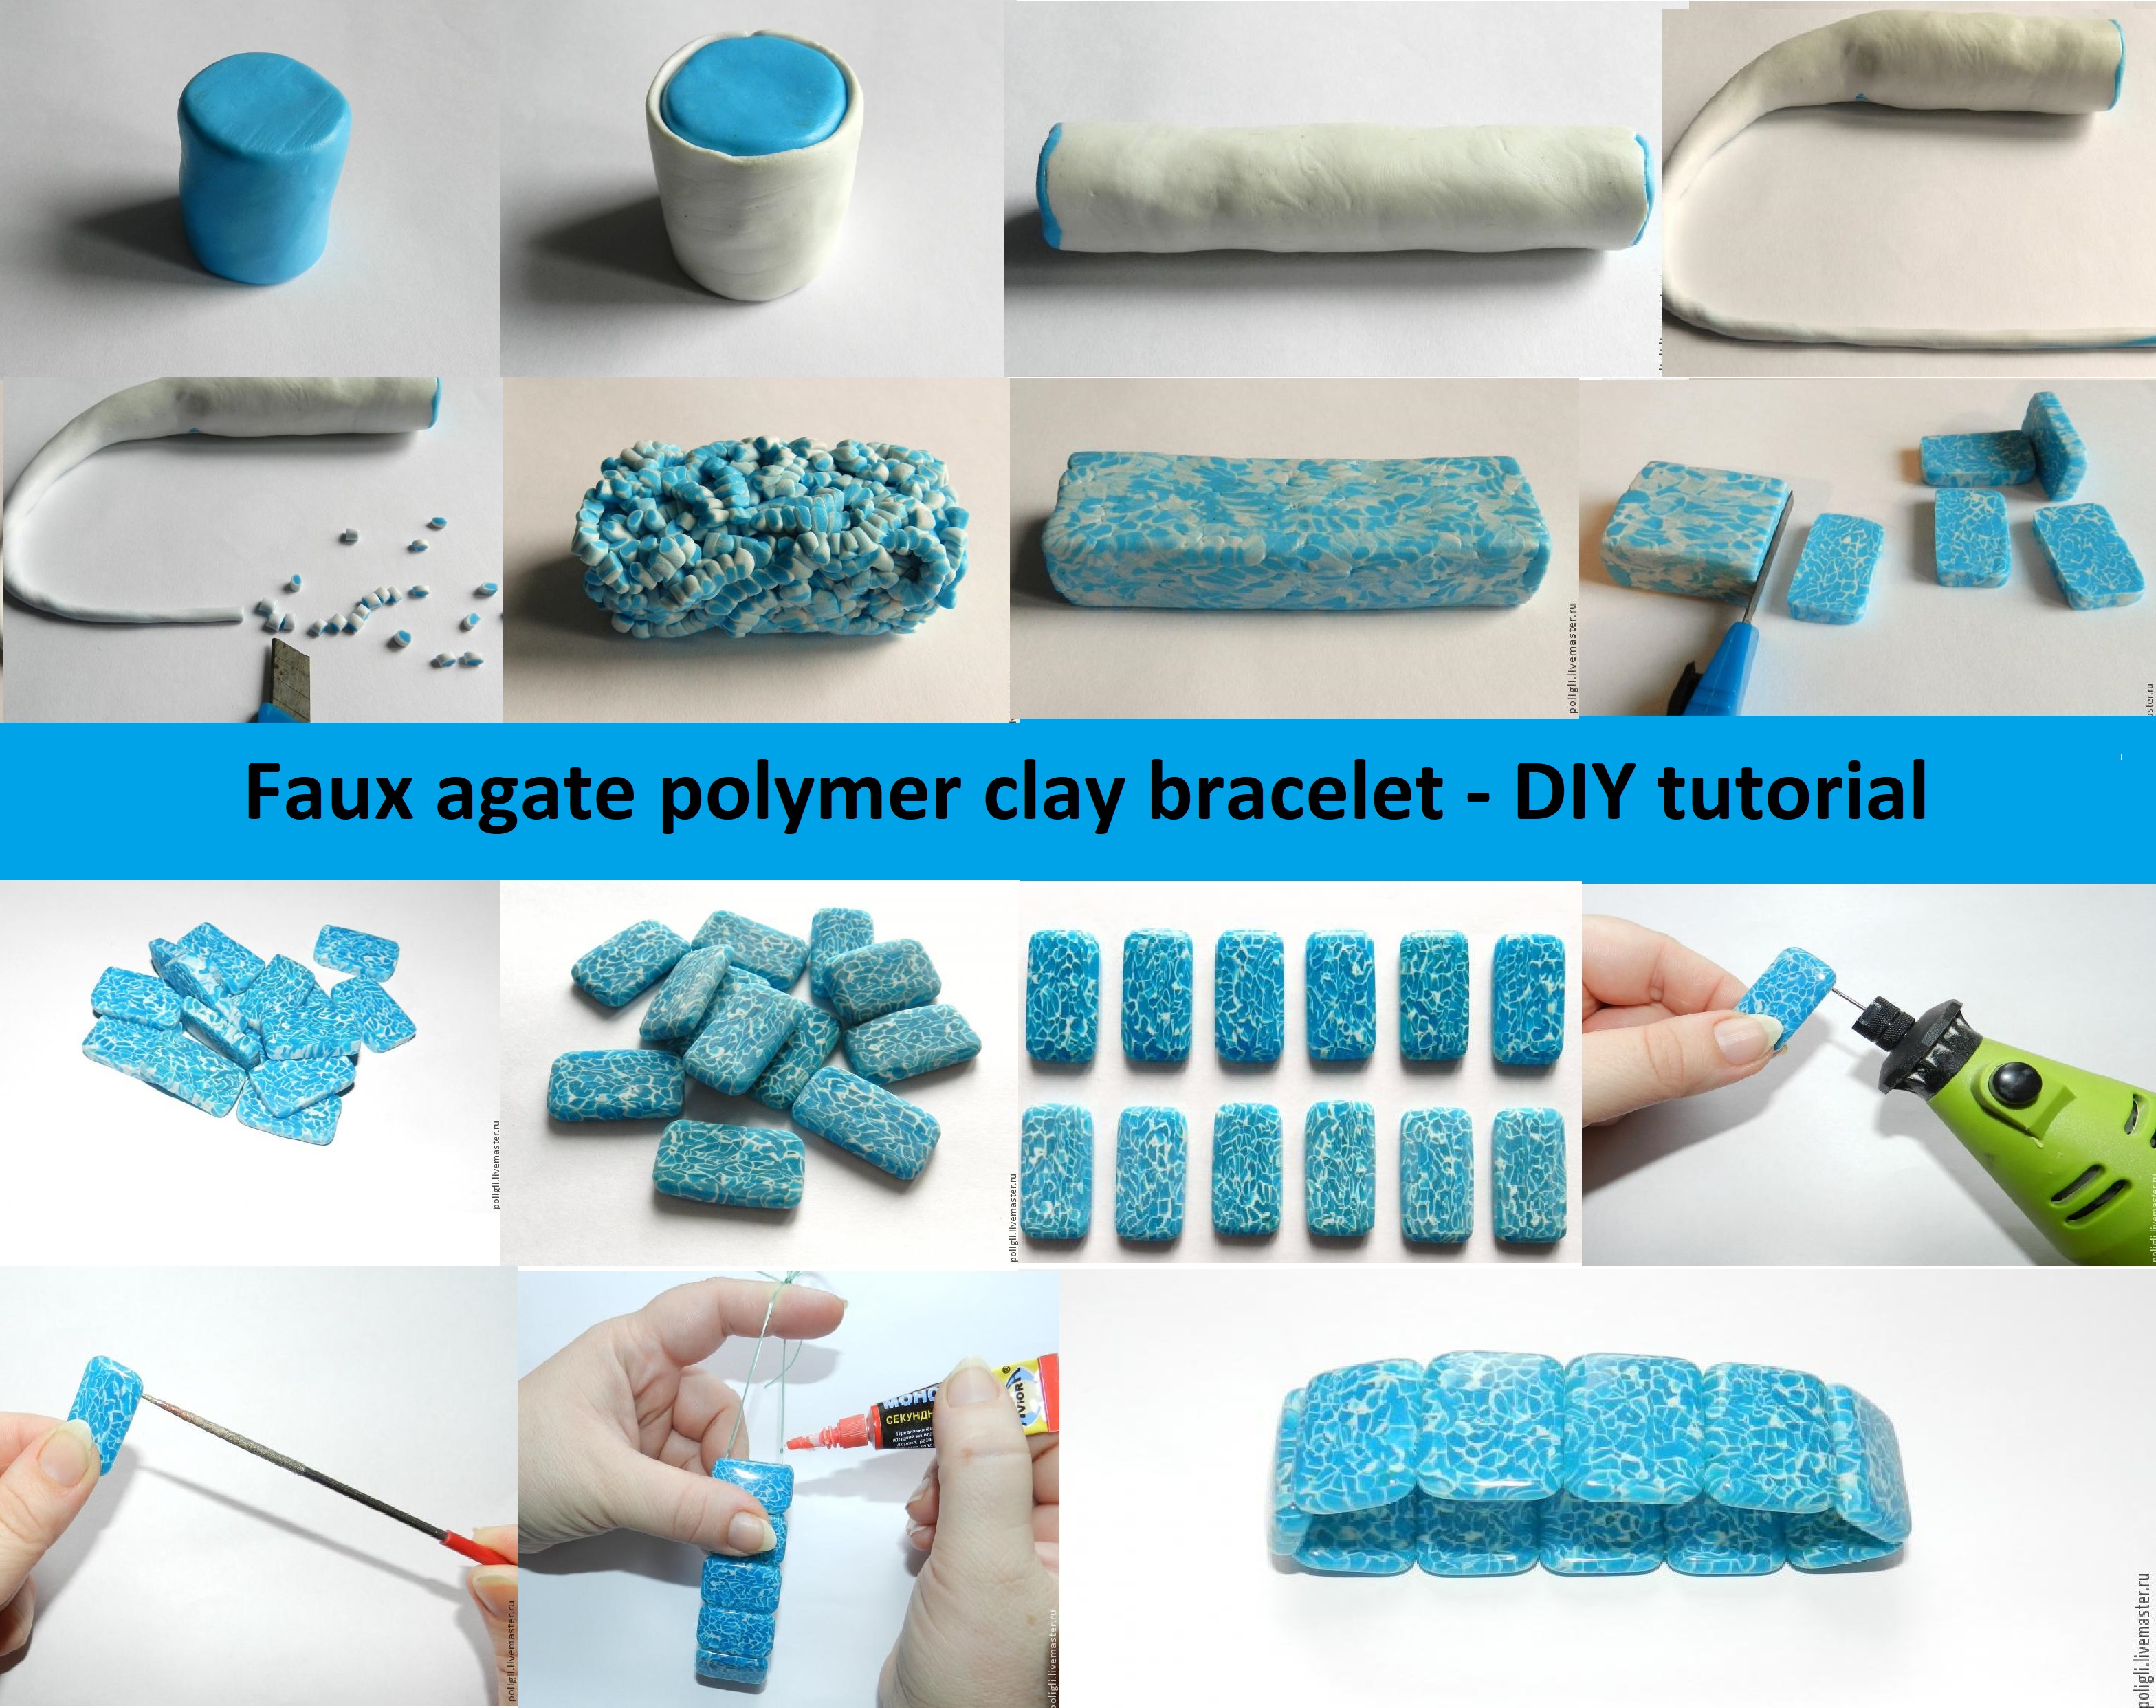
Step 1:
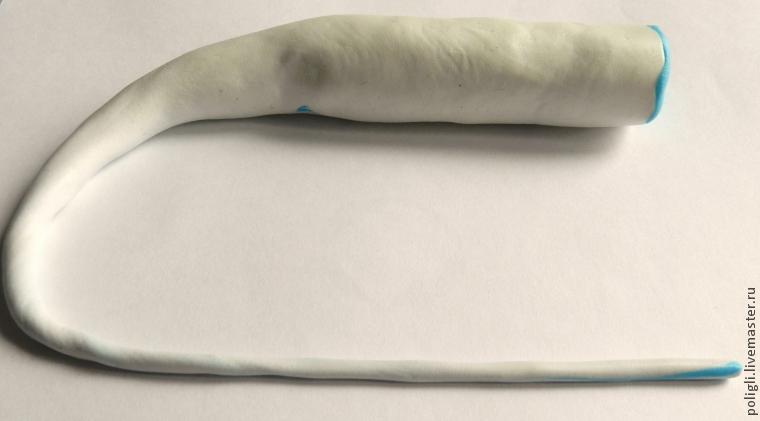
Take the translucent blue polymer clay and sculpt out of it a medium sized cylinder. Than cover the cylinder you just created white polymer clay. If you have a pasta machine you can use it, but it is not necessary, the natural stone usually are imperfect.
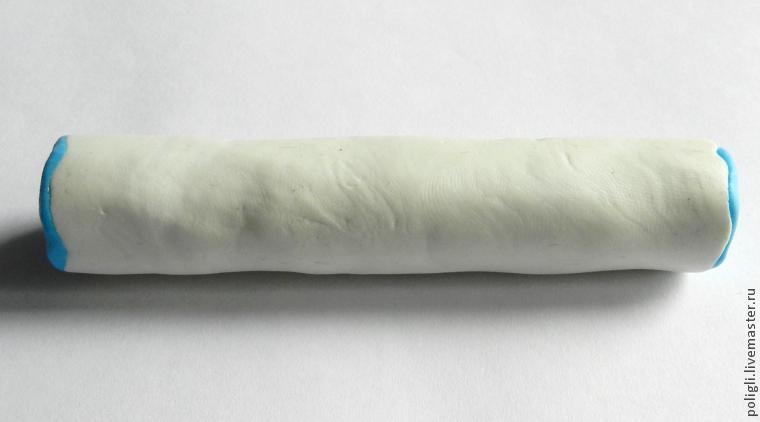
Step 2:
Pull the cylinder out and gradually transform it into thin roll. Don’t worry it’s no need to be the perfect same size, as I said the natural stones are usually imperfect.
Step 3:
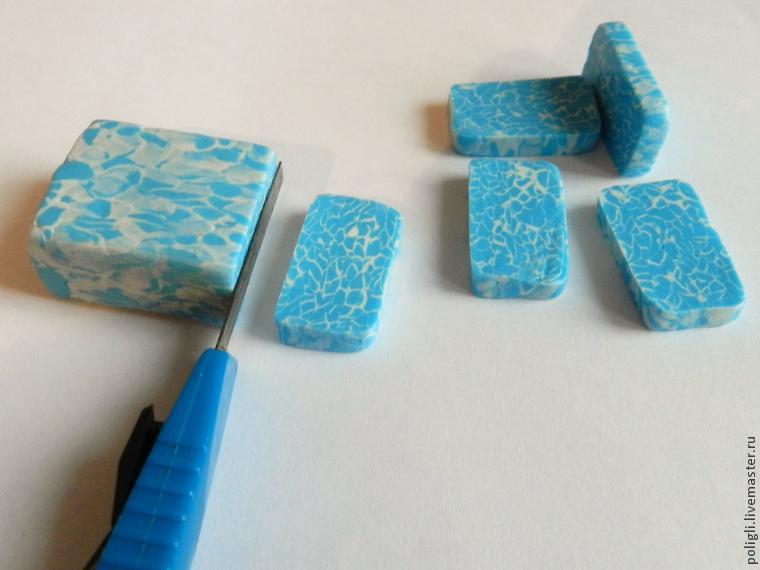
Cut the resulting thin edge into small pieces and then gather them into one piece. From that new piece create a rectangular shape. Slices from this shape will be the beads from the bracelet.
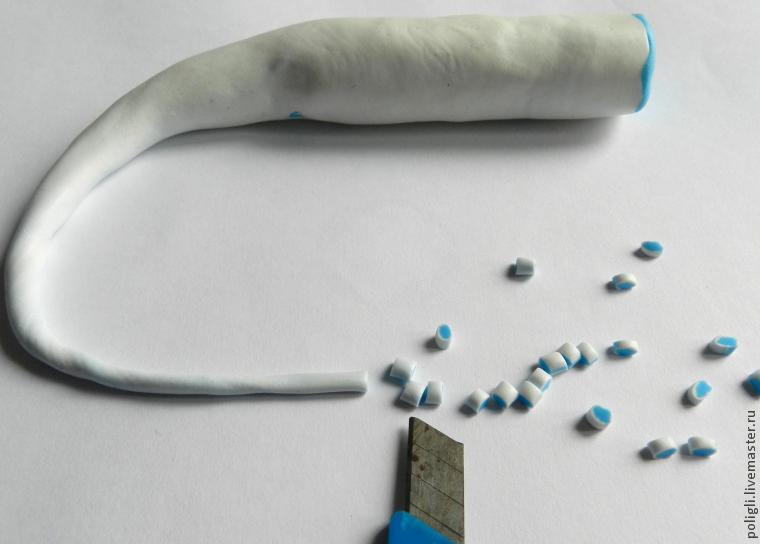
Step 4:
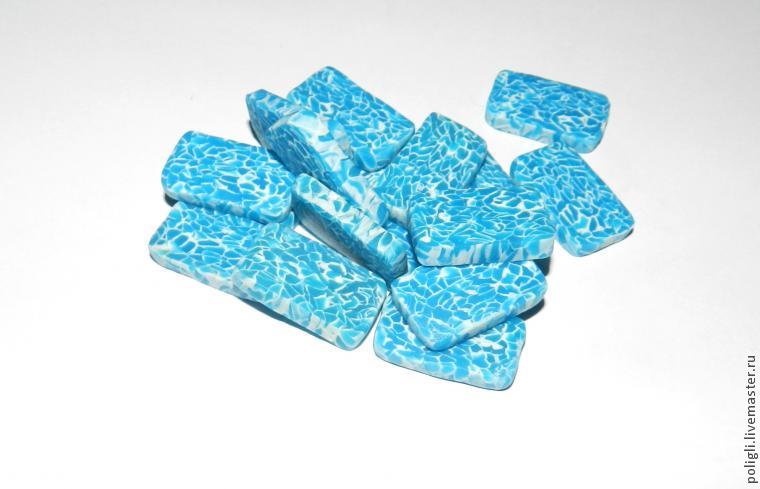
Cut the clay rectangle you created in the beyond step into slices. Now is actually perfect time to choose if you’ll make holes before or after baking. If you choose after then proceed to baking the result at the temperature set by the manufacturer.
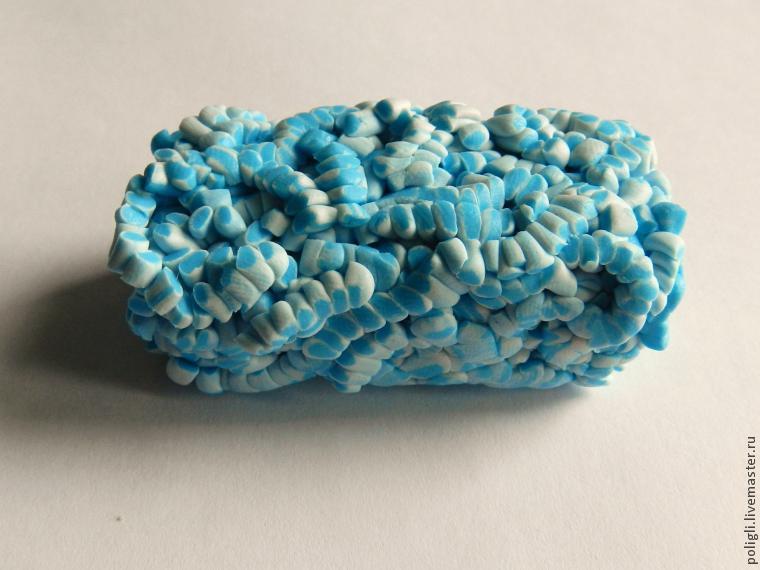
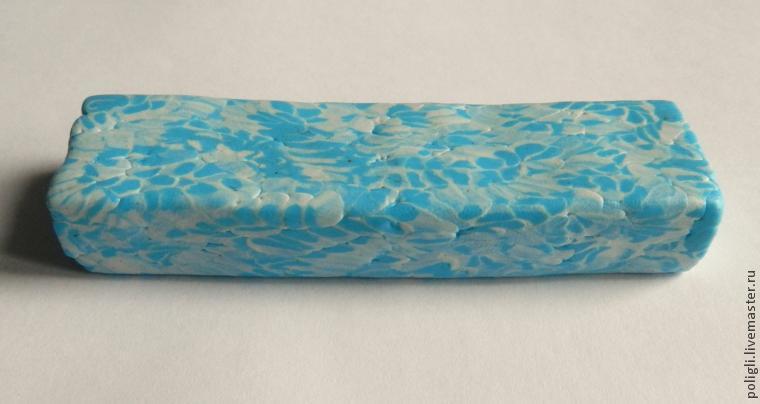
This is how the blocks looks after baking. The translucent clay created an amazing gradient blue color.
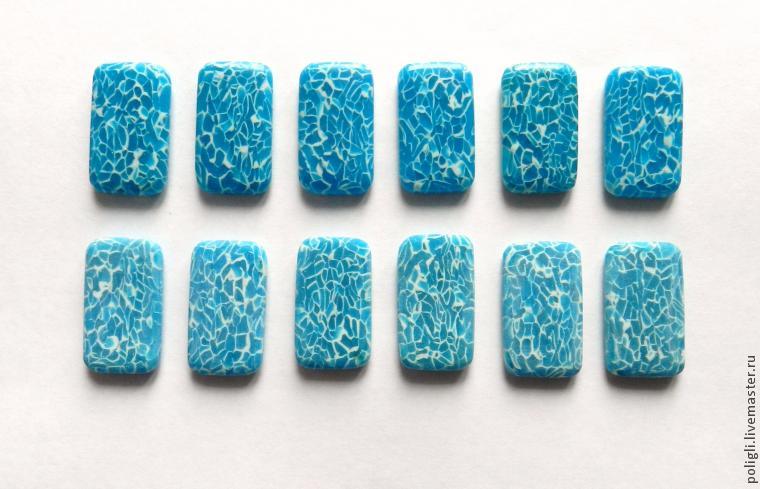
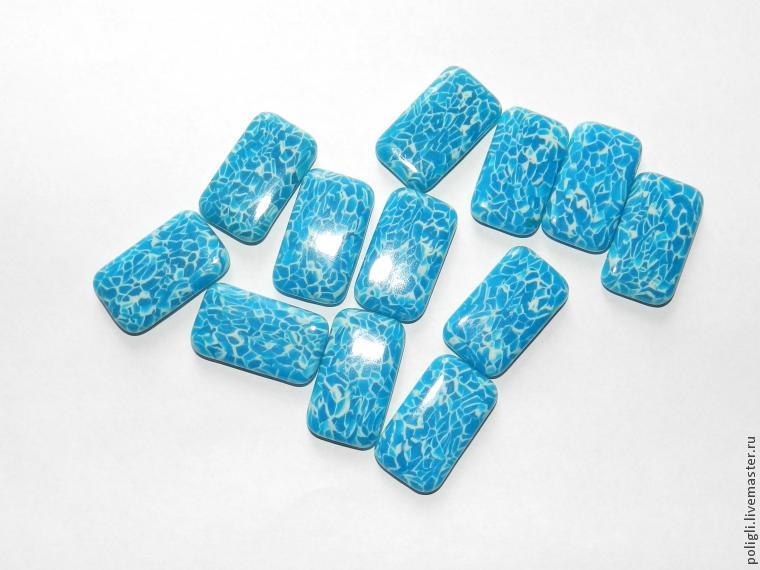
Step 5:
We will now polish our slices to remove the cutting imperfections. The author used a sandpaper number 600. After the polish you have to wash the pieces with water. Only after washing and proper drying cover them with varnish. Cover with varnish alternately, first one side, and after drying cover the other side.
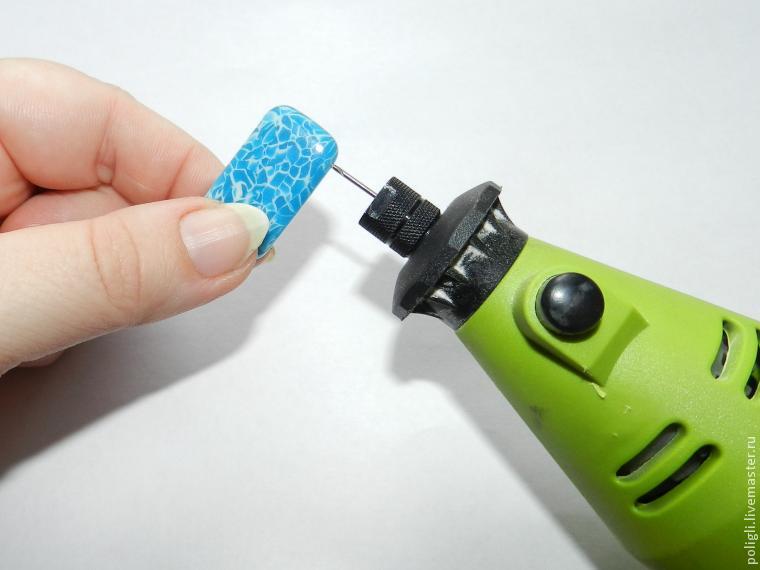
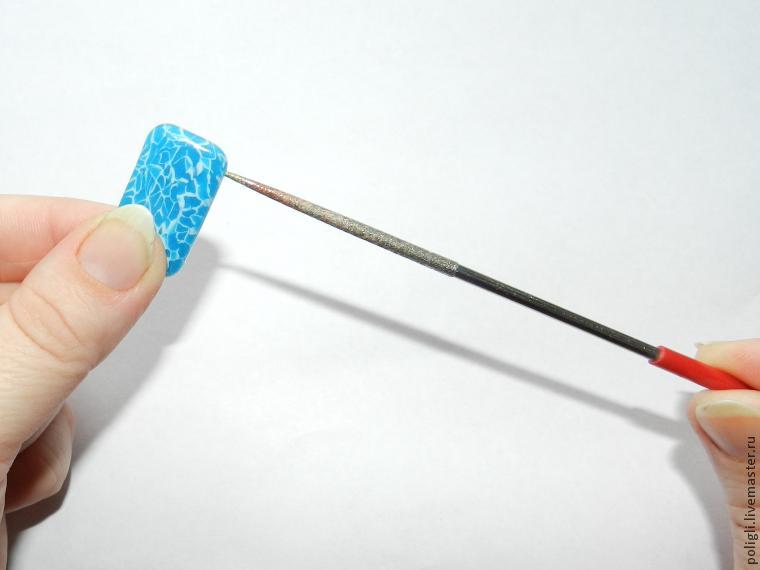
Step 6:
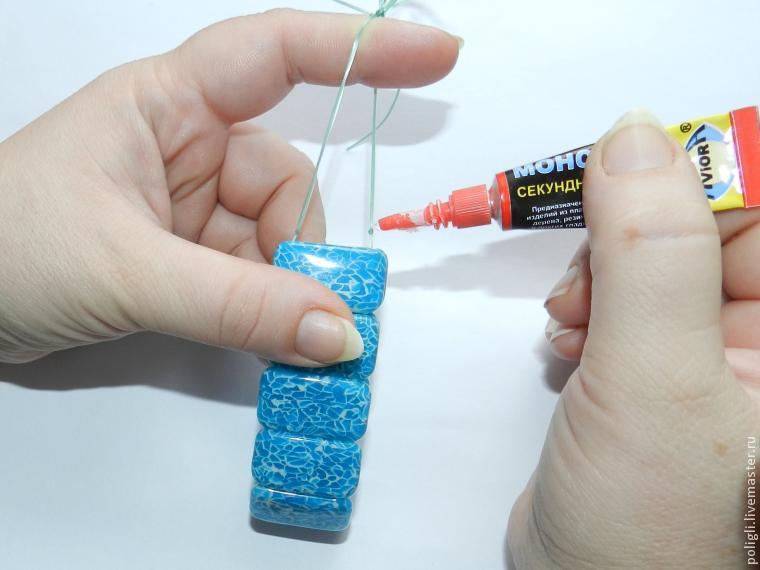
It’s time now to drill the holes. If you created them before baking just add the elastic cord, otherwise follow the pictures to create the holes.
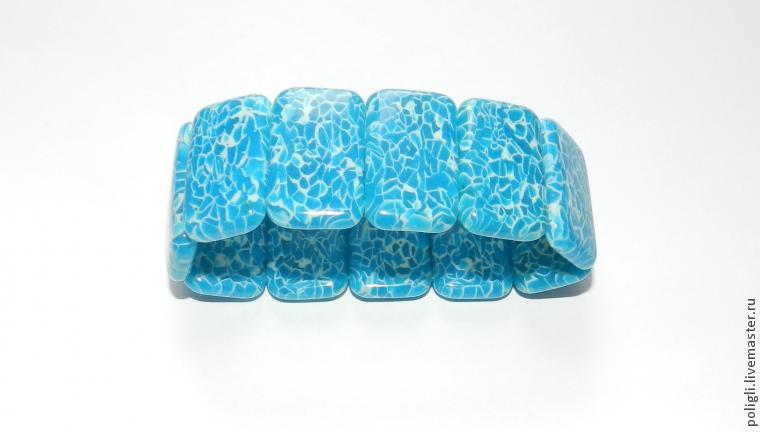
And here is the result: our first faux agate polymer clay bracelet! Hope you enjoy this faux agate polymer clay bracelet tutorial. You can find here the article from where I got my inspiration.
Do you want to see more fimo tutorials? Go to this page to find more free polymer clay tutorials for any occasion you have in mind. Don’t forget to follow my Pinterest page to get new ideas and updates on free fimo/ polymer clay free tutorials.
To share this tutorial please use the next photo:
Thank you so much for visiting! I hope to see you soon!
######