Polymer clay mokume gane tutorial
This is a step by step polymer clay mokume gane tutorial. Following this instructions you’ll learn to create beautiful pasterns with blended colors.
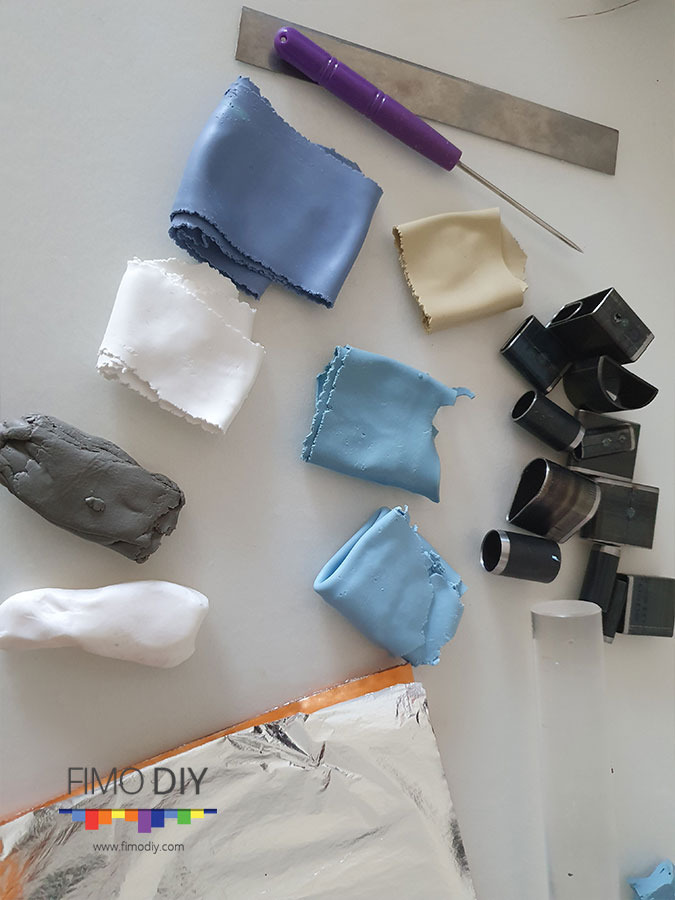
For this polymer clay mokume gane tutorial you will need:
- several colors of clay
- several cutters in different shapes
- drilling tool
Polymer clay mokume gane tutorial
Step 1:
First of all we’ill make long sheets of clay, one for each color you choose.
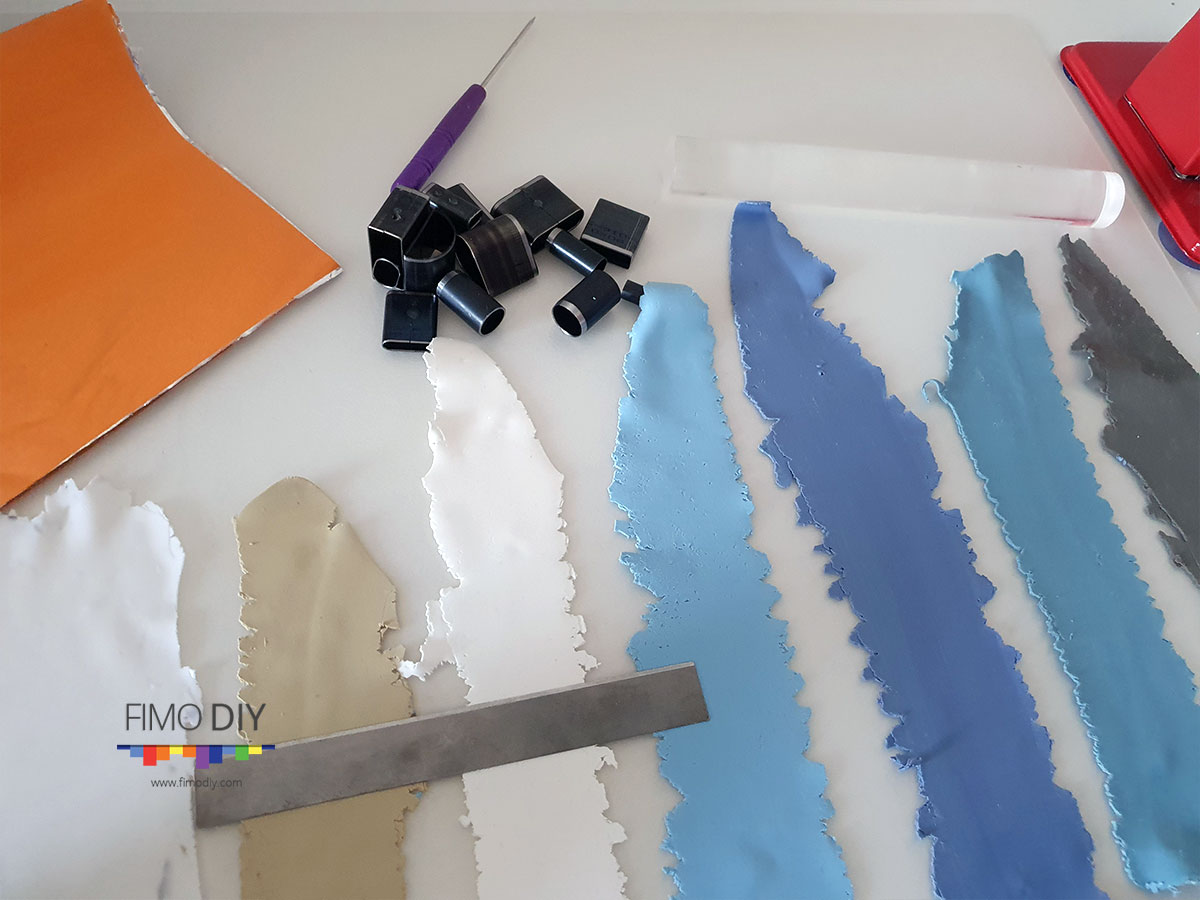
Take a rectangle out of the smallest sheet. This way you will have the perfect dimension for all sheets. Take the rectangle and add it to the next color. Do this in any order you want.
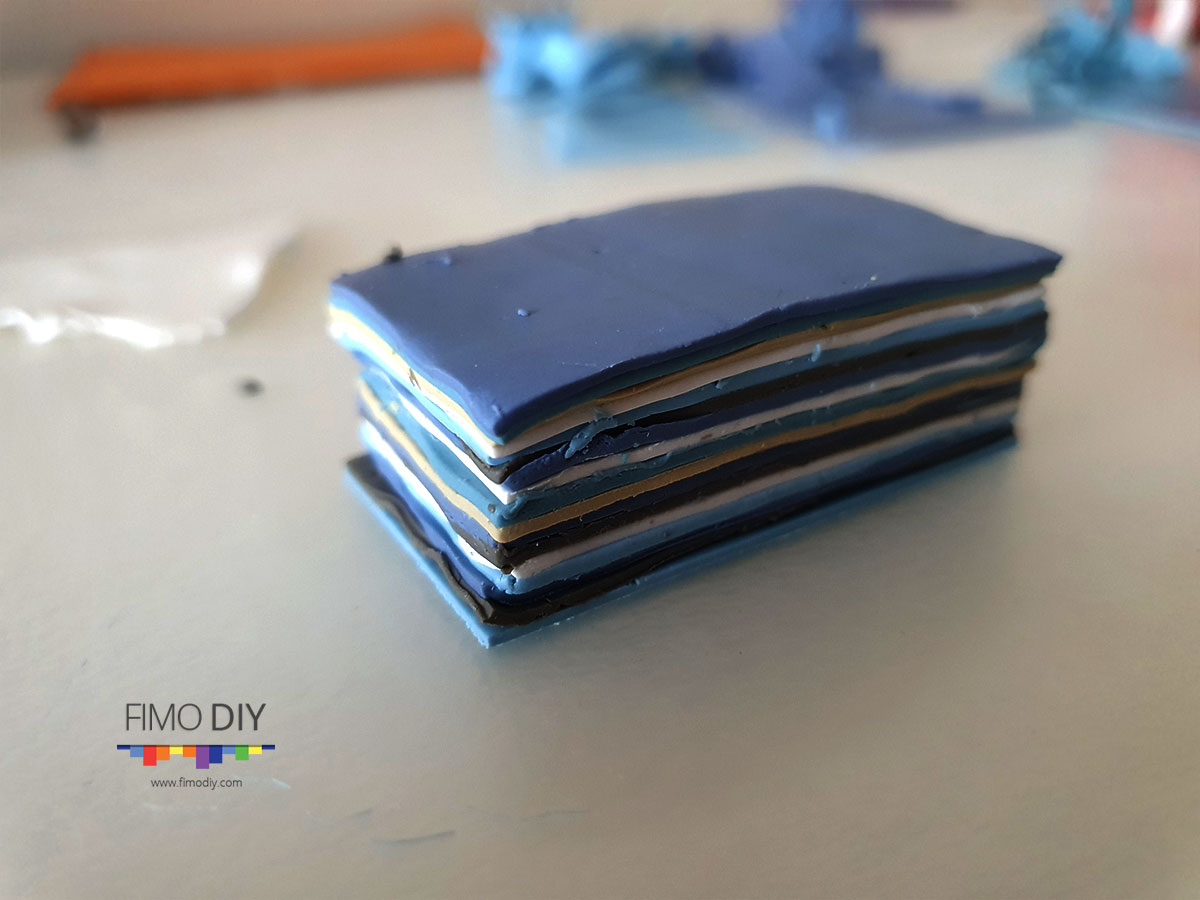
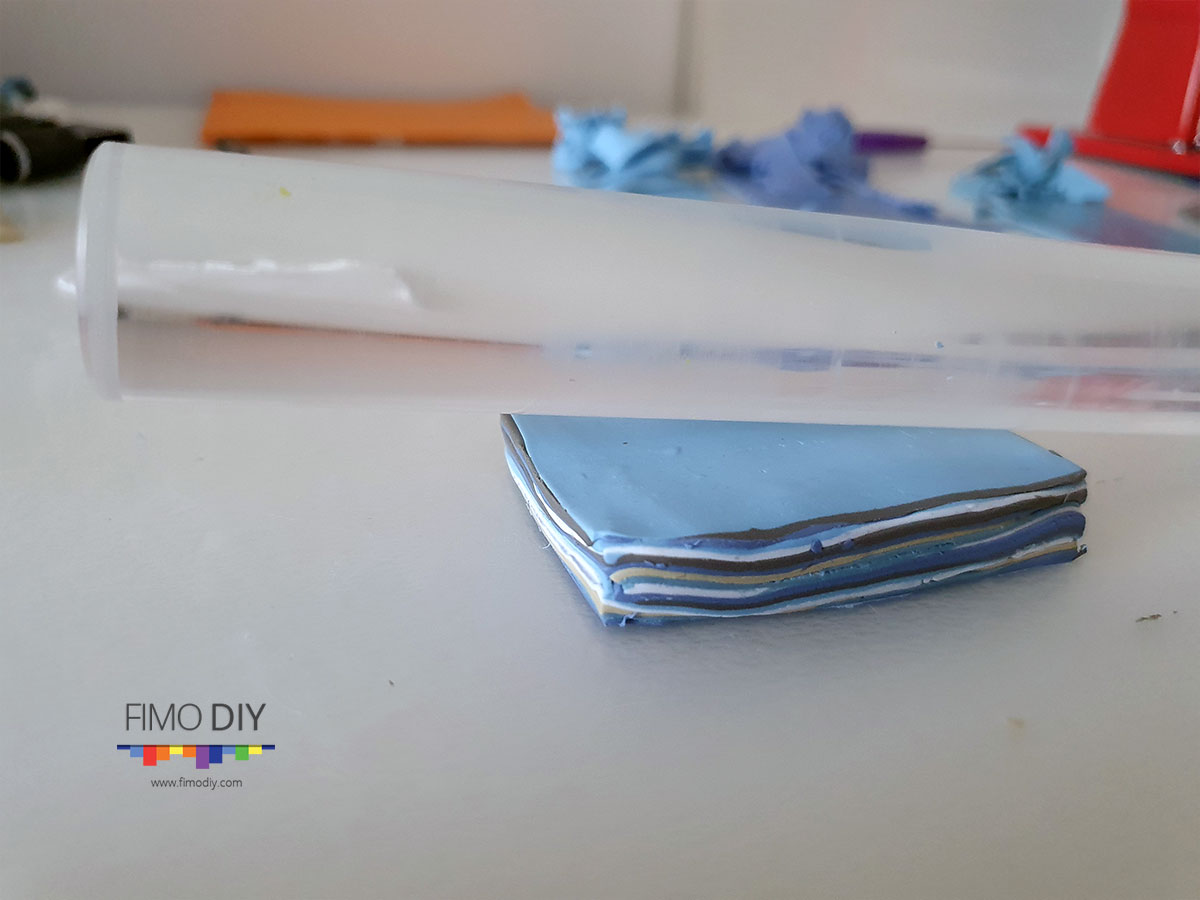
After you finalized the process, you’ll have a 3d rectangle. It will look like the one in the below picture.
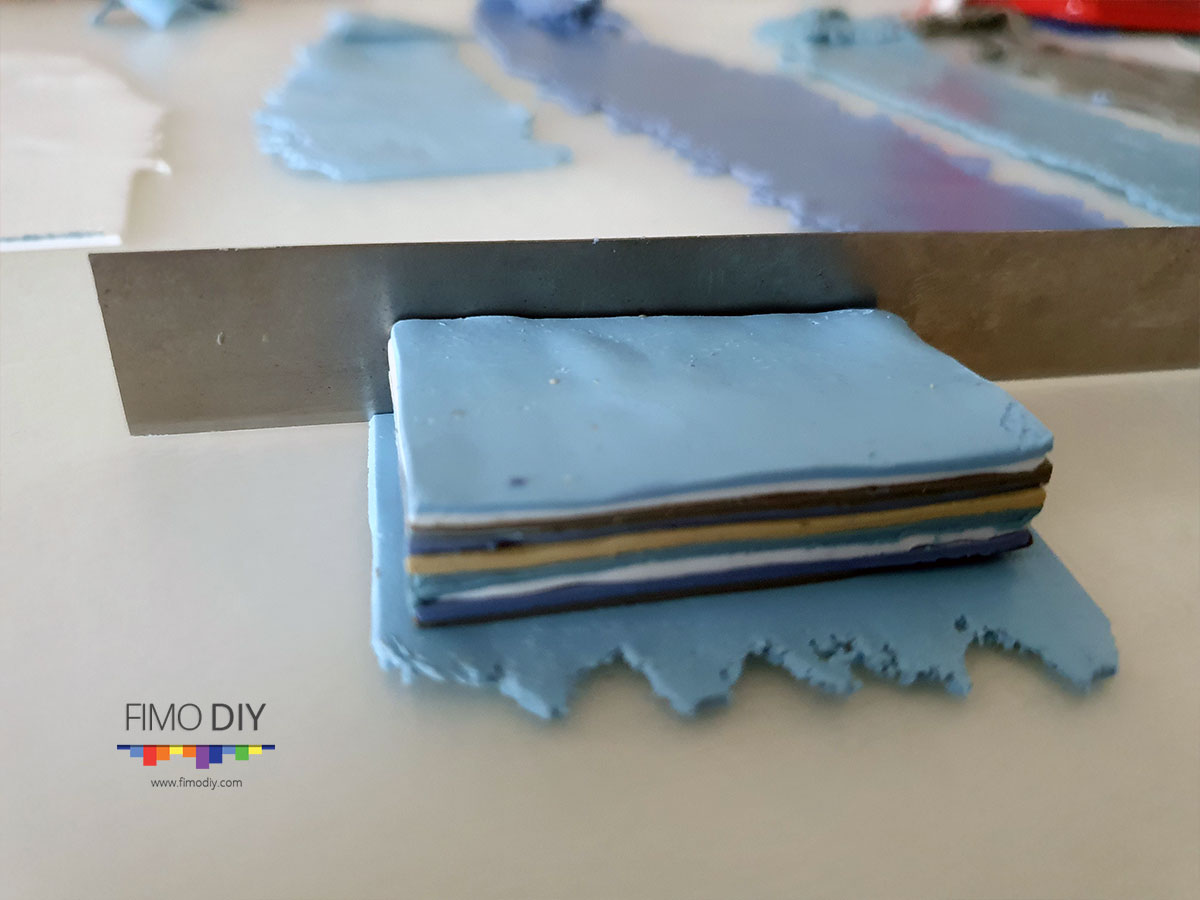
Step 2:
Use the roller to press the sheets and make them thinner.
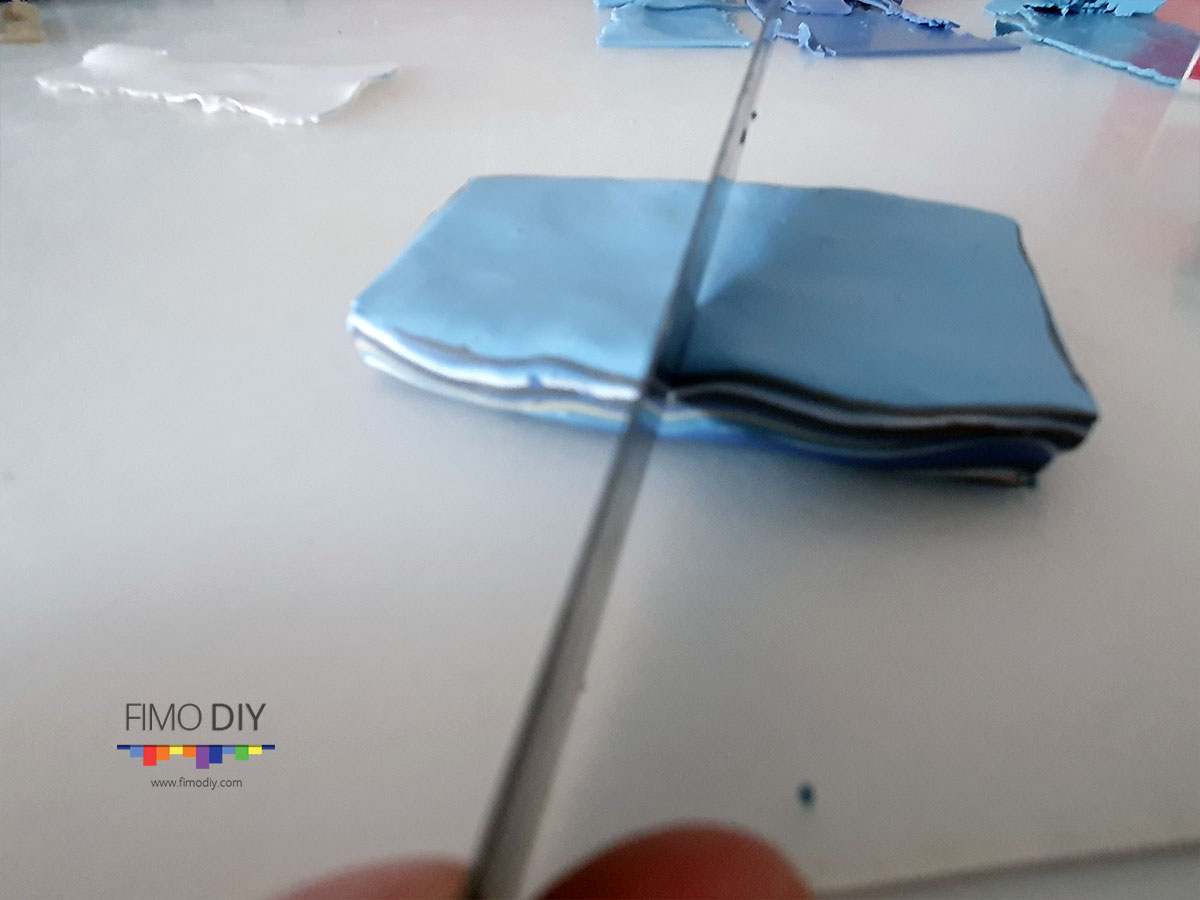
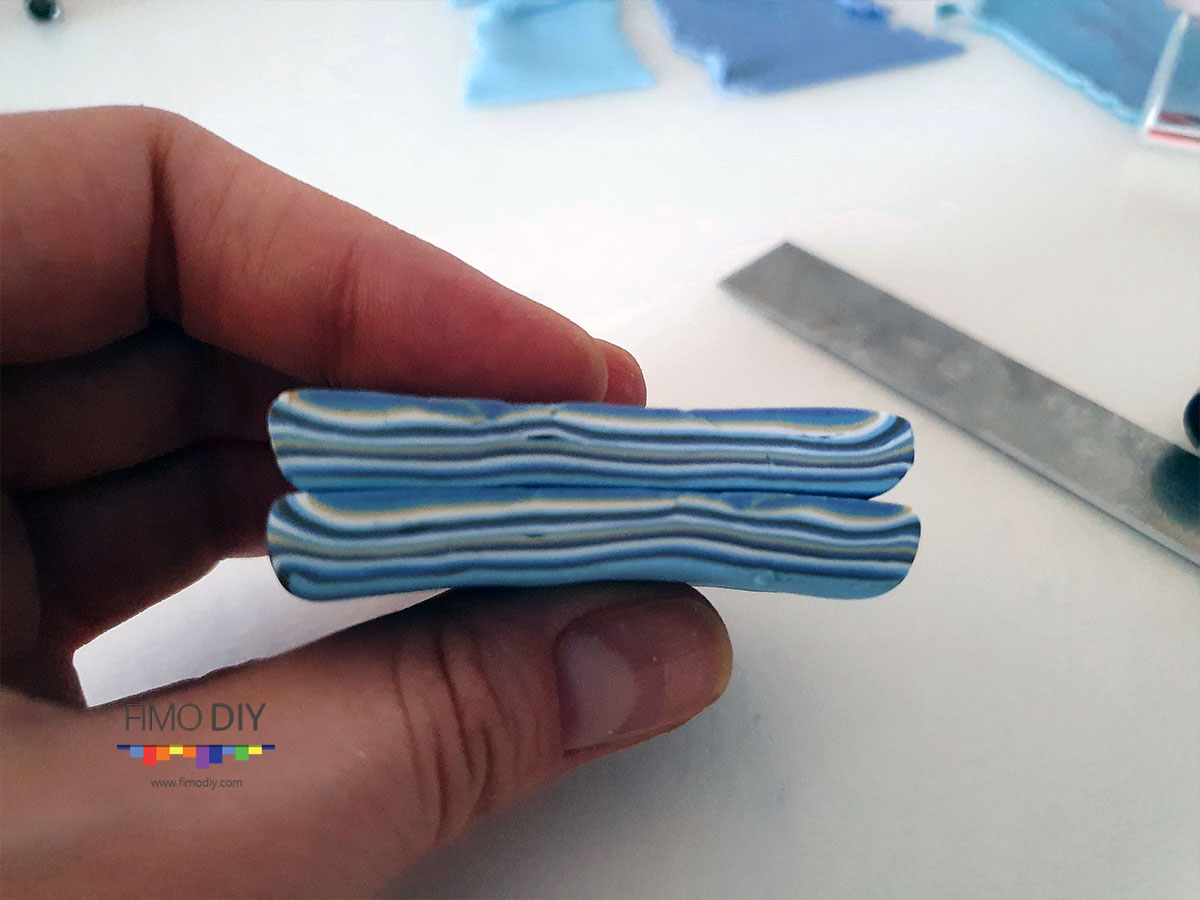
Cut the thinner piece into half and combine them as shown bellow.
Step 3:
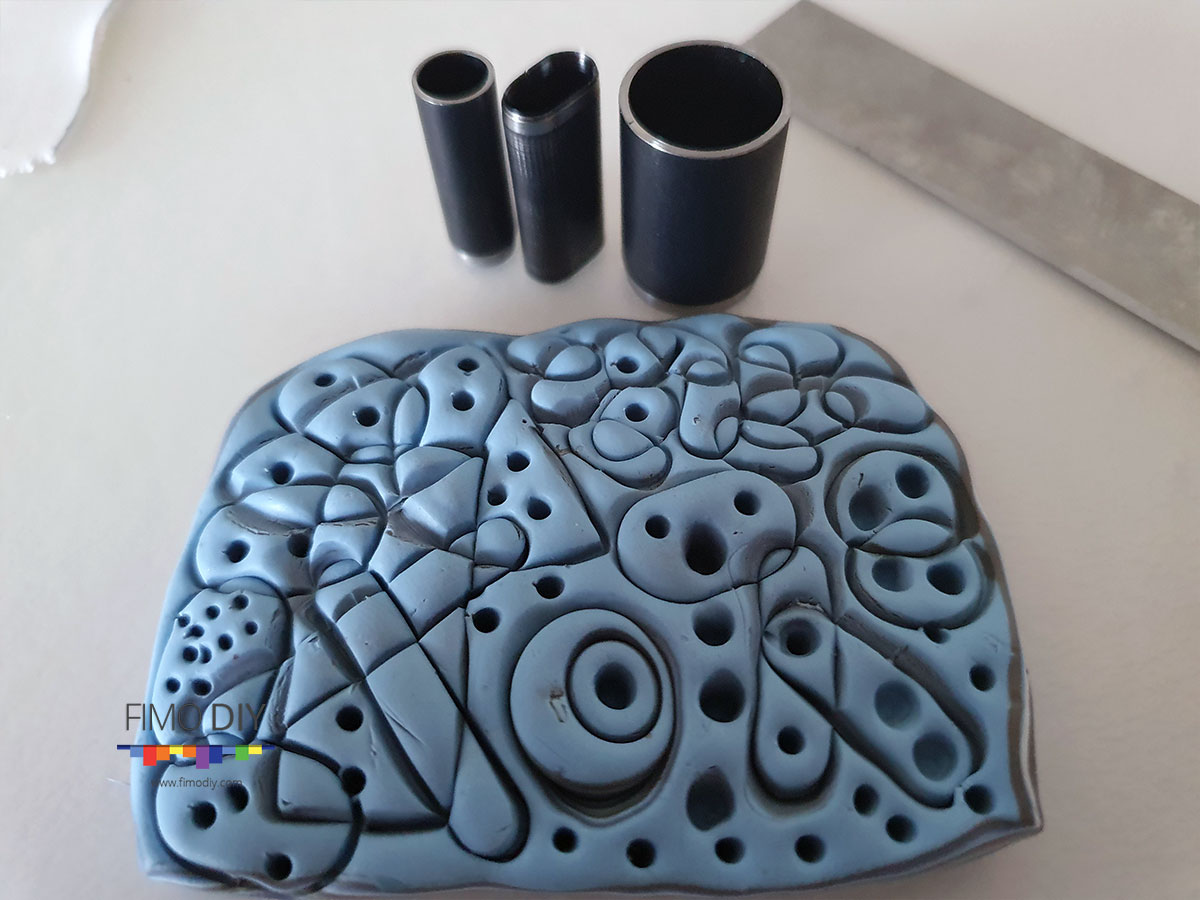
Let the fun begin! This part is the nicest one. We’ll play with the cutters/molds and make a pattern.
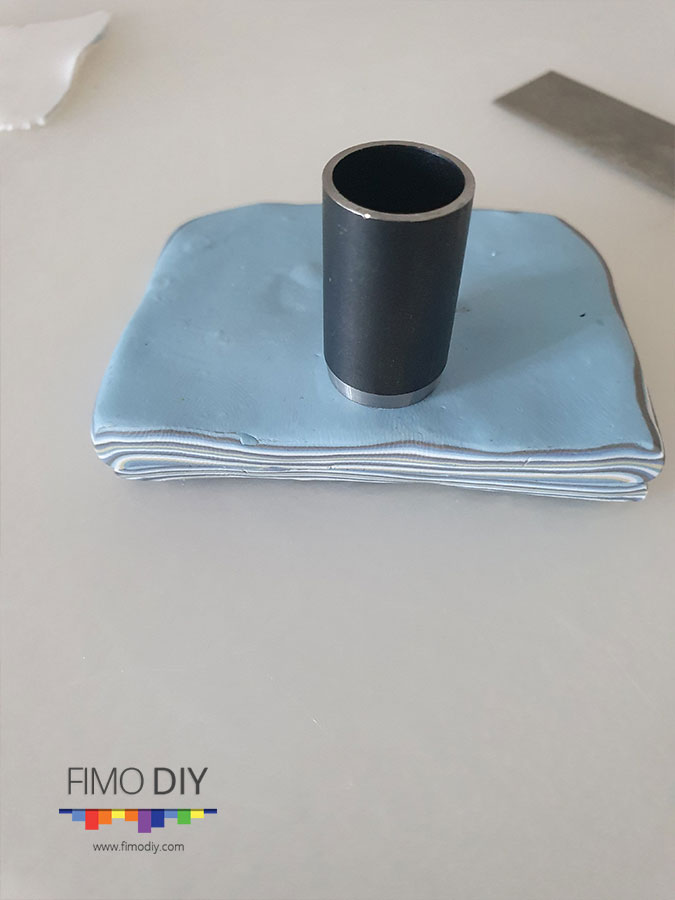
Mine looks like this.
Step 4:
One more step and we’ll have a beautiful sheet with nice blended colors in the patter we just created. Now all that’s left is to reduce the sheets shape. Slowly well start to press it from the base to the top in order to eliminate the bubbles. The top is the one with the pastern. Mine looks like this :
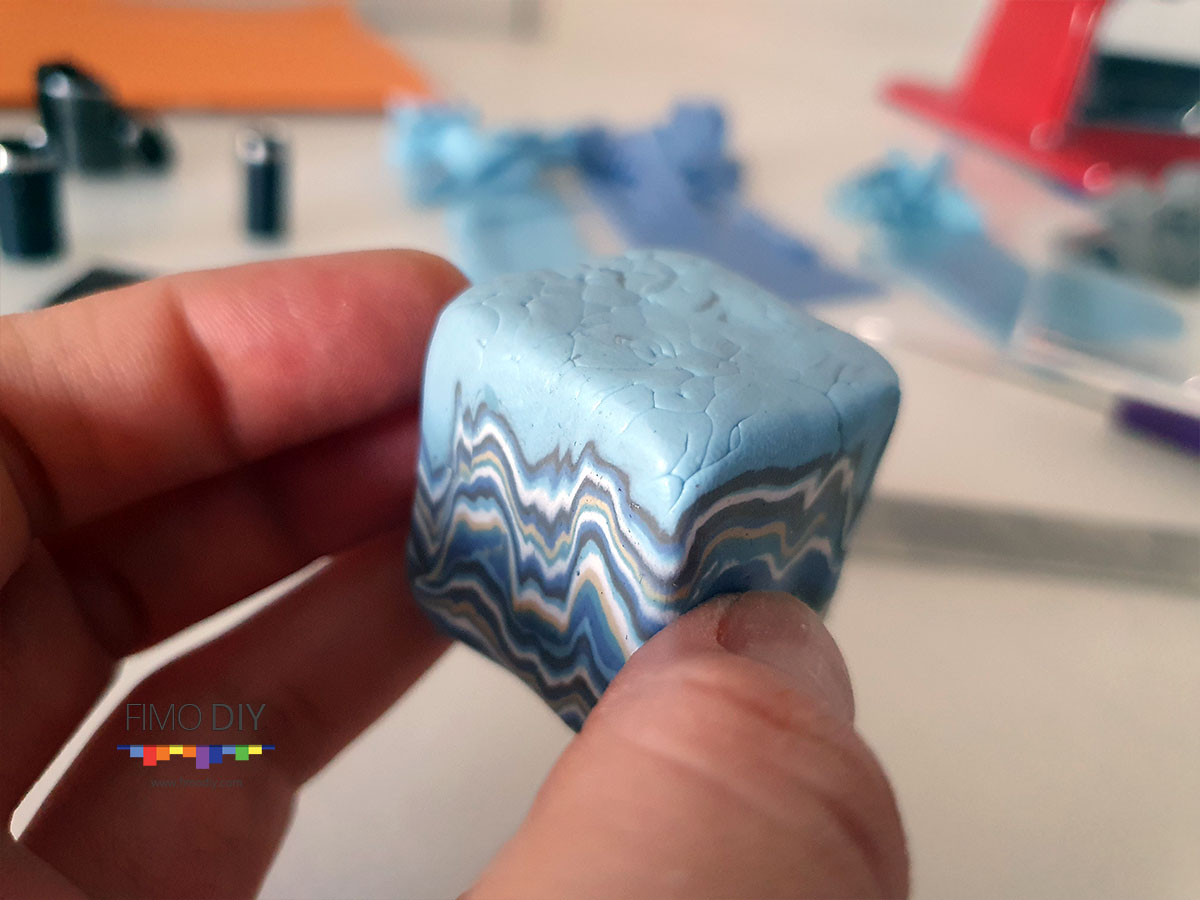
As a result of following the instructions in this polymer clay mokume gane tutorial you’ll have your first polymer clay cane. And it will look like this.

Whether you’re browsing for inspiration or want something specific, I make it easy for you to get what you need. By following my Pinterest page you’ll be updated with new ideas and free step by step DIY tutorials.
######