Just bought your first blocks of FIMO and not sure what to do next? Good news: FIMO is one of the easiest craft materials to learn. You knead it, shape it, bake it in a normal home oven and it turns hard and permanent. This guide covers everything you need to know before your first project, from conditioning the clay to the right baking time and temperature.
Short answer: knead the FIMO until it is soft, shape your piece, bake it at 110 °C (230 °F) for 30 minutes, let it cool completely, then sand, paint or varnish it if you like.
FIMO baking time and temperature
Most FIMO ranges bake the same way. Always double-check the label on your pack, because it has the final word for that exact clay.
| FIMO type | Temperature | Time |
|---|---|---|
| FIMO soft | 110 °C / 230 °F | 30 minutes |
| FIMO effect | 110 °C / 230 °F | 30 minutes |
| FIMO professional | 110 °C / 230 °F | 30 minutes |
| FIMO kids | 110 °C / 230 °F | 30 minutes |
| FIMO air | Not baked: it air-dries | |
Never go above 130 °C (266 °F). Overheated clay darkens, burns and gives off fumes you should not breathe.
What you need

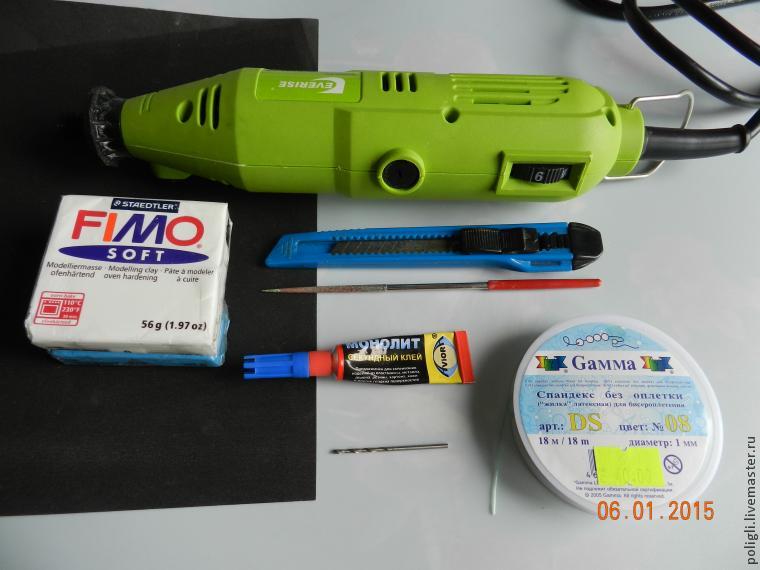
- FIMO clay: start with FIMO soft, the easiest to knead
- A smooth work surface: a ceramic tile, glass board or baking paper
- A blade or craft knife for clean cuts
- An acrylic roller or an old pasta machine kept only for clay
- Simple shaping tools: toothpicks, a needle and a ball tool (a pen tip works too)
- Your home oven, ideally with an oven thermometer
- Wet wipes to clean your hands between colors
Step 1: Condition (knead) the clay
Cut a piece off the block and knead it in your hands for a minute or two until it is soft, smooth and bends without cracking. Warmth from your hands does the work. Conditioning makes the clay stronger after baking, so don’t skip it.

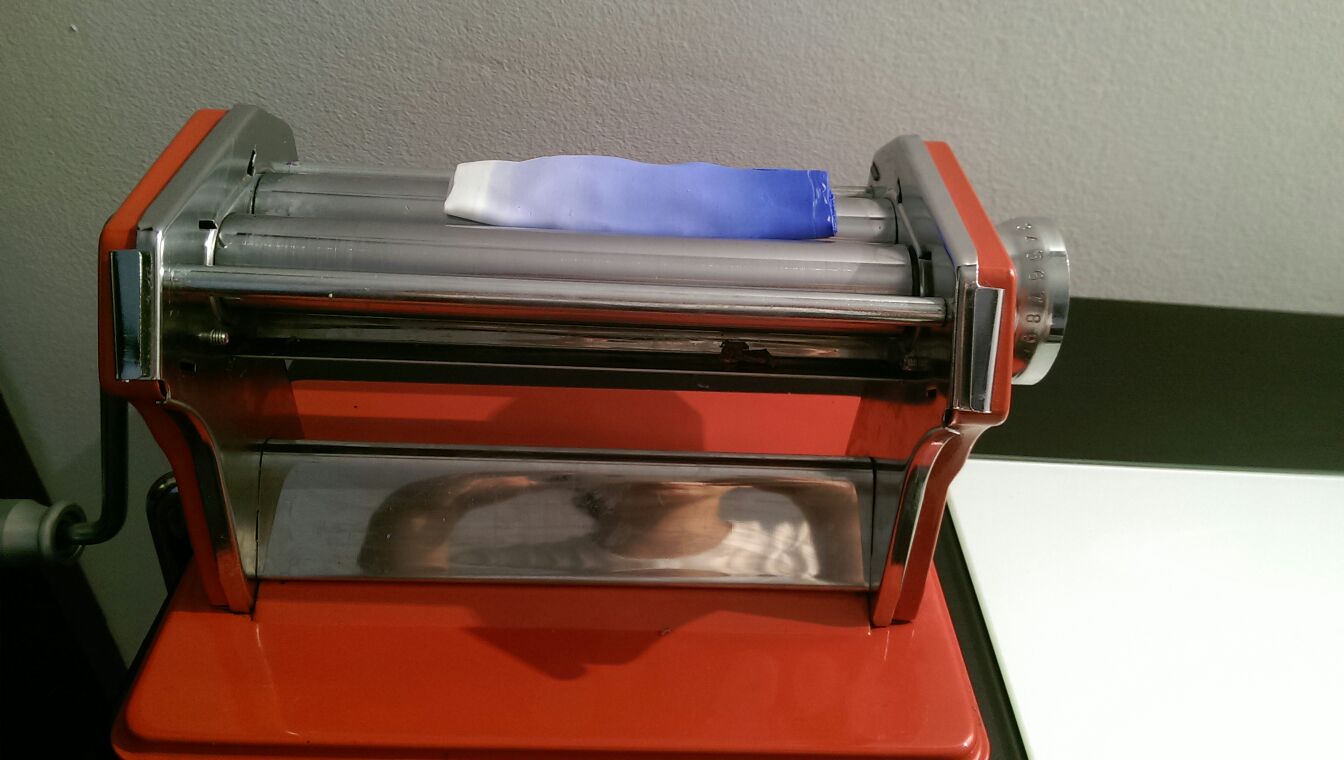
A pasta machine makes this faster: fold the sheet in half and roll it through again and again. It is also the way to mix colors, as shown in our polymer clay color blends tutorial.
Clay too crumbly? Old or cold clay can be dry. Warm it in your hands, cut it into small pieces and knead them back together. A few drops of liquid polymer clay or clay softener help with very hard blocks.
Step 2: Shape your piece
FIMO does not dry out in the air, so take your time. You can work on a project for hours or even days. A few habits help:
- Start with light colors and clean your hands before switching, because dark colors stain light ones.
- Press parts together firmly. For small pieces like ears or arms, a toothpick inside makes the joint stronger.
- Keep pieces no thicker than about 1 cm. For bigger shapes, build around a core of aluminum foil.
- Make bead holes before baking with a needle or skewer.
Step 3: Bake FIMO in the oven
- Preheat the oven to 110 °C (230 °F). Home ovens are often off by 10–20 degrees, so an oven thermometer is worth it.
- Place your pieces on a ceramic tile, glass dish or baking paper. Beads can be strung on skewers so they keep their round shape.
- Bake for 30 minutes. Don’t cook food in the oven at the same time.
- Turn the oven off and air the kitchen afterwards.


More tips on baking round beads without flat spots are in our simple polymer clay beads tutorial. Do not use a microwave: FIMO needs dry, even heat.
Step 4: Let it cool
Right out of the oven FIMO is still a little soft and flexible. That is normal. It reaches its full hardness only once it has cooled to room temperature, so leave it for about 15–30 minutes before you handle it much.
Forgot a detail? You can add more raw clay to a baked piece and bake it again at the same temperature. FIMO can be baked several times.
Step 5: Sand, paint and varnish
Baked FIMO is waterproof and does not need a finish, but a little extra work makes it look professional:
- Sanding: wet-sand with fine sandpaper (400 grit and up) under running water to remove fingerprints.
- Painting: acrylic paint works well on baked clay.
- Varnish: use a water-based varnish made for polymer clay, gloss or matt. Nail polish and many spray varnishes stay sticky on FIMO.
Common beginner mistakes
| Problem | Likely cause | Fix |
|---|---|---|
| Piece breaks easily | Under-baked or not conditioned | Check the oven temperature and bake the full 30 minutes |
| Dark or burnt spots | Oven too hot | Use an oven thermometer and cover pieces with foil |
| Cracks | Piece too thick or dry clay | Use a foil core and knead the clay better |
| Bubbles | Air trapped while kneading | Prick them with a needle before baking |
| Sticky varnish | Wrong varnish type | Use a water-based varnish for polymer clay |
FIMO FAQ
Can I bake FIMO in my kitchen oven?
Yes. FIMO is made for home ovens. Just don’t bake food at the same time, keep separate tools for clay and air the room afterwards.
Does FIMO dry in the air?
No. FIMO soft, effect, professional and kids stay soft until they are baked. Only FIMO air is an air-drying clay.
Is FIMO waterproof after baking?
Yes. Baked FIMO is waterproof, so earrings, beads and charms can get wet. It is not meant for plates or cups that touch food.
How do I store opened FIMO?
Wrap it in cling film or baking paper and keep it in a cool, dark box. Stored this way it stays usable for a long time.
Your first FIMO projects
Ready to try it? These step-by-step tutorials are great for beginners:
- Clay frog: an easy first figurine
- Polymer clay flower beads
- Basic polymer clay cane
- Mokume gane technique
Or browse all our free Fimo and polymer clay tutorials for more ideas.