Polymer clay Winnie the Pooh tutorial
“When you see someone putting on his Big Boots, you can be pretty sure that an Adventure is going to happen.” said Winnie-the-Pooh.
Dears, take your big boots today because your childhood is coming back with a nice figurine! Use this polymer clay Winnie the Pooh tutorial to make someone a special surprise, this bear will come to life.
For this polymer clay Winnie the Pooh tutorial you will need:
red sugar paste, black and yellow (divided as in the picture)
modeling tool
1 cutter
1 black marker
2 dough cutters
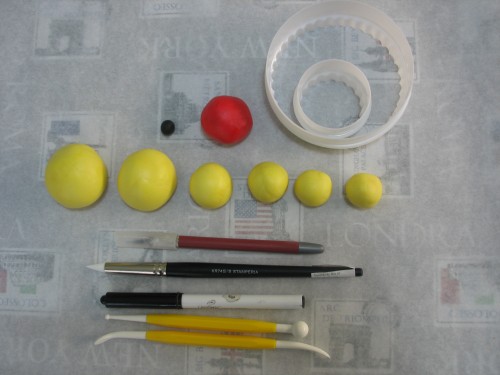
With the largest portion of yellow sugar paste formed a pear, this will be the body of the pooh
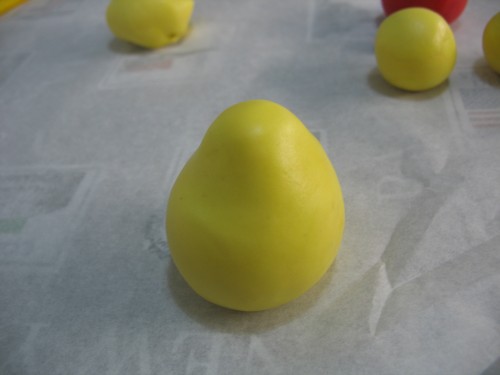
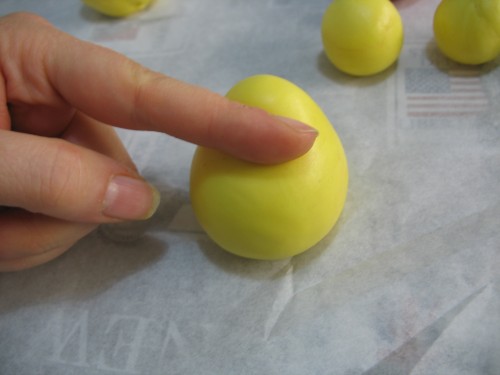
With his finger light pressure to about half of its height, to form the bulge of the belly.
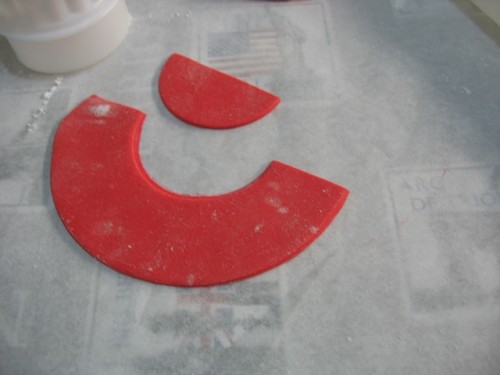
Roll out the dough of red sugar and, with the dough cutter, formed a semicircle to which subtract a smaller semi-circle at the top.
Wrap the dough red sugar around the body. This will be Winnie’s shirt.
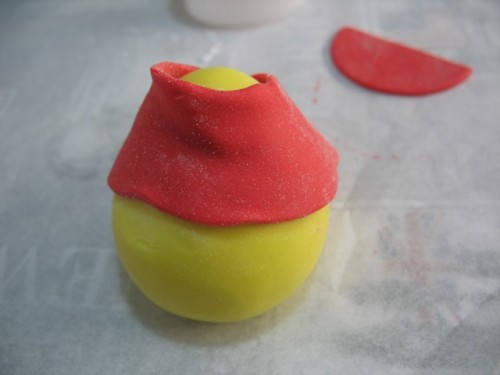
With the help of the modeling tool lower the front of the collar giving it its characteristic shape.
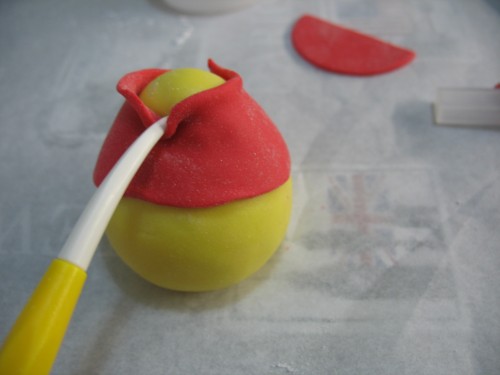
With the same tool carve slight horizontal folds.
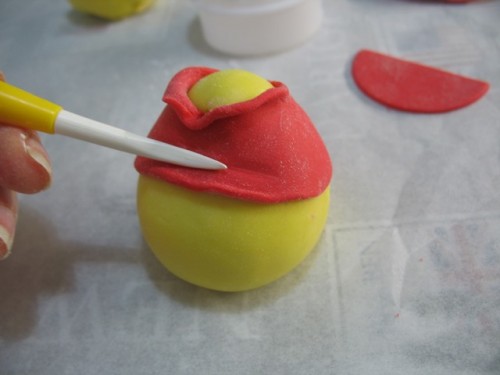
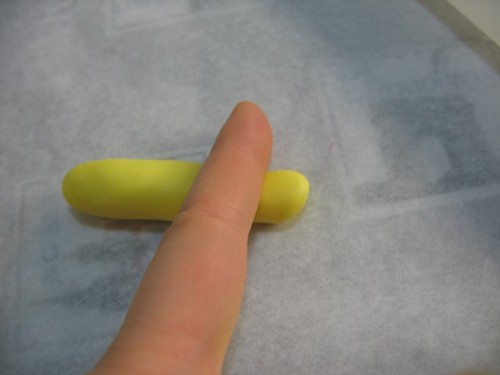
Take one of the smaller pieces of yellow clay and form a cylinder, on which exercise a light pressure with the finger to a third of the length, always rolling the cylinder on the work surface.
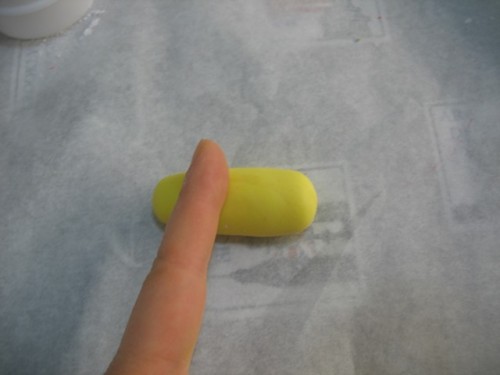
This will be the leg. Continue to shape with your hands.
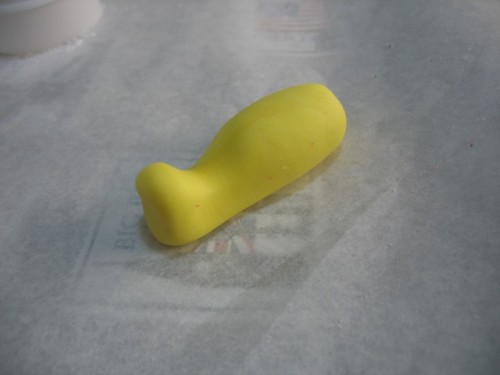
With the cutter cut away any part in excess, in proportion to the size of the body.
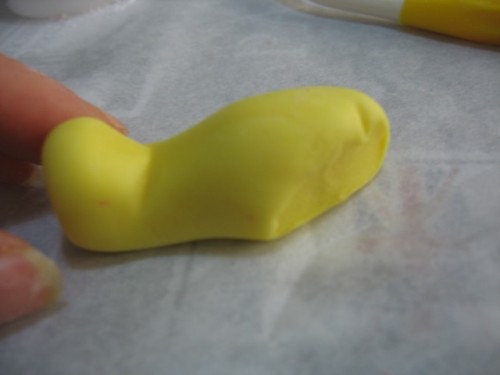
Use glue to attacked the leg to the body.
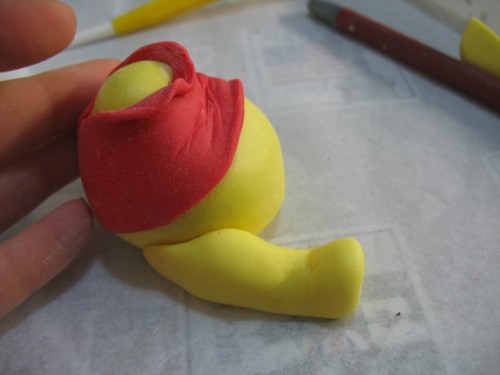
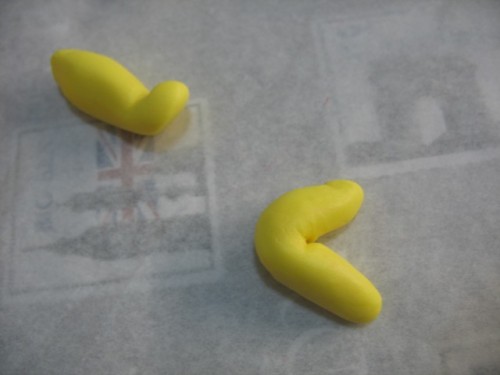
The second leg realized by adopting the same procedure just described and fold it on itself to give movement.
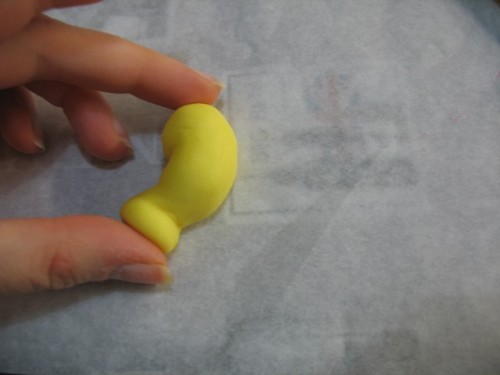
Also glue the second leg to the body.
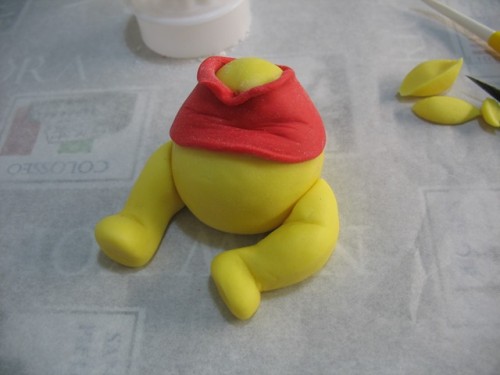
Take the other two small pieces of yellow polymer clay and form two cylinders to achieve the arms .Use the same procedure used for the legs, press with a finger to get the wrist and the hand.
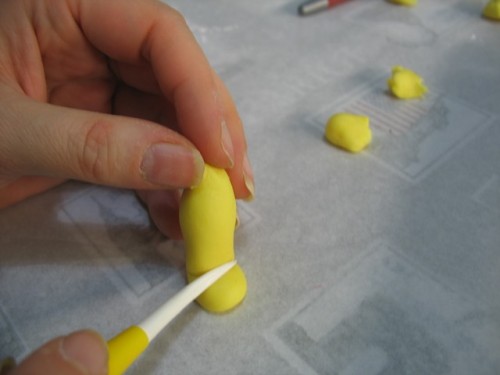
The other arm instead give a fold to half its length.
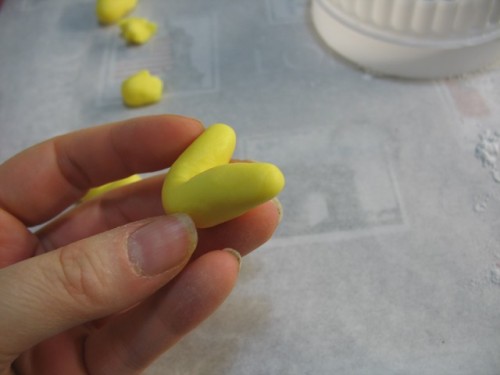
With the red polymer clay line the upper arms.
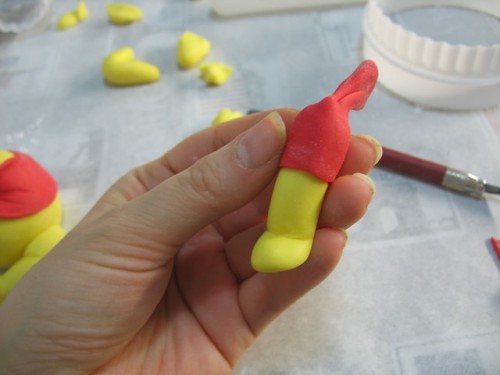
Eliminate the excess and you will get so the sleeves of his shirt.
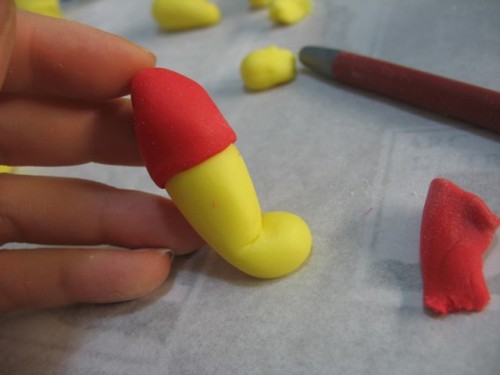
Glued to the body made. You will glue the second arm after positioning the head.
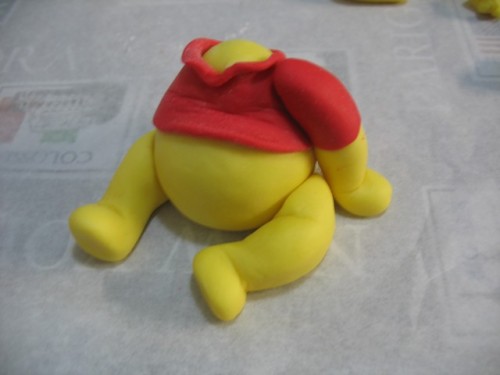
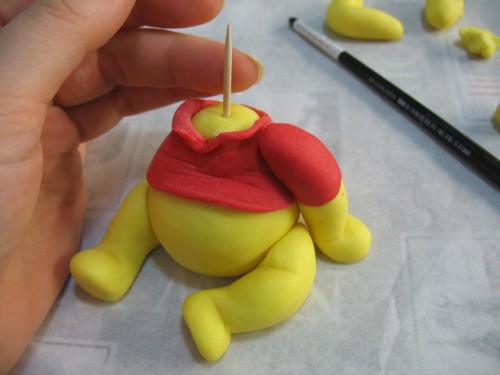
Place a toothpick in Winnie’s body, making it tick the top, where you will place the head.
Now take the yellow sugar remaining dough and knead until an egg shape.
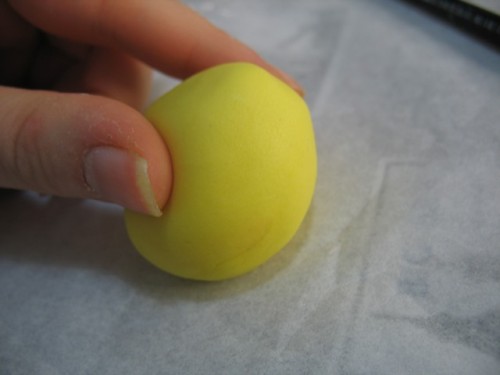
With a modeling tool press to extract the eye area and bring out the nose.
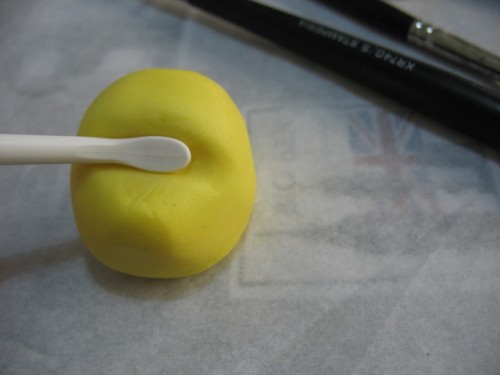
Try to get a profile like the one shown in the photo.
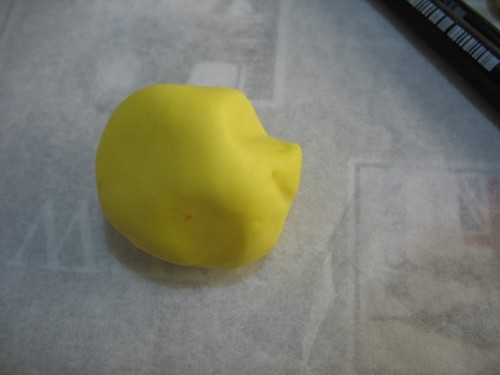
With your hands shape eyebrows making them stand out.
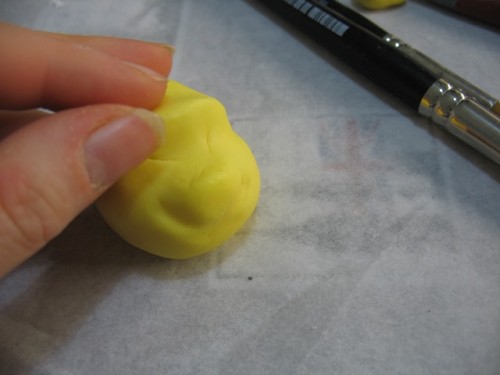
With modeling tool carve the bow of the mouth.
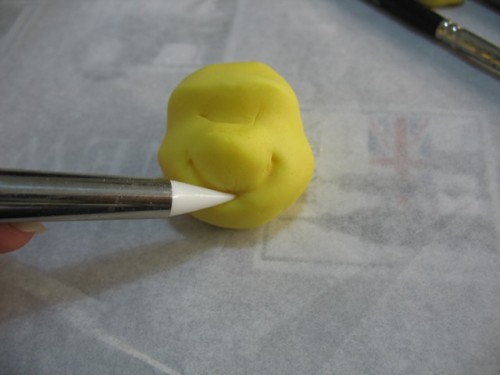
With the black polymer clay forme a small sphere that it will be pasted on the nose, squashing it a little bit.
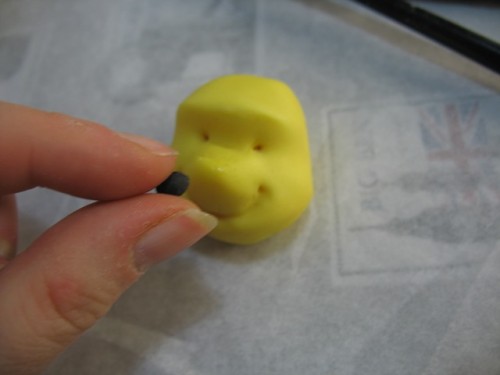
Shape two small balls of black polymer clay and put in the small holes for the eyes that you will have engraved on the nose.
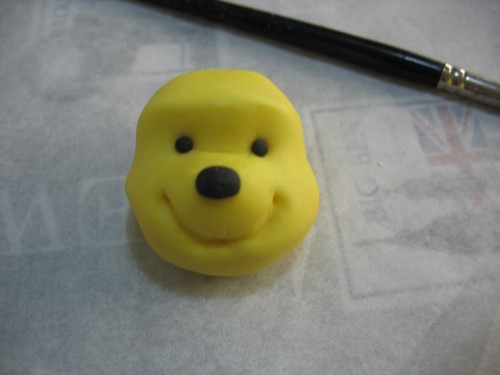
Make two crushing small balls of yellow polymer clay, this will be the ears.
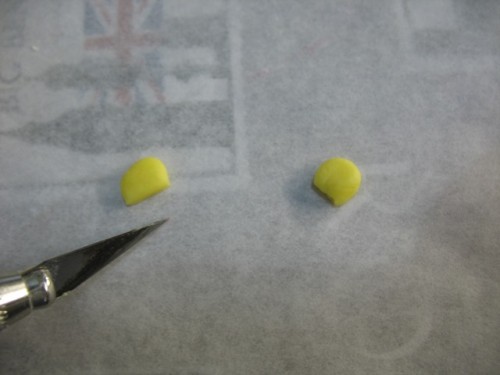
Paste them on the head.
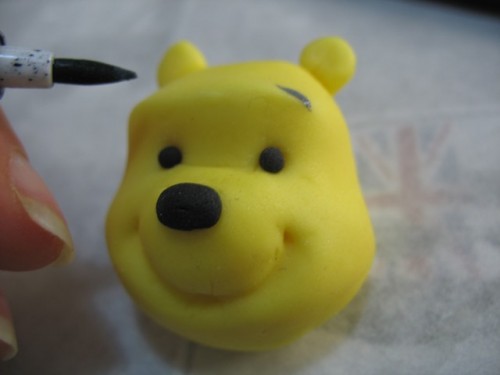
Draw the eyebrows with a black marker
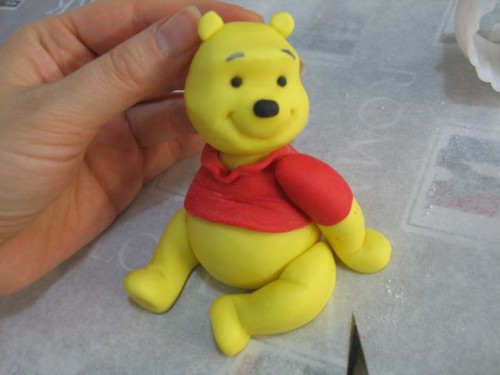
Place the head on the toothpick.
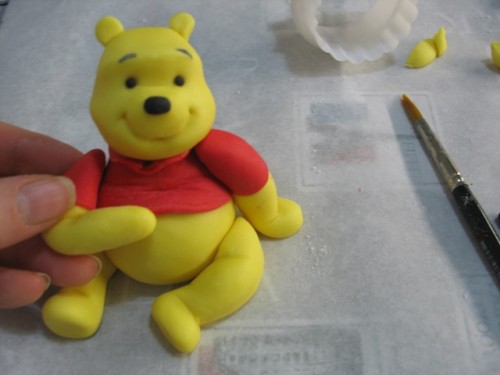
As the last step in this polymer clay Winnie the Pooh tutorial you have to add the reaming arm to the body. This should be the result: a fluffy polymer clay Winnie the Pooh 🙂
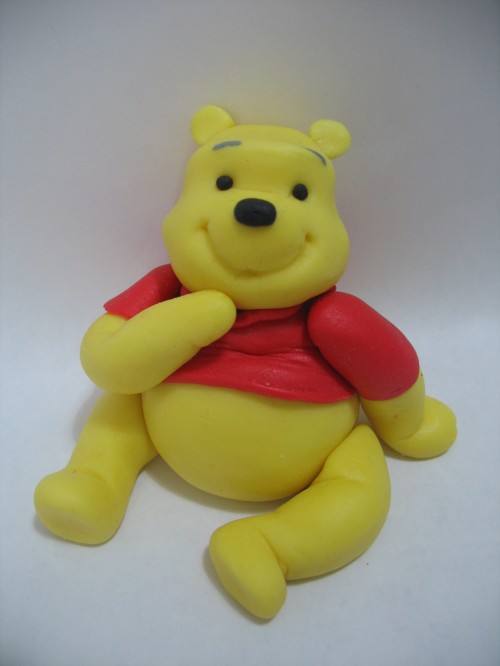
Use this step by step polymer clay Winnie the Pooh tutorial to achieve your soft teddy bear Disney. For more tutorials from this author click here.
I wish you all success and inspiration!
See you later for more tutorials. You may consider following to follow my Pinterest page to get updates on free fimo diy tutorials.
######