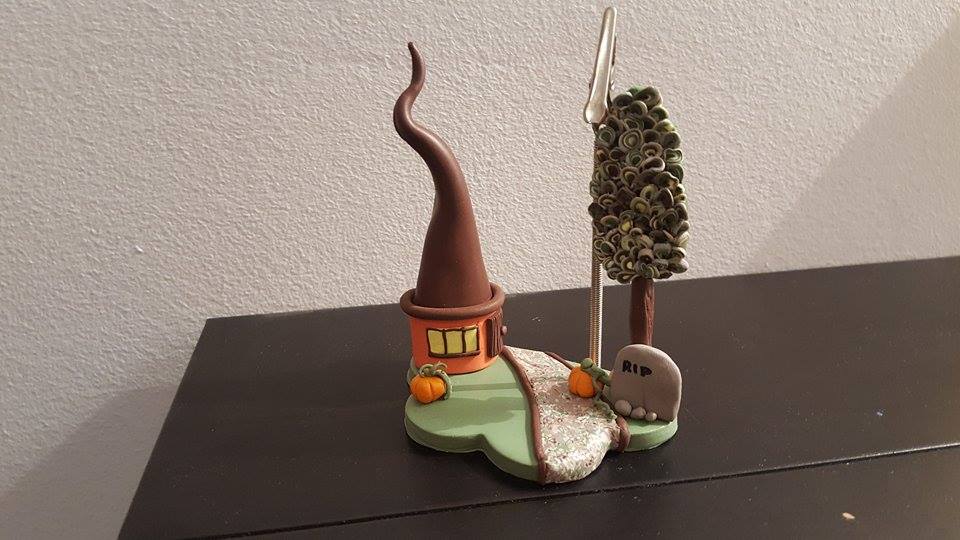
Polymer clay Halloween photo frame/ card holder
In anticipation of Halloween, I create a tutorial on how to make Polymer clay Halloween photo frame. This beautiful polymer clay landscape will be a perfect home decor and will replace your photo frames. Using polymer clay is the cheapest way to decor your home for every occasion.
Let’s get started with our polymer clay landscape for Halloween project!
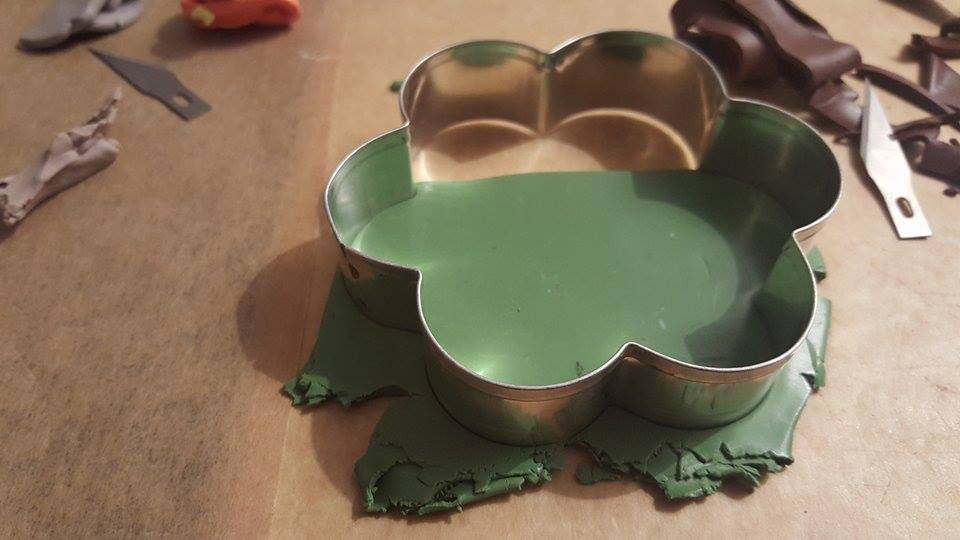
First you have to make a green thick strip and cut it and cut it as shown in the picture below. This will be the base for our landscape.
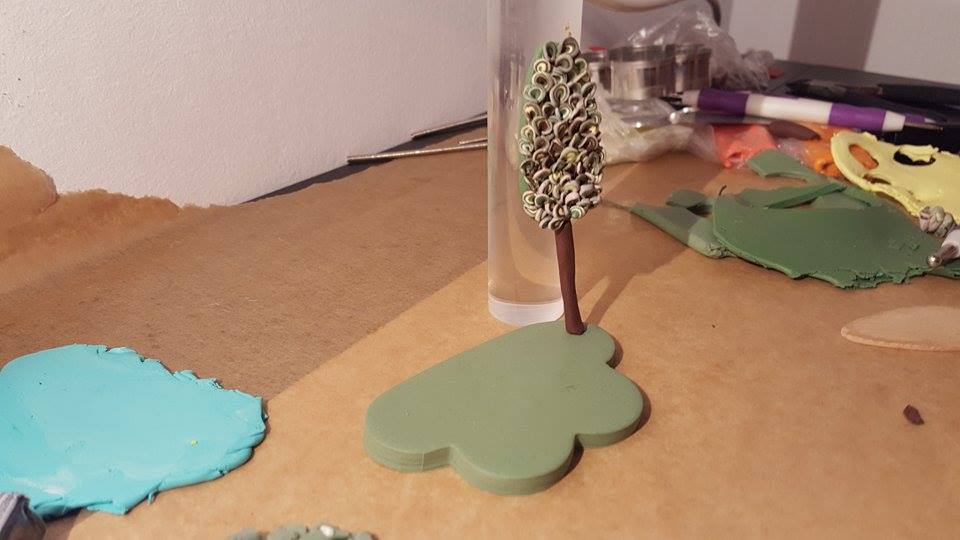
For the next step will have to add the tree as shown in the photo. Here is a tutorial on how to make a clay tree .
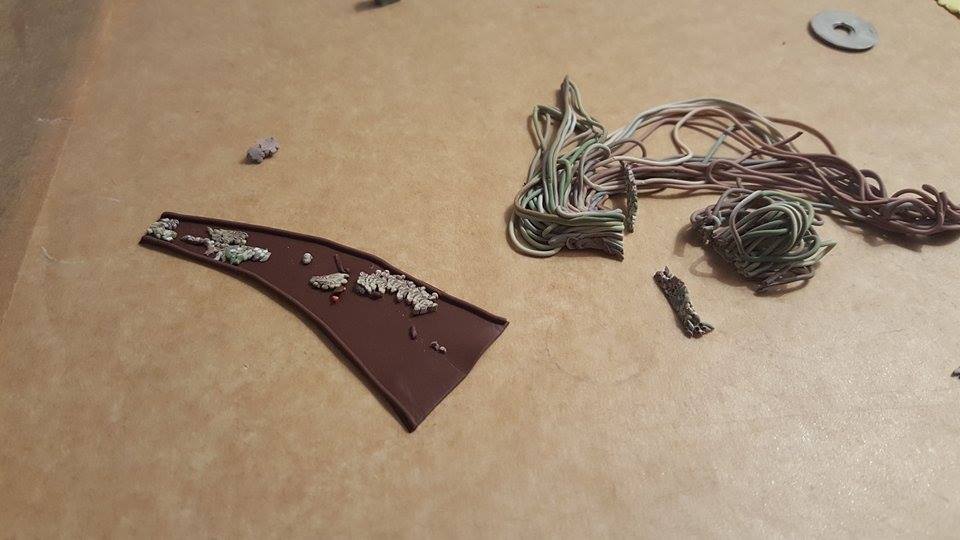
Now let’s make the road for our clay landscape. Cut a piece as shown in the photo. This is the base. Add to the margins one wire in the same brown color. I used a clay extruder to create the effect of gravel. I made tiny treads in different colors and I covered the base with small pices of them. Add the road to your green base
Make two small pumpkins (click here for the tutorial) and one tombstone. Add them as shown in the photo. I used a pen to write RIP on the tombstone.

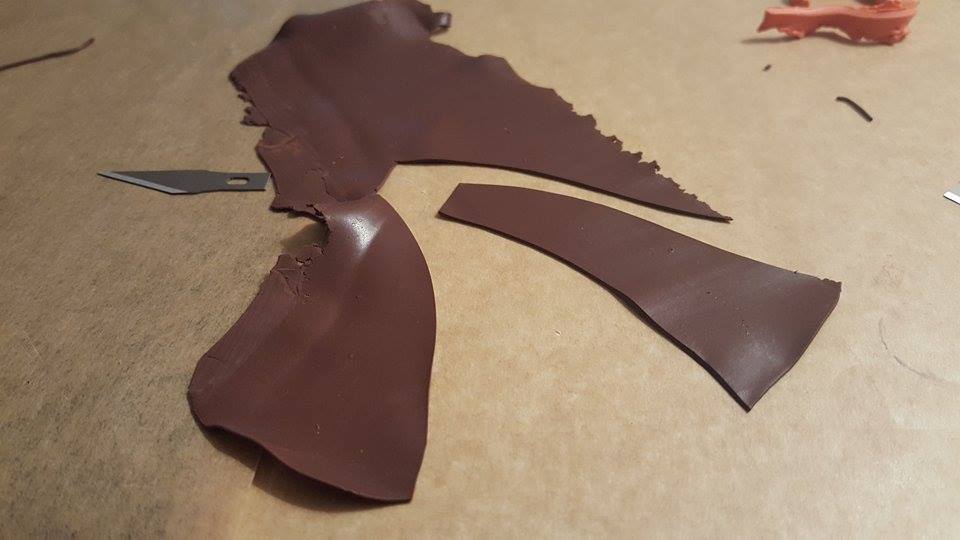
For the final step on your polymer clay Halloween photo frame project you have to add the house. Here is a tutorial on how to make a fairy house. Pass through it and add the house to your Halloween clay project. I’m curious to see ho your project looks.

I hope you enjoyed this Polymer clay Halloween photo frame tutorial! See you later for more tutorials. You may consider following to follow my Pinterest page to get updates on free fimo diy tutorials..
######