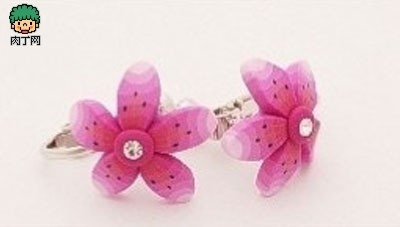
Polymer clay flower earrings tutorial
I want to share with you this polymer clay flower earrings tutorial that I find it so appealing!
For this Polymer clay flower earrings tutorial you will need:
white, yellow, black and fuchsia polymer clay
cutter
rolling tool
earrings pin
Let’s get started!
Take the white and fuchsia polymer clay and make a gradient sheet as shown in the first 4 figures. Press it with your fingers until you obtain a cylinder.
Take the yellow polymer clay and make tree tiny sheets. Take the black piece of polymer clay and make a small cylinder. Use the sixth figure as example and adapt it to your first cylinder length.
Use a cutter to insert into the middle of the pink cylinder the yellow sheet with the black cylinder above. Use the seventh figure as example.
Make two smaller cuts, one on the left of the yellow line and one on the right and insert the remaining yellow sheets and black cylinders. You should have a cylinder like in the eighth figure.
Press the cylinder with your hands to give it an elongated shape.
Take a small piece of remaining clay, make a ball out of it and press it with your fingers. This will be the first layer of your earrings. Cut slices out of the elongated shape cylinder and add them to the base as it will be the petals of the flower. In the middle of the flower you can also use remaining clay or you can make small dots or you can add rhinestones. Bake it and the apply earring pins.
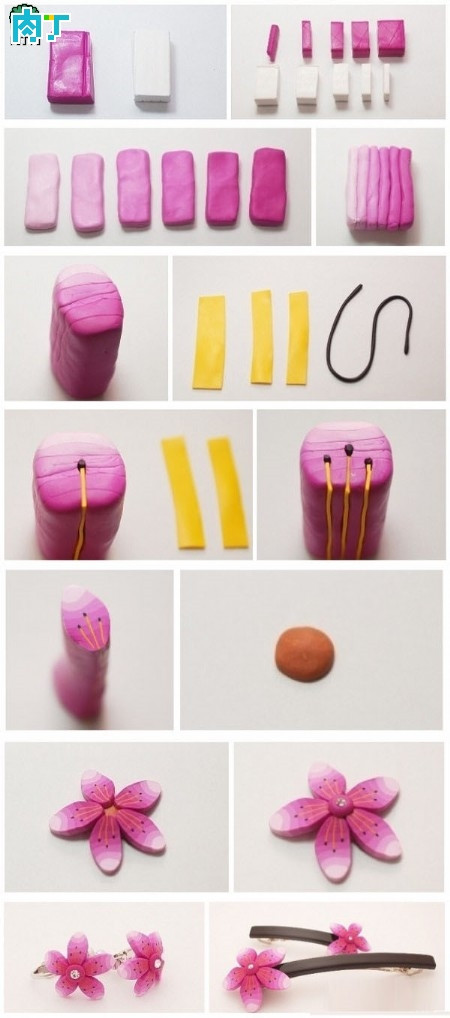
The author of this tutorial also made hair clips! You can also make bracelets, rings or pendants if you want to have a complete set of this beautiful flowers.
I love this polymer clay flower earrings tutorial! What do you think? Doesn’t it deserve to be your next project?
Get captivating new tutorials just like this one by following my Pinterest page .
######