Polymer clay Ranunculus asiaticus tutorial
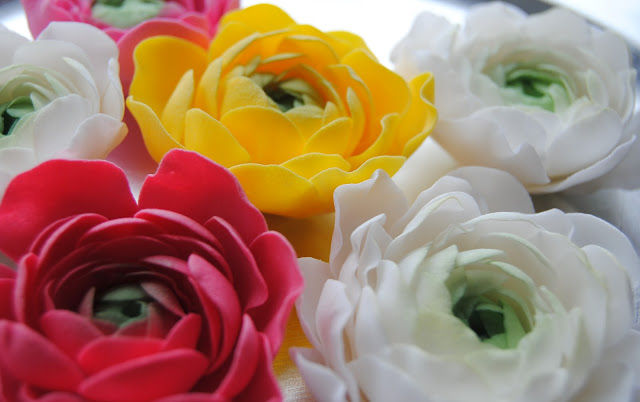
Today I am going to show you haw to make a polymer clay ranunculus. This tutorial is created in sugar pasta, but the process of creating this beautiful flower is the same with polymer clay. The flower we’ll make today is yellow but you can use any color you want depending on your project needs. You can find some ideas regarding the color in the next photo. I’m really enthusiastic about this project, I particularly choose this flowers for my wedding, so let’s get started!

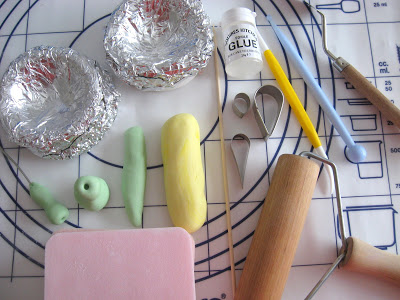
Tools:
You can find in the next photo the items you need to create your own polymer clay ranunculus.
Method:
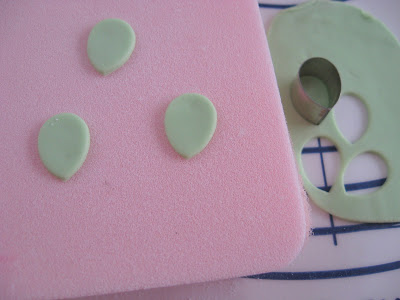
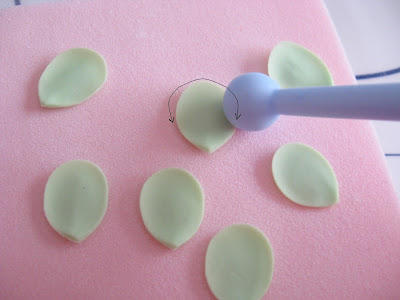
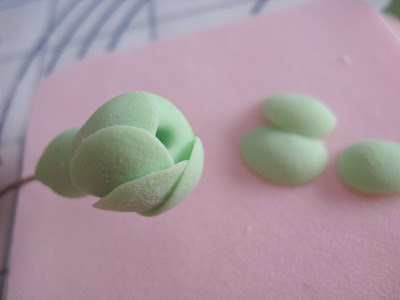
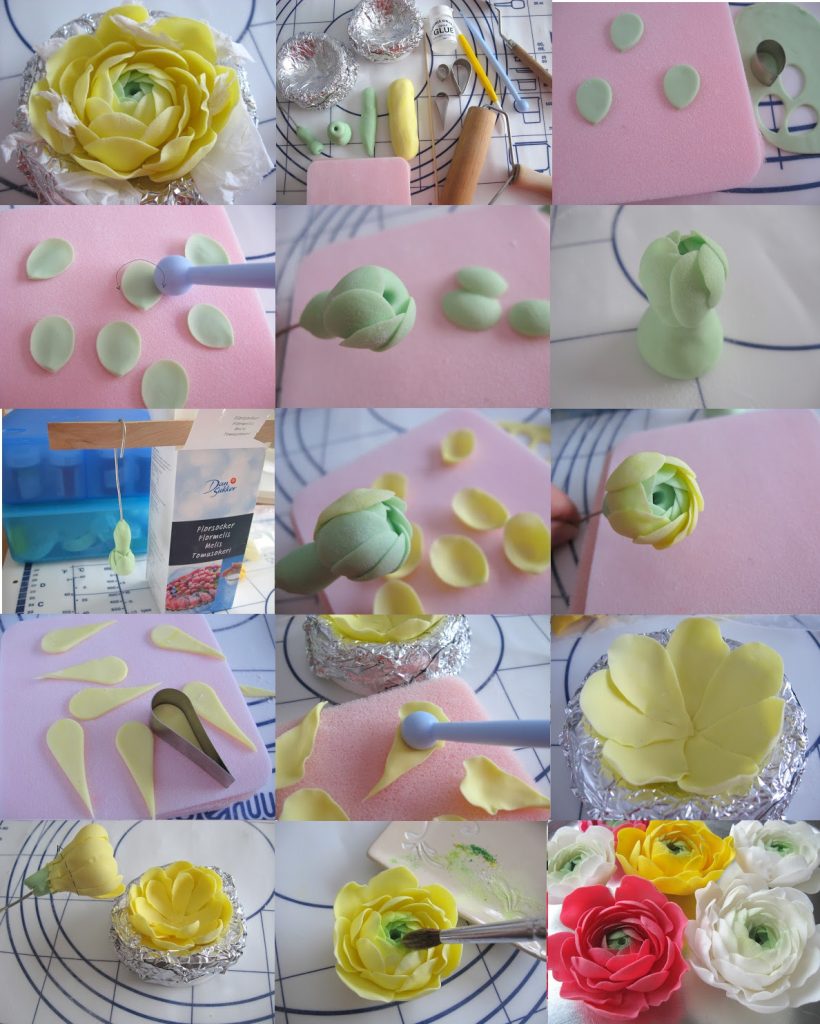
Step 1:
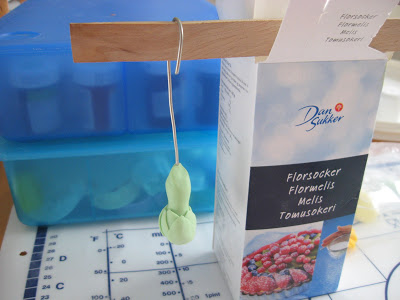
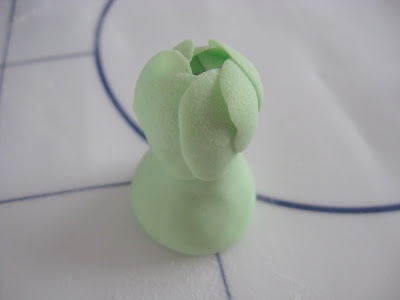
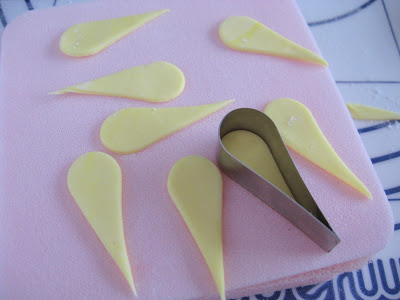
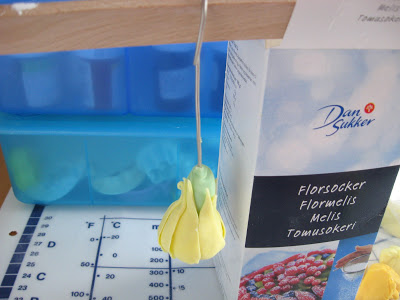
Create a mint polymer clay sheet. With the smallest drop cutter eight shapes ( depending on your bud dimensions you may need more or less petals). Use the ball tool to thin the edges of the petals. Add the petals one by one to the bud. To keep the perfect shape of the bud, you should add a strong wire to a end. Use the pictures below to create first layer of petals to your polymer clay ranunculus.
Step 2:
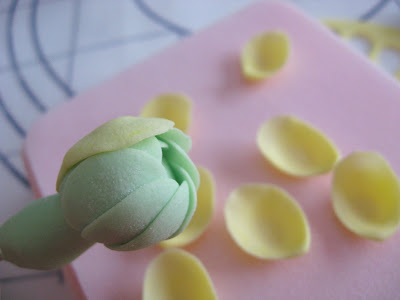
Repeat the process but this time on a light yellow polymer clay sheet. Use the same cutter for petals and the same ball tool to thin them. Add the petals one by one to the bud. Use a toothpick or a needle end tool to set the petals in the right position, it should intersect one to each other at the middle. Use the photos bellow as a model to the above.
Step 3:
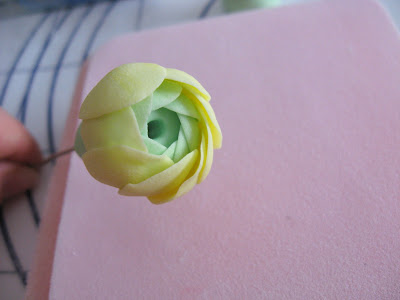
Repeat the cutting process on the same light yellow polymer clay sheet, but this time use the medium cutter. Use a toothpick or a needle end tool to add the petals one by one to the bud. Follow the photos bellow as a model.
Step 4:
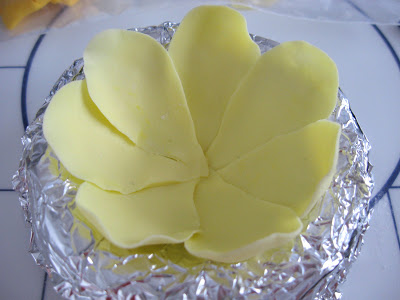
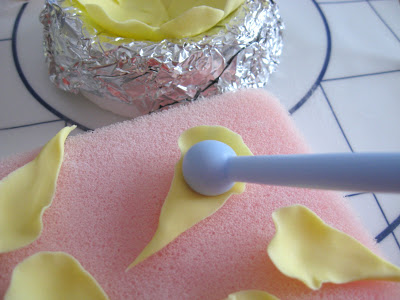
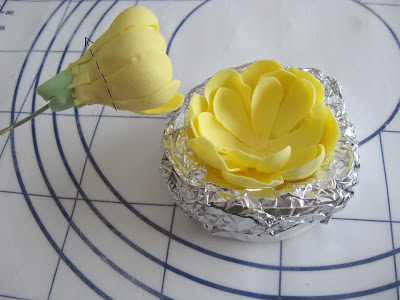
We will make three more rows of petals. For the following rows of petals we will use only the light yellow polymer clay and the largest petal shape cutter. Is the same process as before: make a thin sheet of polymer clay, cut the petals and then thin the edges with the ball end tool. What we make different this time is the fact that we won’t add the petals to the bud, we will create them stand alone. For a better shape of the flower is better to create a mold from aluminum foil. Add the petals as shown in the photos below.
Step 5:
The only thing which has remained us is to cut the extra amount of clay from the bud and to add it to the petals in the aluminum foil. You can use napkins to make the petals stay in the position you want. Let it rest for a while before putting it in the oven and what it’s really important, don’t forget to remove the napkins

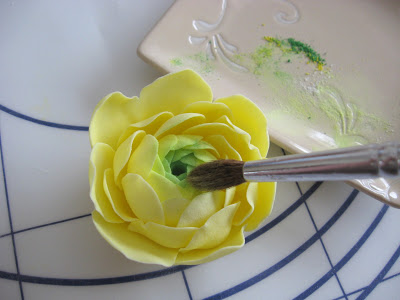
For a better effect you can use blending sheets, but if you are a beginner and you don’t have a pasta machine you can always use colors :).
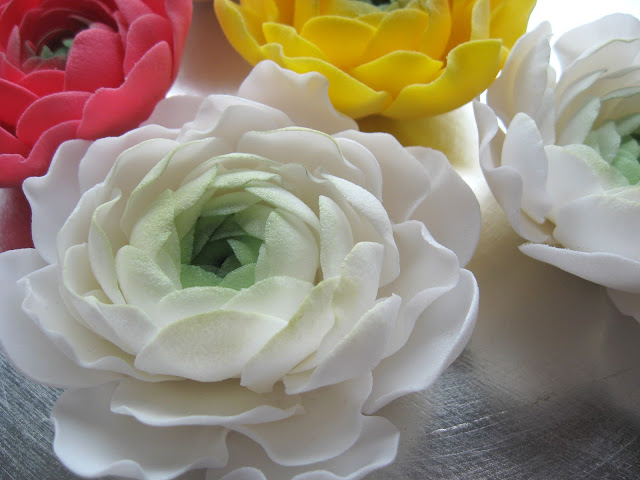
In the next photo are some other colors polymer clay ranunculus. Don’t be afraid to combine colors, you may be surprised to find out how good you are!
To share on Pinterest, please use the photo below, this way you will remember that is it a tutorial.
Until the next time, I wish you all a creative day! You can find the full article that inspired me for this mixed colored ranunculus tutorial here.
For more polymer clay flowers ideas click here.
Get captivating polymer clay new ideas and tutorials by following my Pinterest page .
######