Clay earrings diy
Several years ago, I discovered the beauty of polymer clay crafts. I started with some cute flowers that become earrings. Making your own jewelry is fun. Unfortunately I don’t have any pictures with them to show you, but I make up for it by teaching you how to make them. This clay earrings diy tutorial will help you have a smooth start and beautiful creations. It is very simple and there’s no need for advance tools.
For this clay earrings diy tutorial you will need:
- a small sheet of polymer clay (I used light blue)
- cutter
- glue
- hangers or pins ( I used pins)

If you prepared the tools then let’s get to the actual work! If you are familiar with clay some of the steps may seem not necessary. I added them for those of who are not familiar with clay as a measure of creating similar shaped items.
If you like this earrings and want to add a bit more flavor to it this tutorial should be next on your to do list.
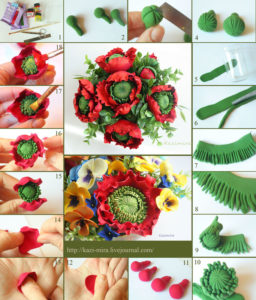
Step 1:
For creating your clay earrings you have to mold the clay into a cylinder and cut 10 slices out of it. Take your time wile cutting the slice in order to be equals. Each slice will be a petal. This way all the petals of the flower will have same dimension.

Step 2:
You have to create balls and then squeeze them into your fingers to obtain a circle. This way it is easier to have equal petals. Of course you can make a sheet and then cut the circle with a mold. It’s all on how confident you are on working with clay. Personally I don’t fill that the presented method is better since you don’t invest extra time in smoothing the edges.

Step 3:
As a next step you take the circles and for each of them unite half letting outside the other half. Take as reference the following photo. It should result the petal.

Step 4:
Now all that’s left for you is to unite them and to cut the extra clay.


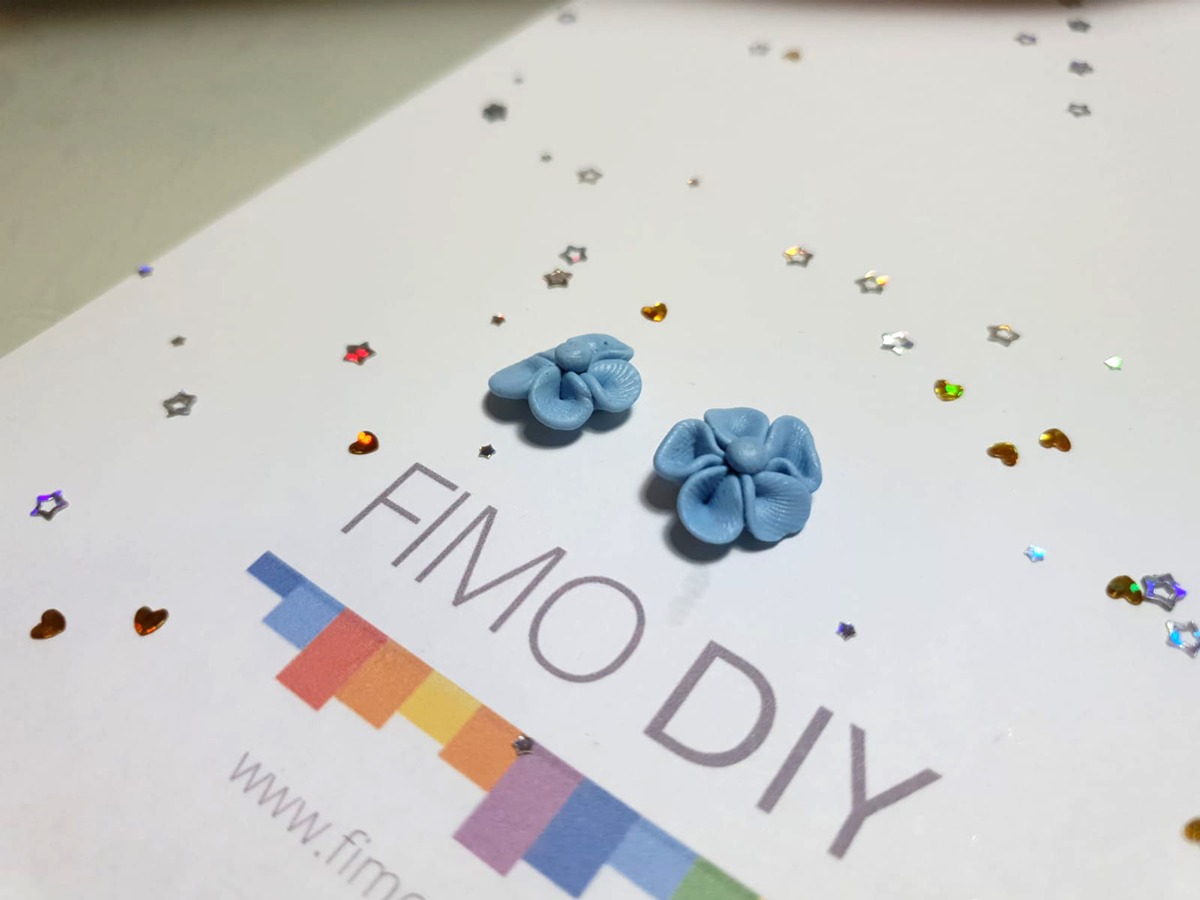
Step 5:
Make another small ball to put in the middle and cut the leftovers from the petals. Bake them and add the pins. As a result your earrings are complete 🙂
To share on Pinterest I suggest to use this photo:

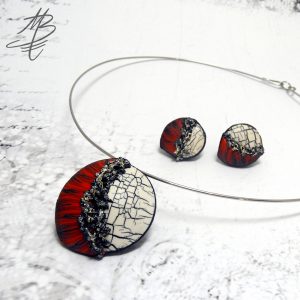
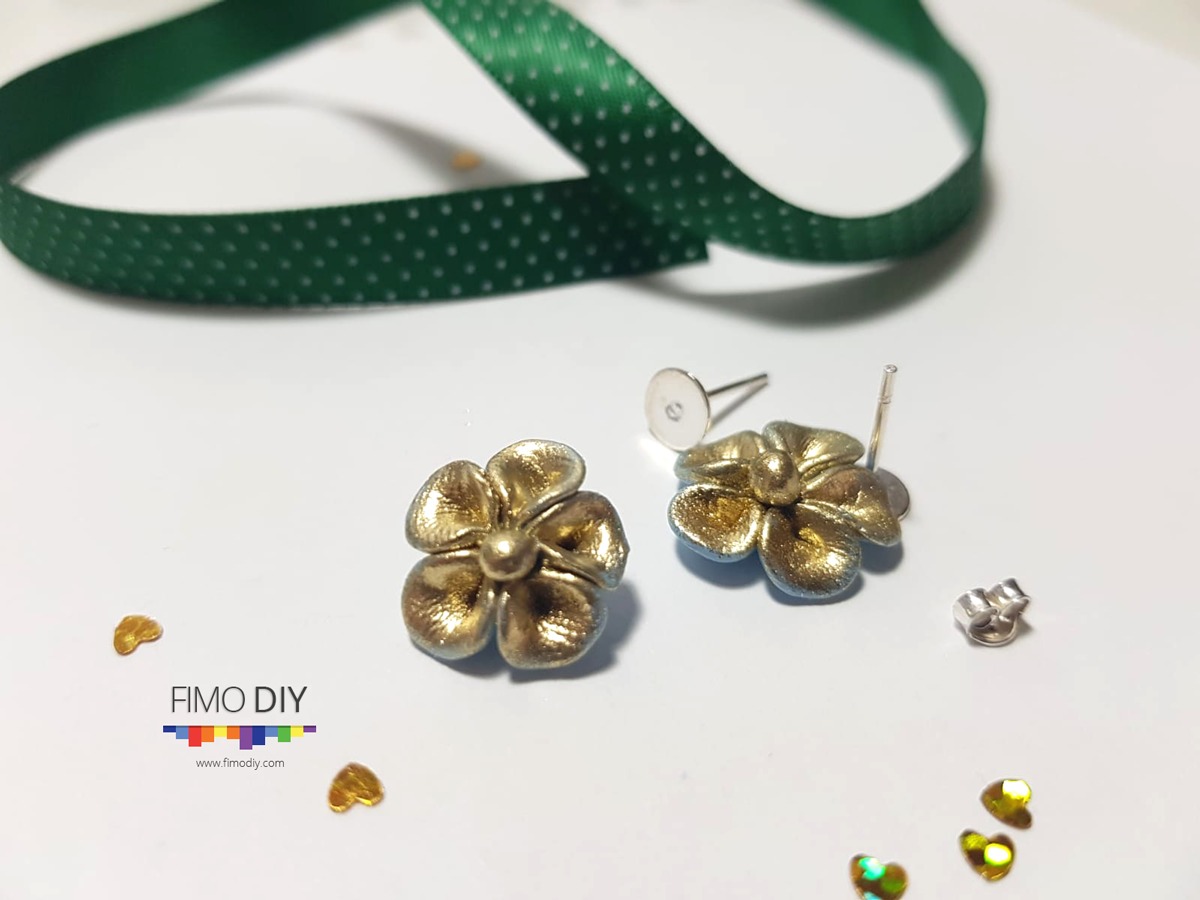
Lately I’m in love with vintage jewelry. So, I created a contrast with some gold powder. I didn’t insist much on the edges to create that erasing effect that we find in antique jewelry. What do you think? Aren’t them pretty?
See you soon!
######