Polymer clay Lumpy elephant tutorial
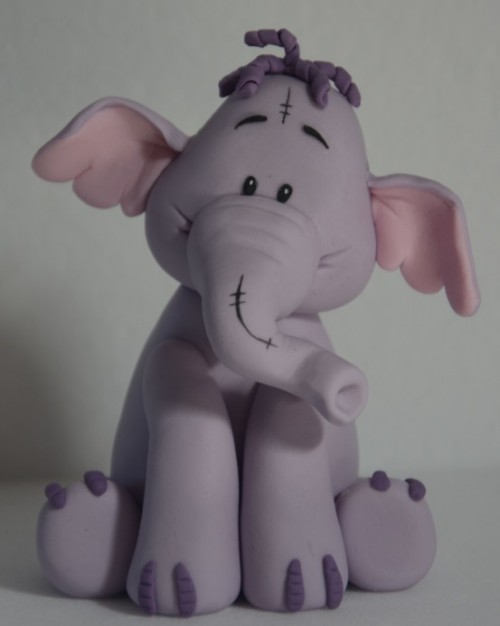
Today we will learn how to make the tender little elephant friend of Winnie the Pooh, on its name Lumpy. Hope you’ll enjoy this polymer clay Lumpy elephant tutorial as much as I do! Tip to help you create other characters : get images of the character in different poses.
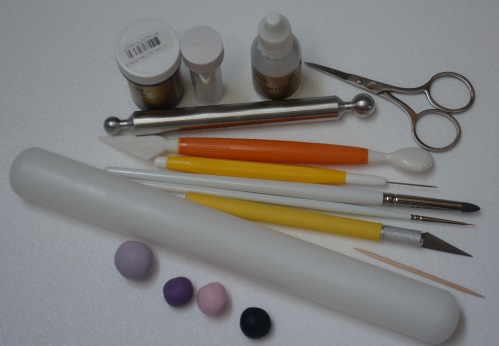
For this polymer clay Lumpy elephant tutorial you will need:
lilac , purple, pink and black polymer clay
glue,
brush,
for modeling tools,
toothpick,
black paint and varnish
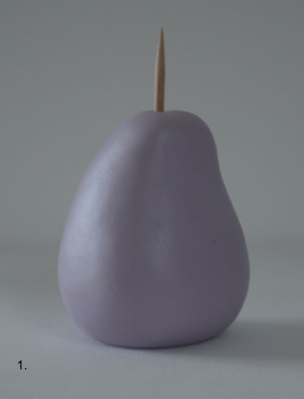
1. For the body shape purple pear-shaped, insert a toothpick in it that will help support the weight of the head.
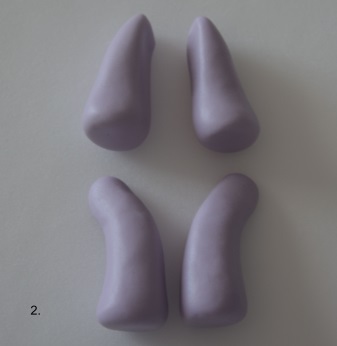
2. For the legs, make 4 pieces of lilac polymer clay the same size, shape them cone-shaped giving the right angle as in the photo.
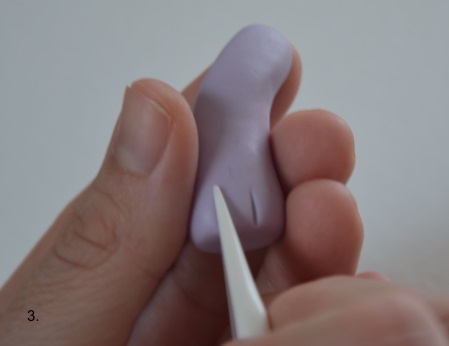
3. With the knife tool to make two small incisions in the lower part of the legs.
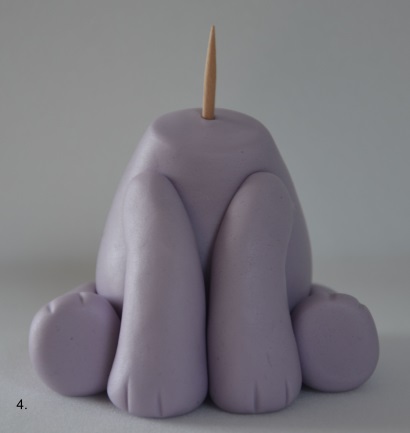
4. Use the glue to stick the legs to the body.
5. Take another lilac piece and give it a pear shape with the part well rounded up. This will be the head of your polymer clay elephant
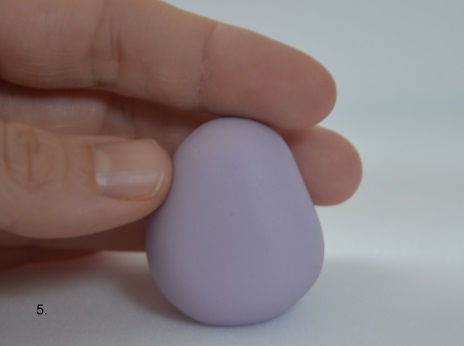
6. Slightly attach the head to the body to give naturalness to the character.
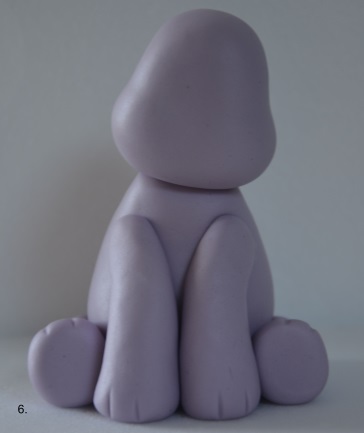
7. For the proboscis shape a piece of lilac polymer clay in cone shape. Make the broad base and the tip a little ‘squashed.
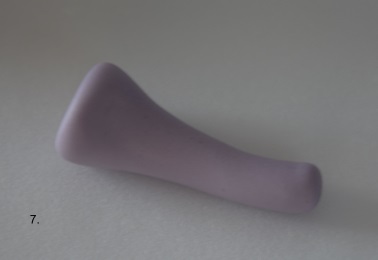
8. Glue the trunk giving it movement and creating creases with the help of modeling tools.
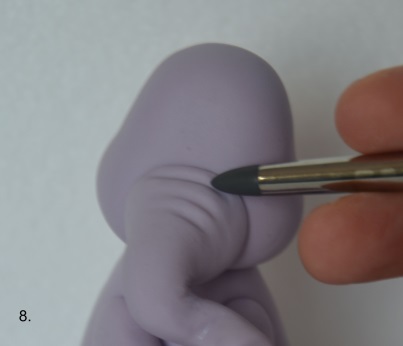
9. Use a soft-tipped brush or with the ball tool to create a recess in the end
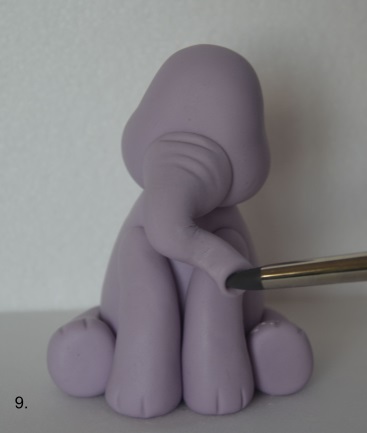
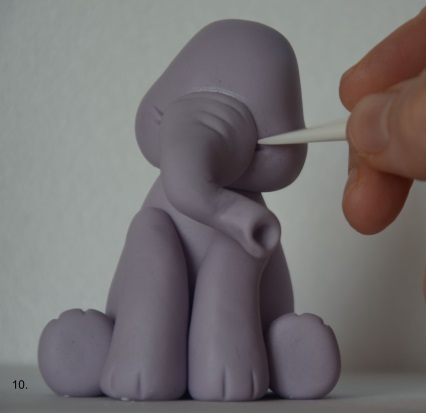
10. With the knife tool create corners of the mouth. Hmm it start looking like an elephant, isn’t it?
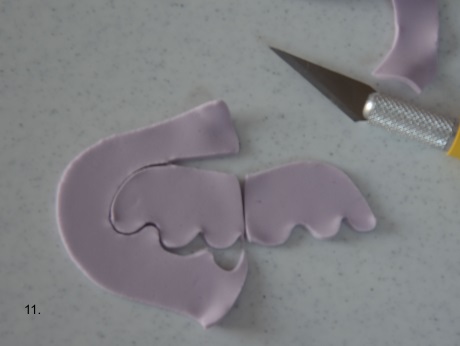
11. To lay your ears take lilac polymer clay and shape thin enough. Use a cutter to cut the shape shown in the next picture and then press it with your fingers around the edges
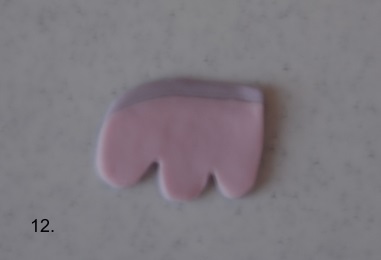
12. With the dough rose polymer clay create the interior of the ears following the same procedure as before, sticking them to the purple part.
13. Use glue to stick the ears to the head. Now our figurine is definitively a polymer clay elephant!
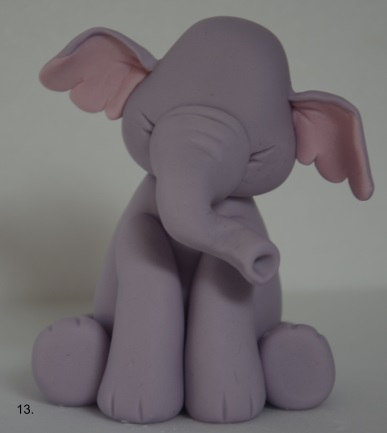
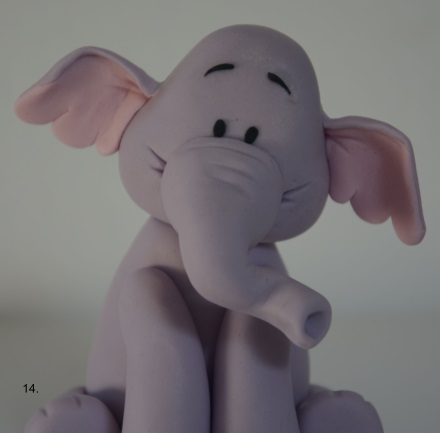
14. With the small balls of black polymer clay create eyes and eyebrows, stick them in the head with very little glue
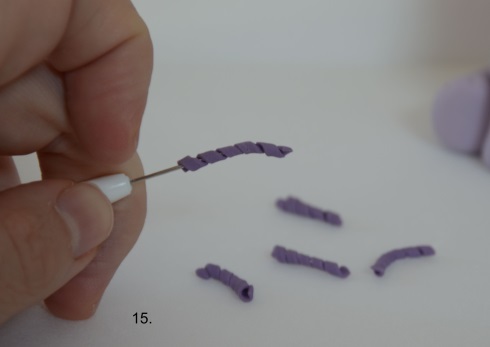
15-16. Make 5 small strips of purple polymer clay rolled (help with a pin or a needle) to create the curls that make up the tuft and attach them to the head.
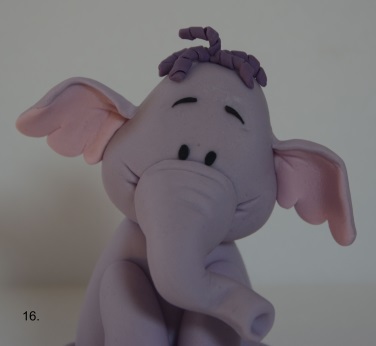
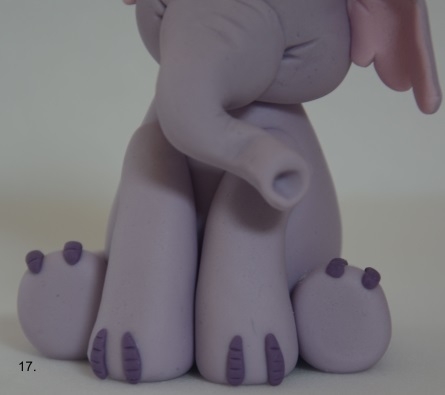
17. As the next step in this polymer clay Lumpy elephant tutorial you have to define the particular legs with the same purple polymer clay.
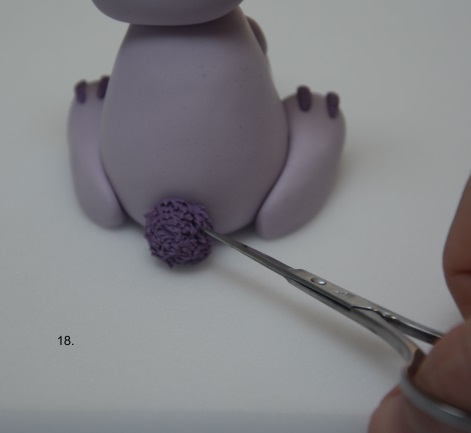
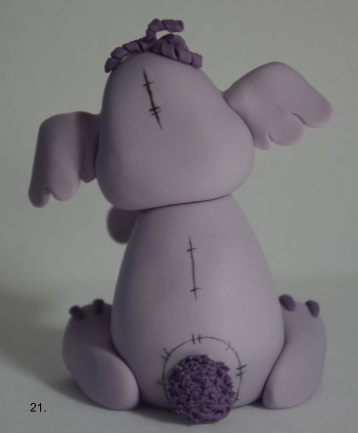
18. With a small purple ball form the tail and attach it to the body and use a scissors to create the fur effect.
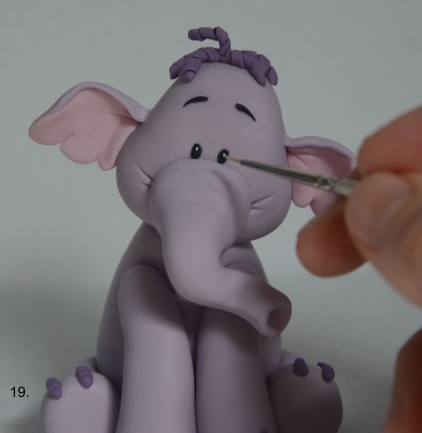
19. When the subject is baked, you can use varnish to give a touch of light to the pupils
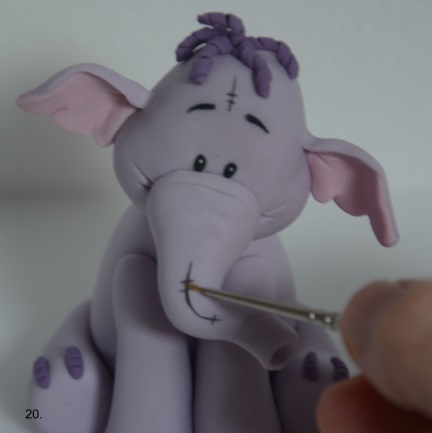
20- 21 With the black color paint the details of the stitching on the various parts of the body.
I found this beautiful polymer clay Lumpy elephant tutorial here.
I wish you all success and inspiration!
See you later for more tutorials. You may consider following to follow my Pinterest page to get updates on free fimo diy tutorials.
######