Polymer clay rainbow cane bracelet tutorial
Today i was inspired by this polymer clay rainbow cane bracelet tutorial which is actually pretty interesting to make.
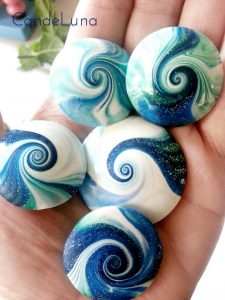
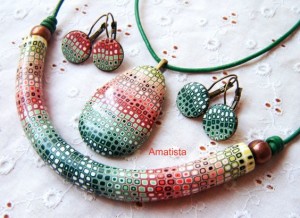
We all admire people that stand out trough their appearance, so when it comes to unique statement pieces that really can make a difference in an well planned outfit we just have to have as many as possible.
It is even more interesting when you can say that you have made that catchy accessory just by following the steps from this Polymer clay rainbow cane bracelet tutorial.
Here we go!
What you will need:
– polymer clay: white, red, orange, yellow, green. blue, purple and gray.
– tools: clay slicer, clay conditioning machine
Step 1
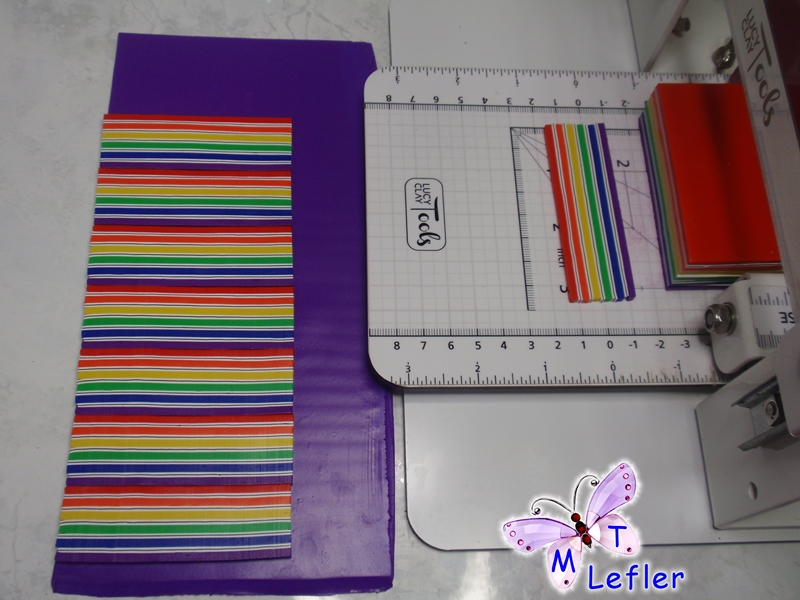
At first I will show you how to make a simple rainbow cane. Use the purple clay to form a generous thin sheet in a rectangular shape.
Do the same with the other polymer clay colors and place the sheets one on top of the other in the order of a rainbow, as you can see in the image above. You can use white polymer clay also to place between the colored sheets. This way the rainbow effect can be more intense.
Use the clay slicer to cut through the colored bulk that you have built sheet by sheet so you will get some rectangular sheets that contain all your colors. Place them one next to another over the purple sheet.
Step 2
For this step we can actually begin with our polymer clay rainbow cane bracelet tutorial.
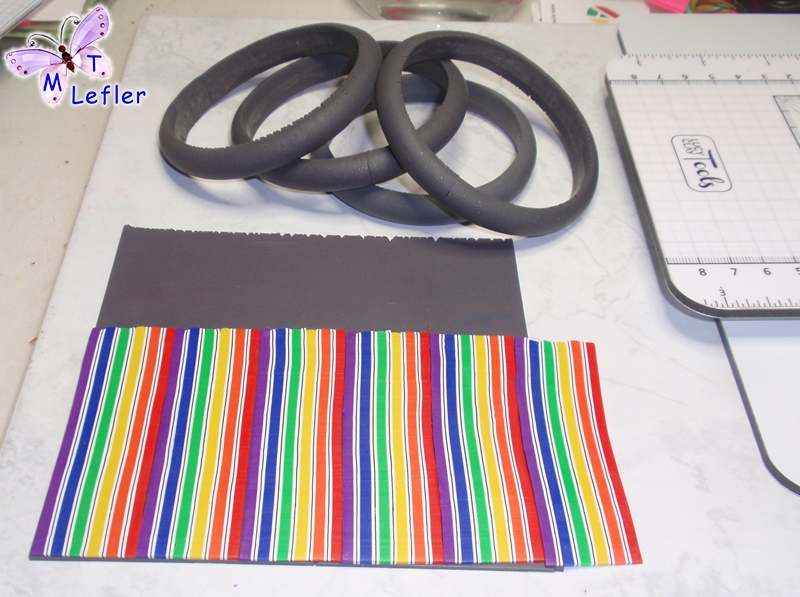
You need to prepare ahead the molds for the bracelet, out of a clay color of your choice, and that will be the color of the sheet that you will place under the rainbow. In order to obtain a smooth sheet you need to use a clay conditioning machine.
Now you will have to cut skinny slices out of the smooth sheet of rainbow clay just enough to be placed on the bracelets molds. Remove the extra edges, place them on a tray and bake them 15 to 20 minutes at the temperature recommended for the clay you are using.
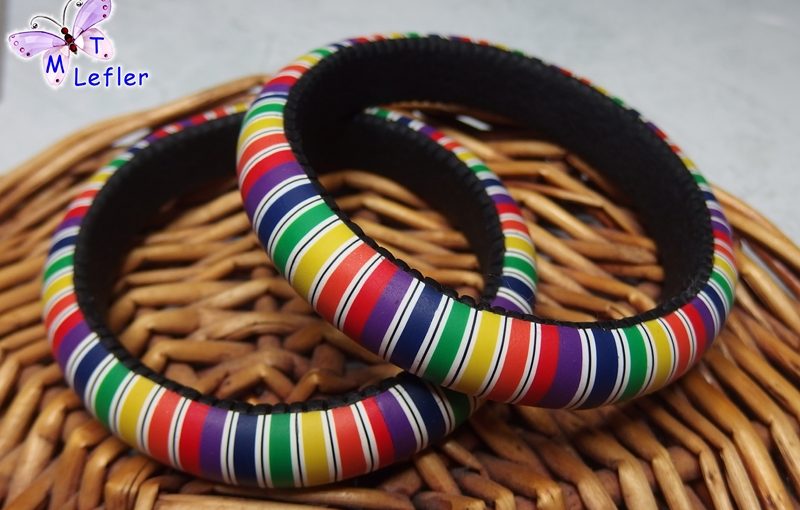
Step 3

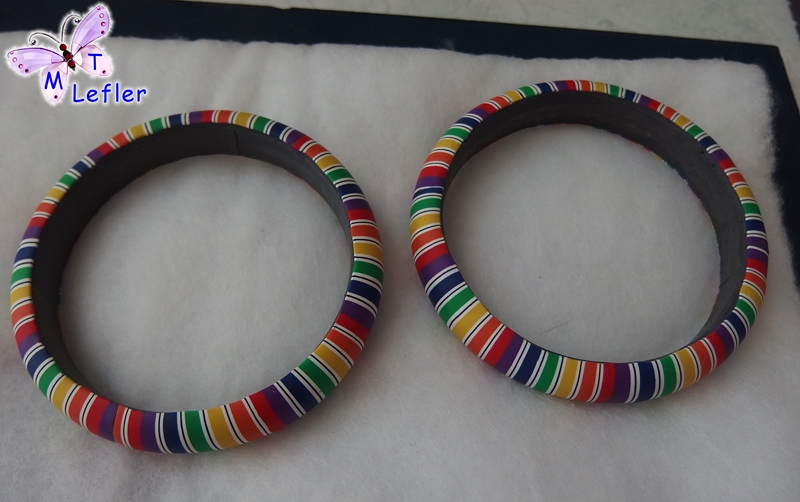
All that is left now is to place the lining of your choice on the interior and that’s it. Enjoy your new bracelets!
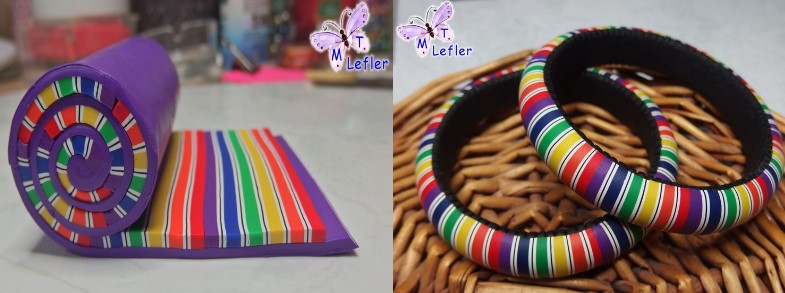
The cane
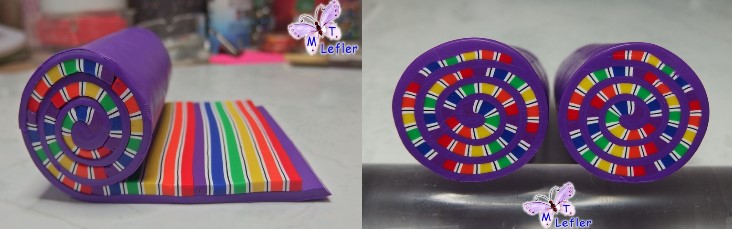
Now, I will teach you how to create a cane from the leftovers. And it’s simpler than you think, all you have to do is twist. Before you start rolling the colorful sheets make sure you leave some space between the layer formed from the clay colors and the purple one underneath. Good. Now that know how to make a beautiful rainbow cane and I’m relay curious how will you use. Feel free to comment and add your creations 🙂
So what do you guys think about this polymer clay rainbow cane bracelet tutorial? Hopefully you will try it pretty soon:) I found this tutorial here.
Fell free to check out some other cool ideas and tutorials on my Pinterest page.
######