Cute polymer clay teddy bear – DIY step by step tutorial
As promised, here is a tutorial on how to make a cute polymer clay teddy bear. It may not be the ‘correct way’ but it’s just the way I’ve decided to do it. Feel free to adapt and change it as you go along so your bear has it’s very own personality. So let’s get started.
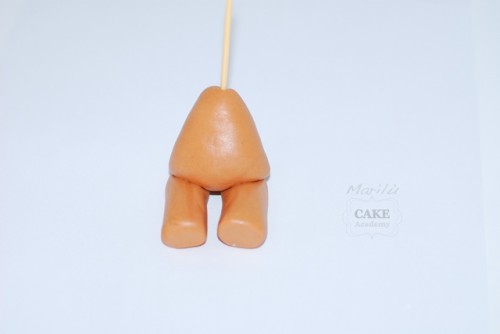
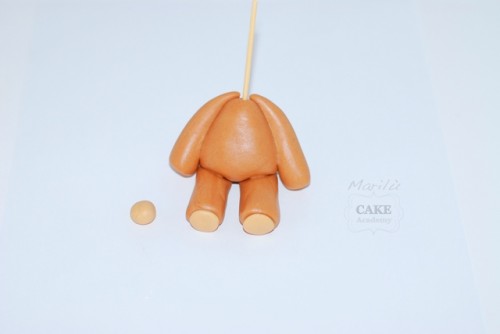
To create the polymer clay bear you should start with the bust. Model a small cone from brown clay, truncated at the top. The legs will consist of elongated cones. Adhere the various parts of the body. Place a toothpick in the upper torso. This step is necessary to support the bust and to secure the head. Derived other two cones to achieve. Let them join the bust. Make four small balls of beige polymer clay and mash them with your fingers until you get four diskettes. After that you can add them to the legs of your fimo teddy bear.


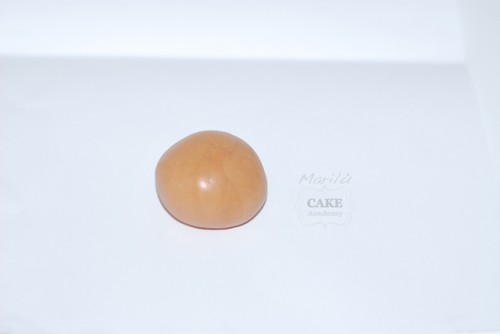
To achieve the bear little head, modeled a big scoop of brown sugar paste. The ears will be formed by two small brown dough balls. Mash lightly with the bone tool to get two small notches in the ears. Apply a beige sugar dough disk egg-shaped to create the nose.

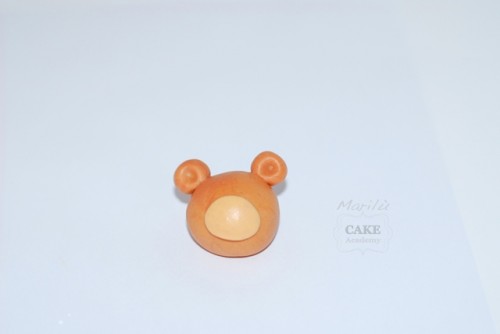
Add the nose, which will be formed by a triangular-shaped ball. Use black or dark brown fimo . Terminate the nose by adding eyes and black eyebrows.


photo source: cake.corriere.it
Don’t forget to follow my Pinterest page to get new ideas and updates on free fimo diy tutorials.
######