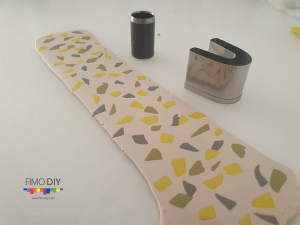
Polymer clay fairy house tutorial
I don’t know anyone who doesn’t have loved childhood stories. This polymer clay fairy house tutorial is for the child in our soul and his memories.
If your baby sleep with stories, this should definitively be a project for both.
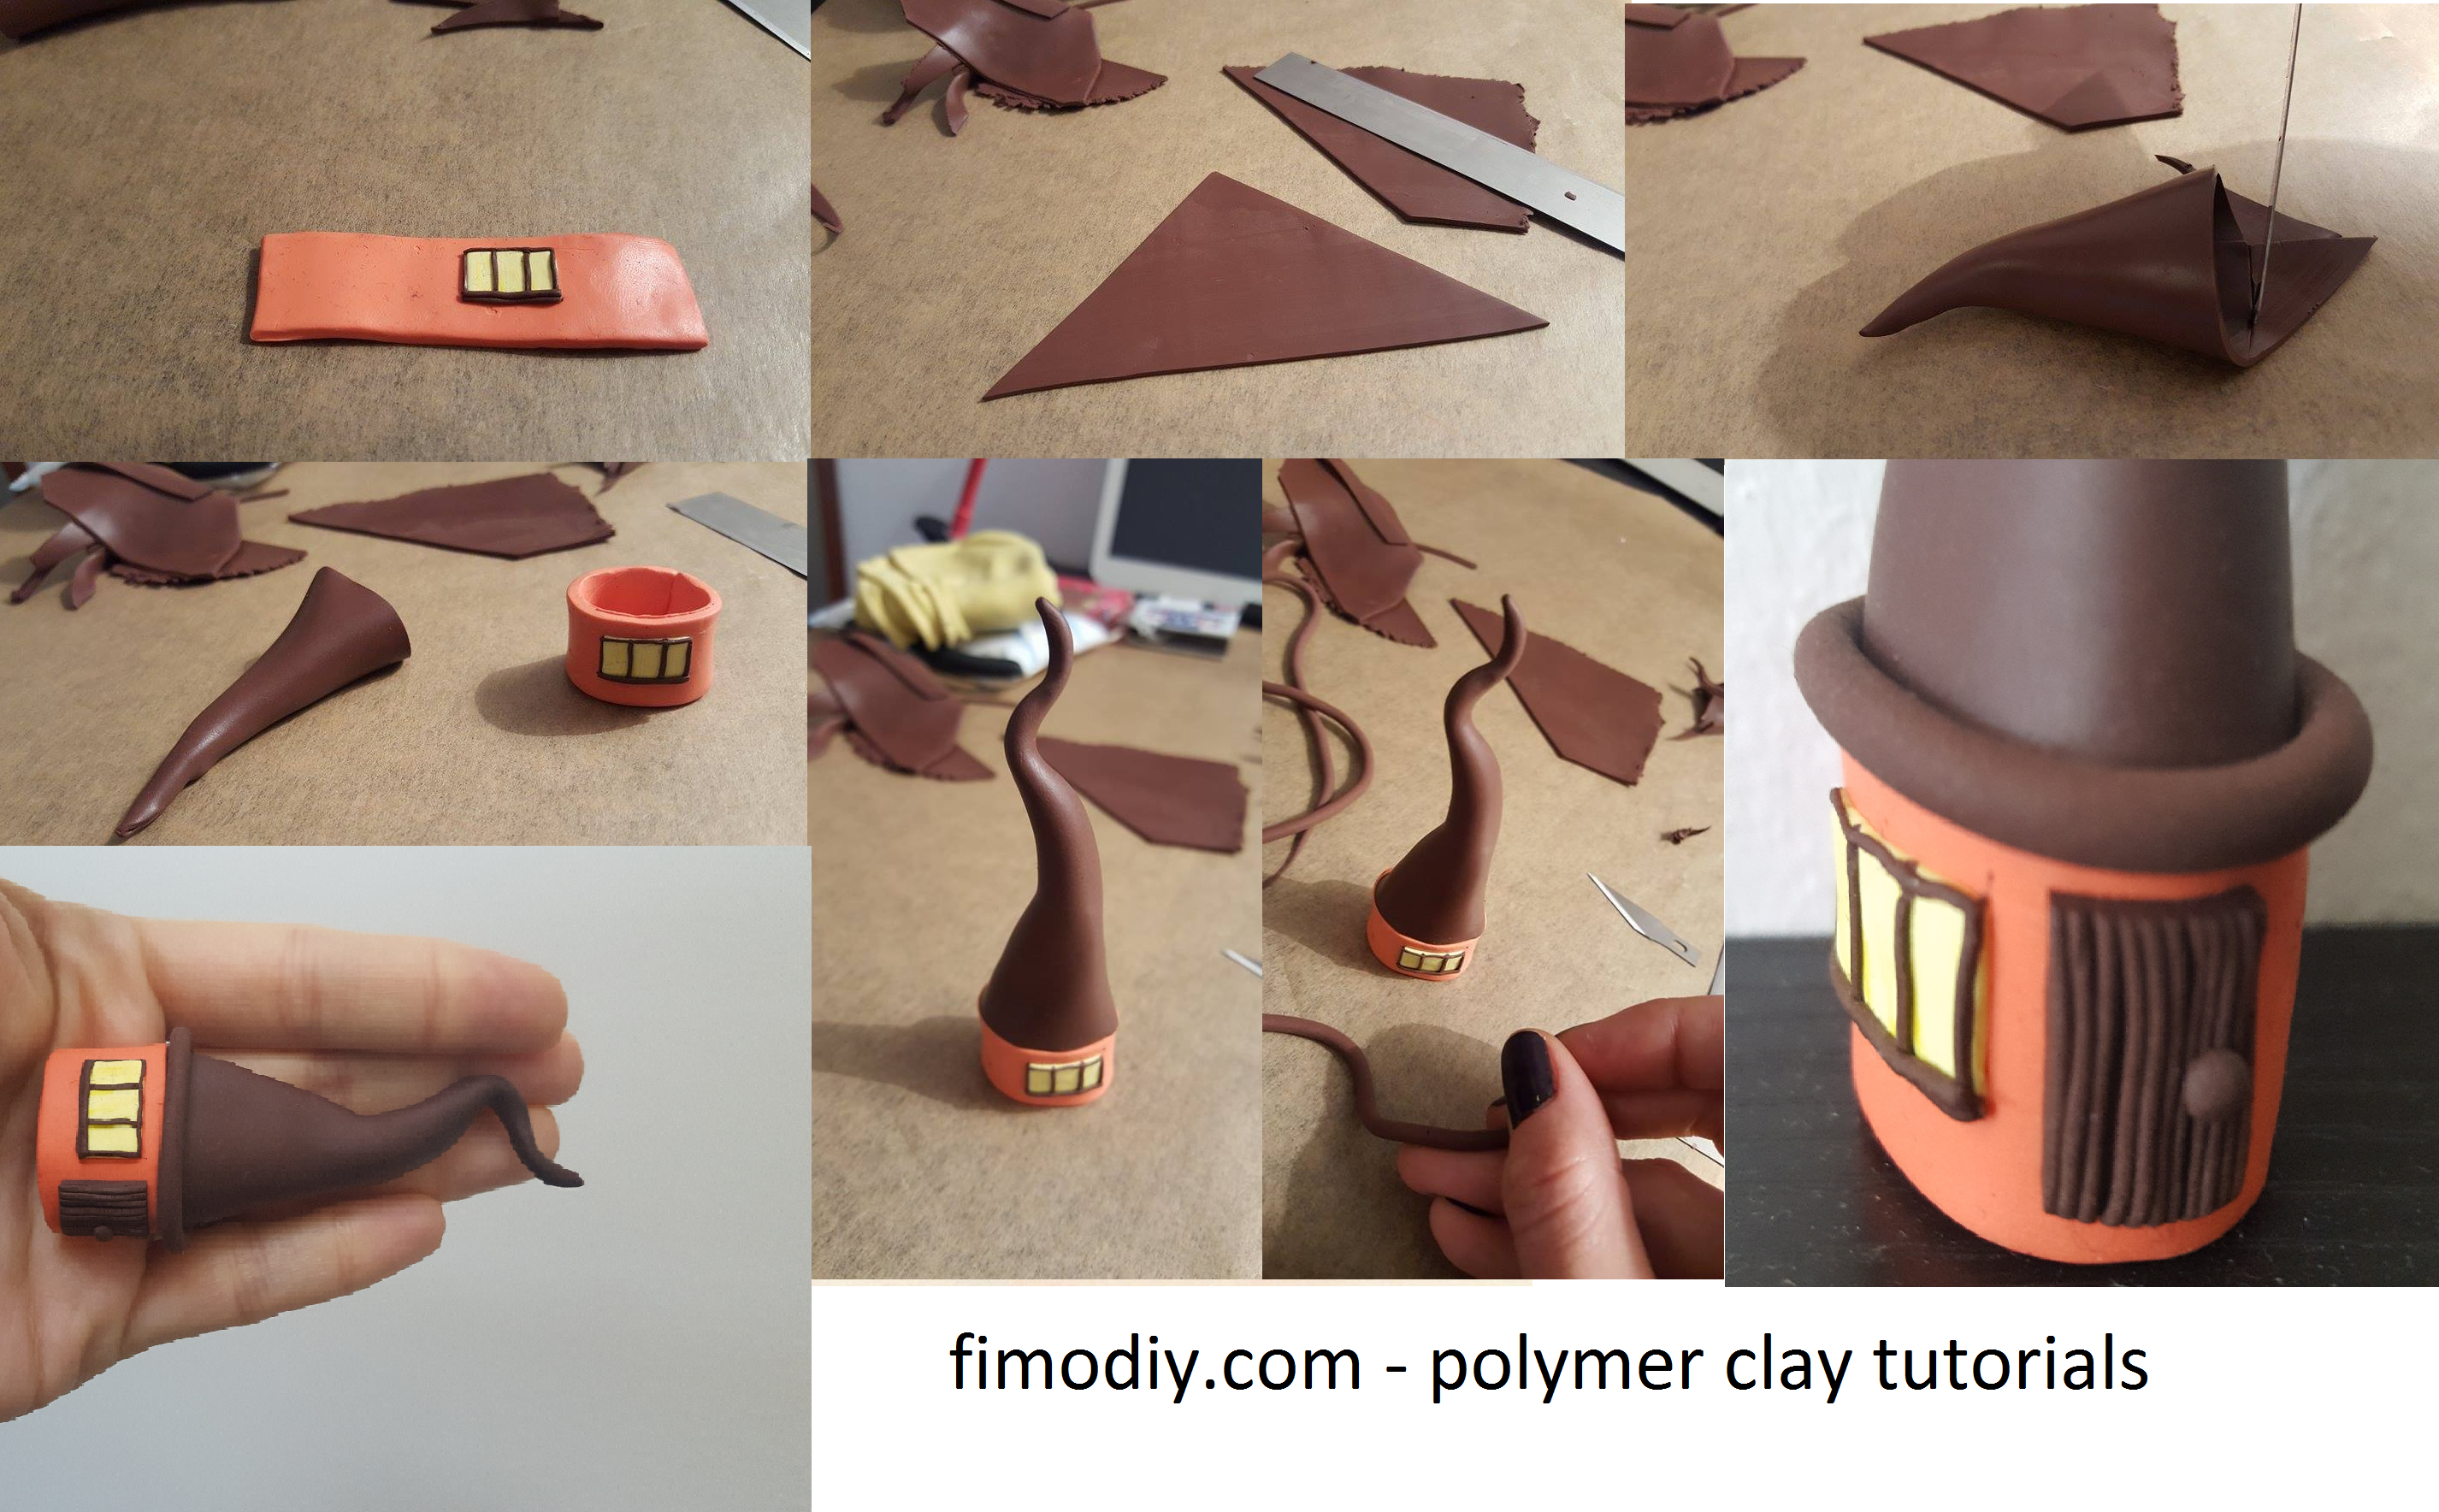
For making a fairy clay house you will need orange, yellow and brown clay and a cutter.
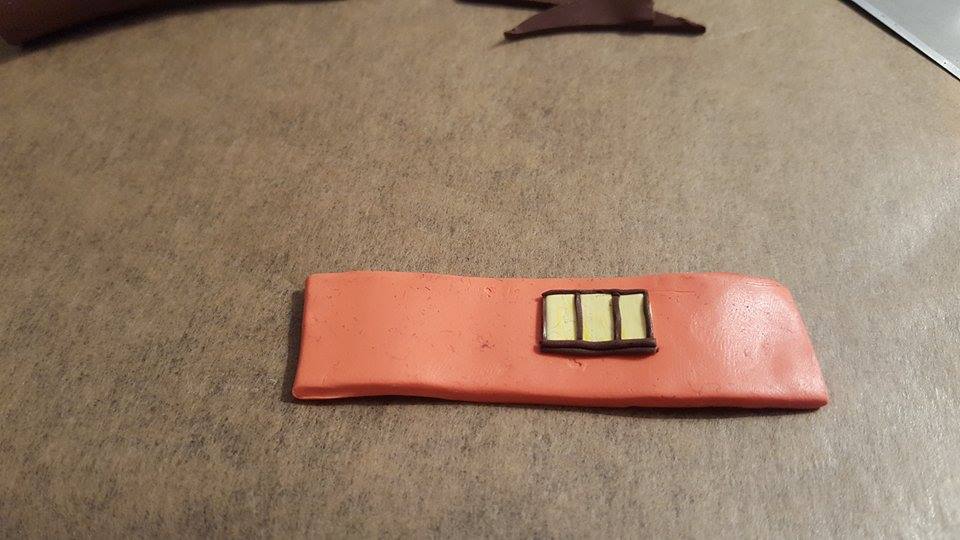
Make a thin strip from orange cay and cut a rectangle out of it.
Then make a much smaller rectangle from yellow clay. Split it by three and with tiny brown clay threads surround them. This will be the window of the fairy house.
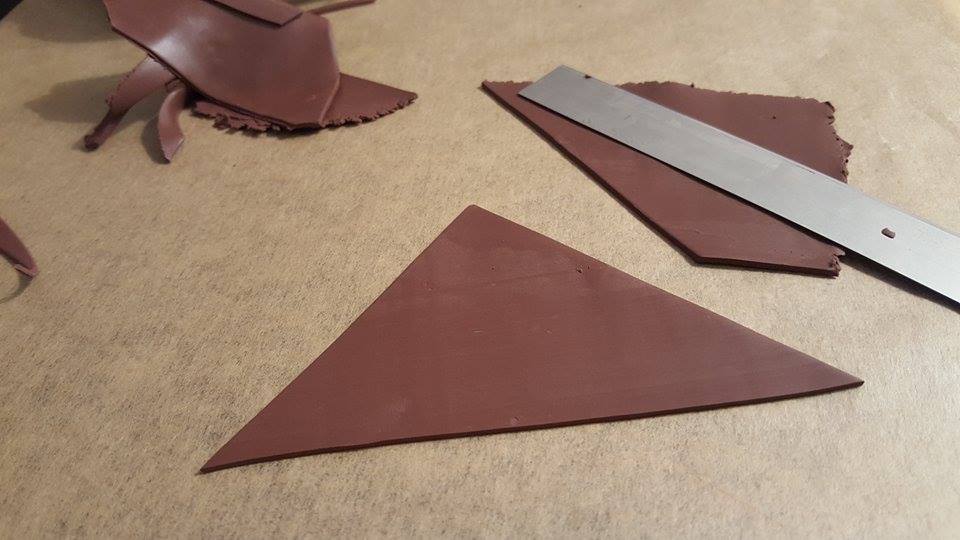
Make a thin strip with brown cay. Cut a triangle out of it. The higher you want to go the roof, the smaller should be the base. I wasn’t a fun of geometry, but now it seems so easy!
Then cut out the extra clay, the base should be a circle whit the same circumference as the house. You can measure the length of the orange piece with a thread and cut small pieces of your cone
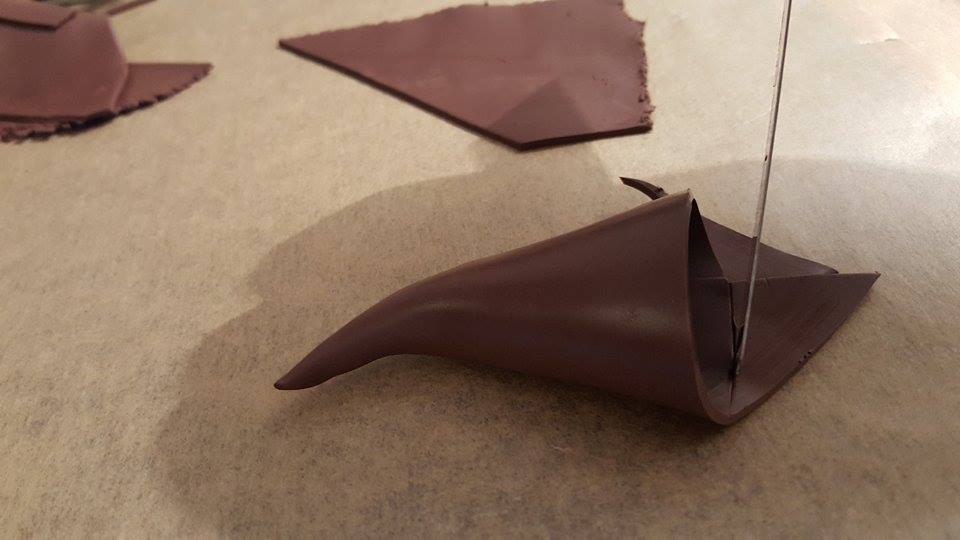
For the next stem you have to unite the widths of the orange rectangle.
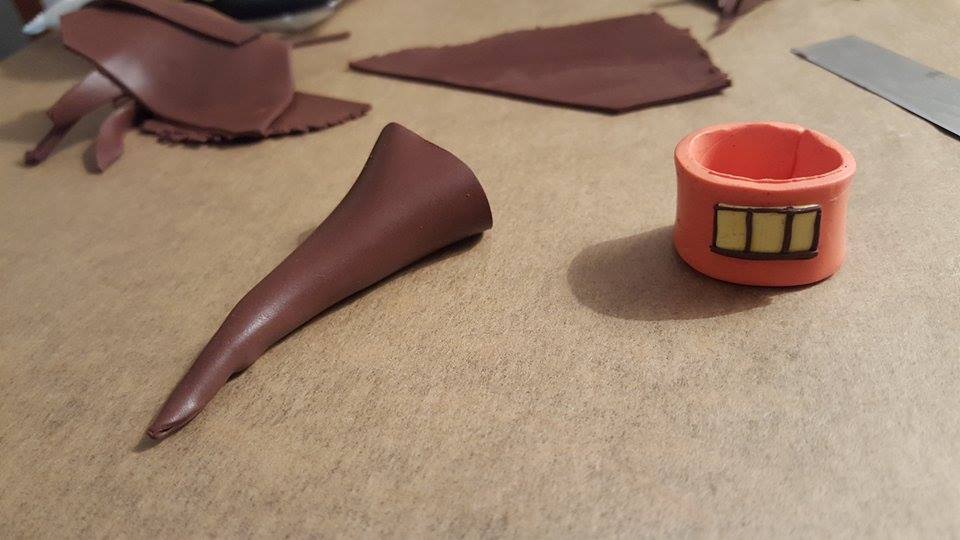
Yep, it started to look like a house!
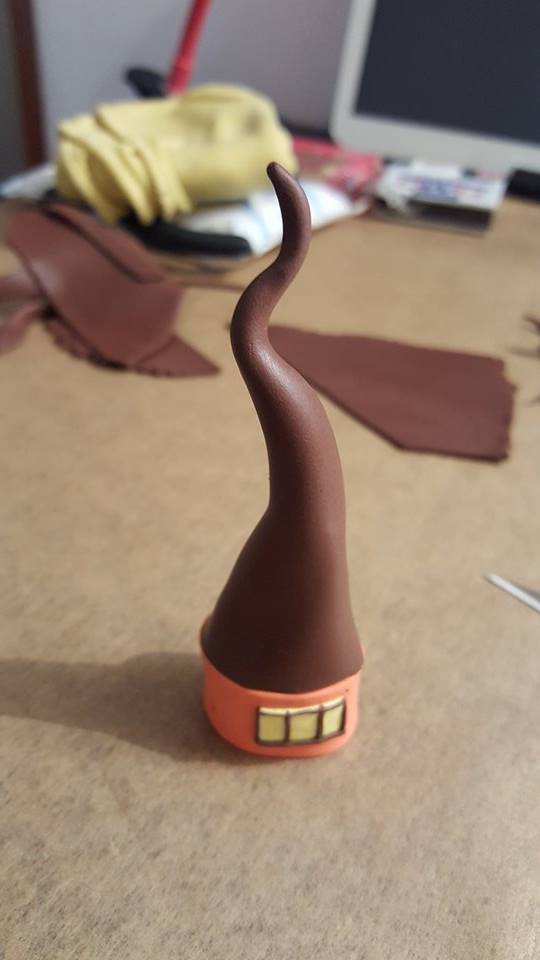
It’s time for the eaves. I used a clay extruder with the circle opening to make a brown thread and I covered the line that combines the two pieces of the fairy house: the walls and the roof.
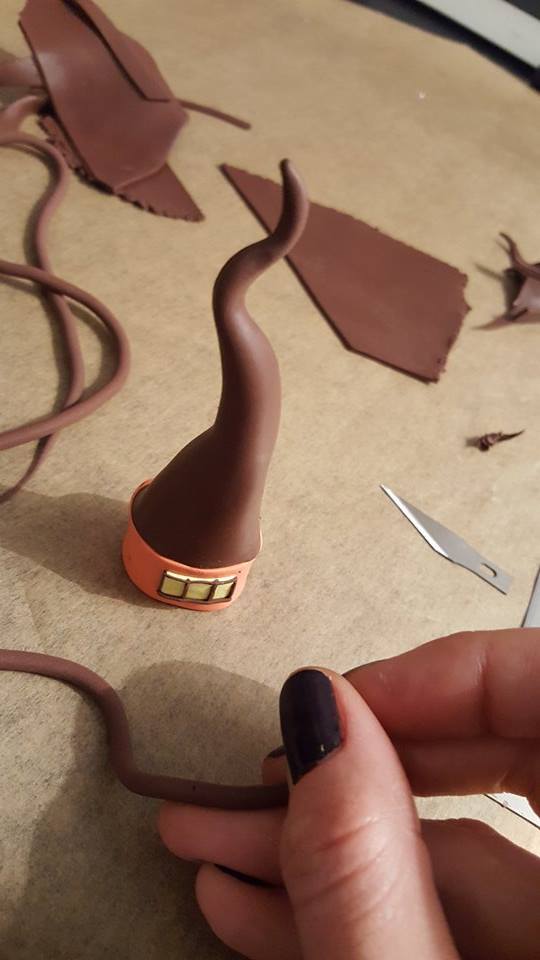
Fore more credibility you can also add the door.
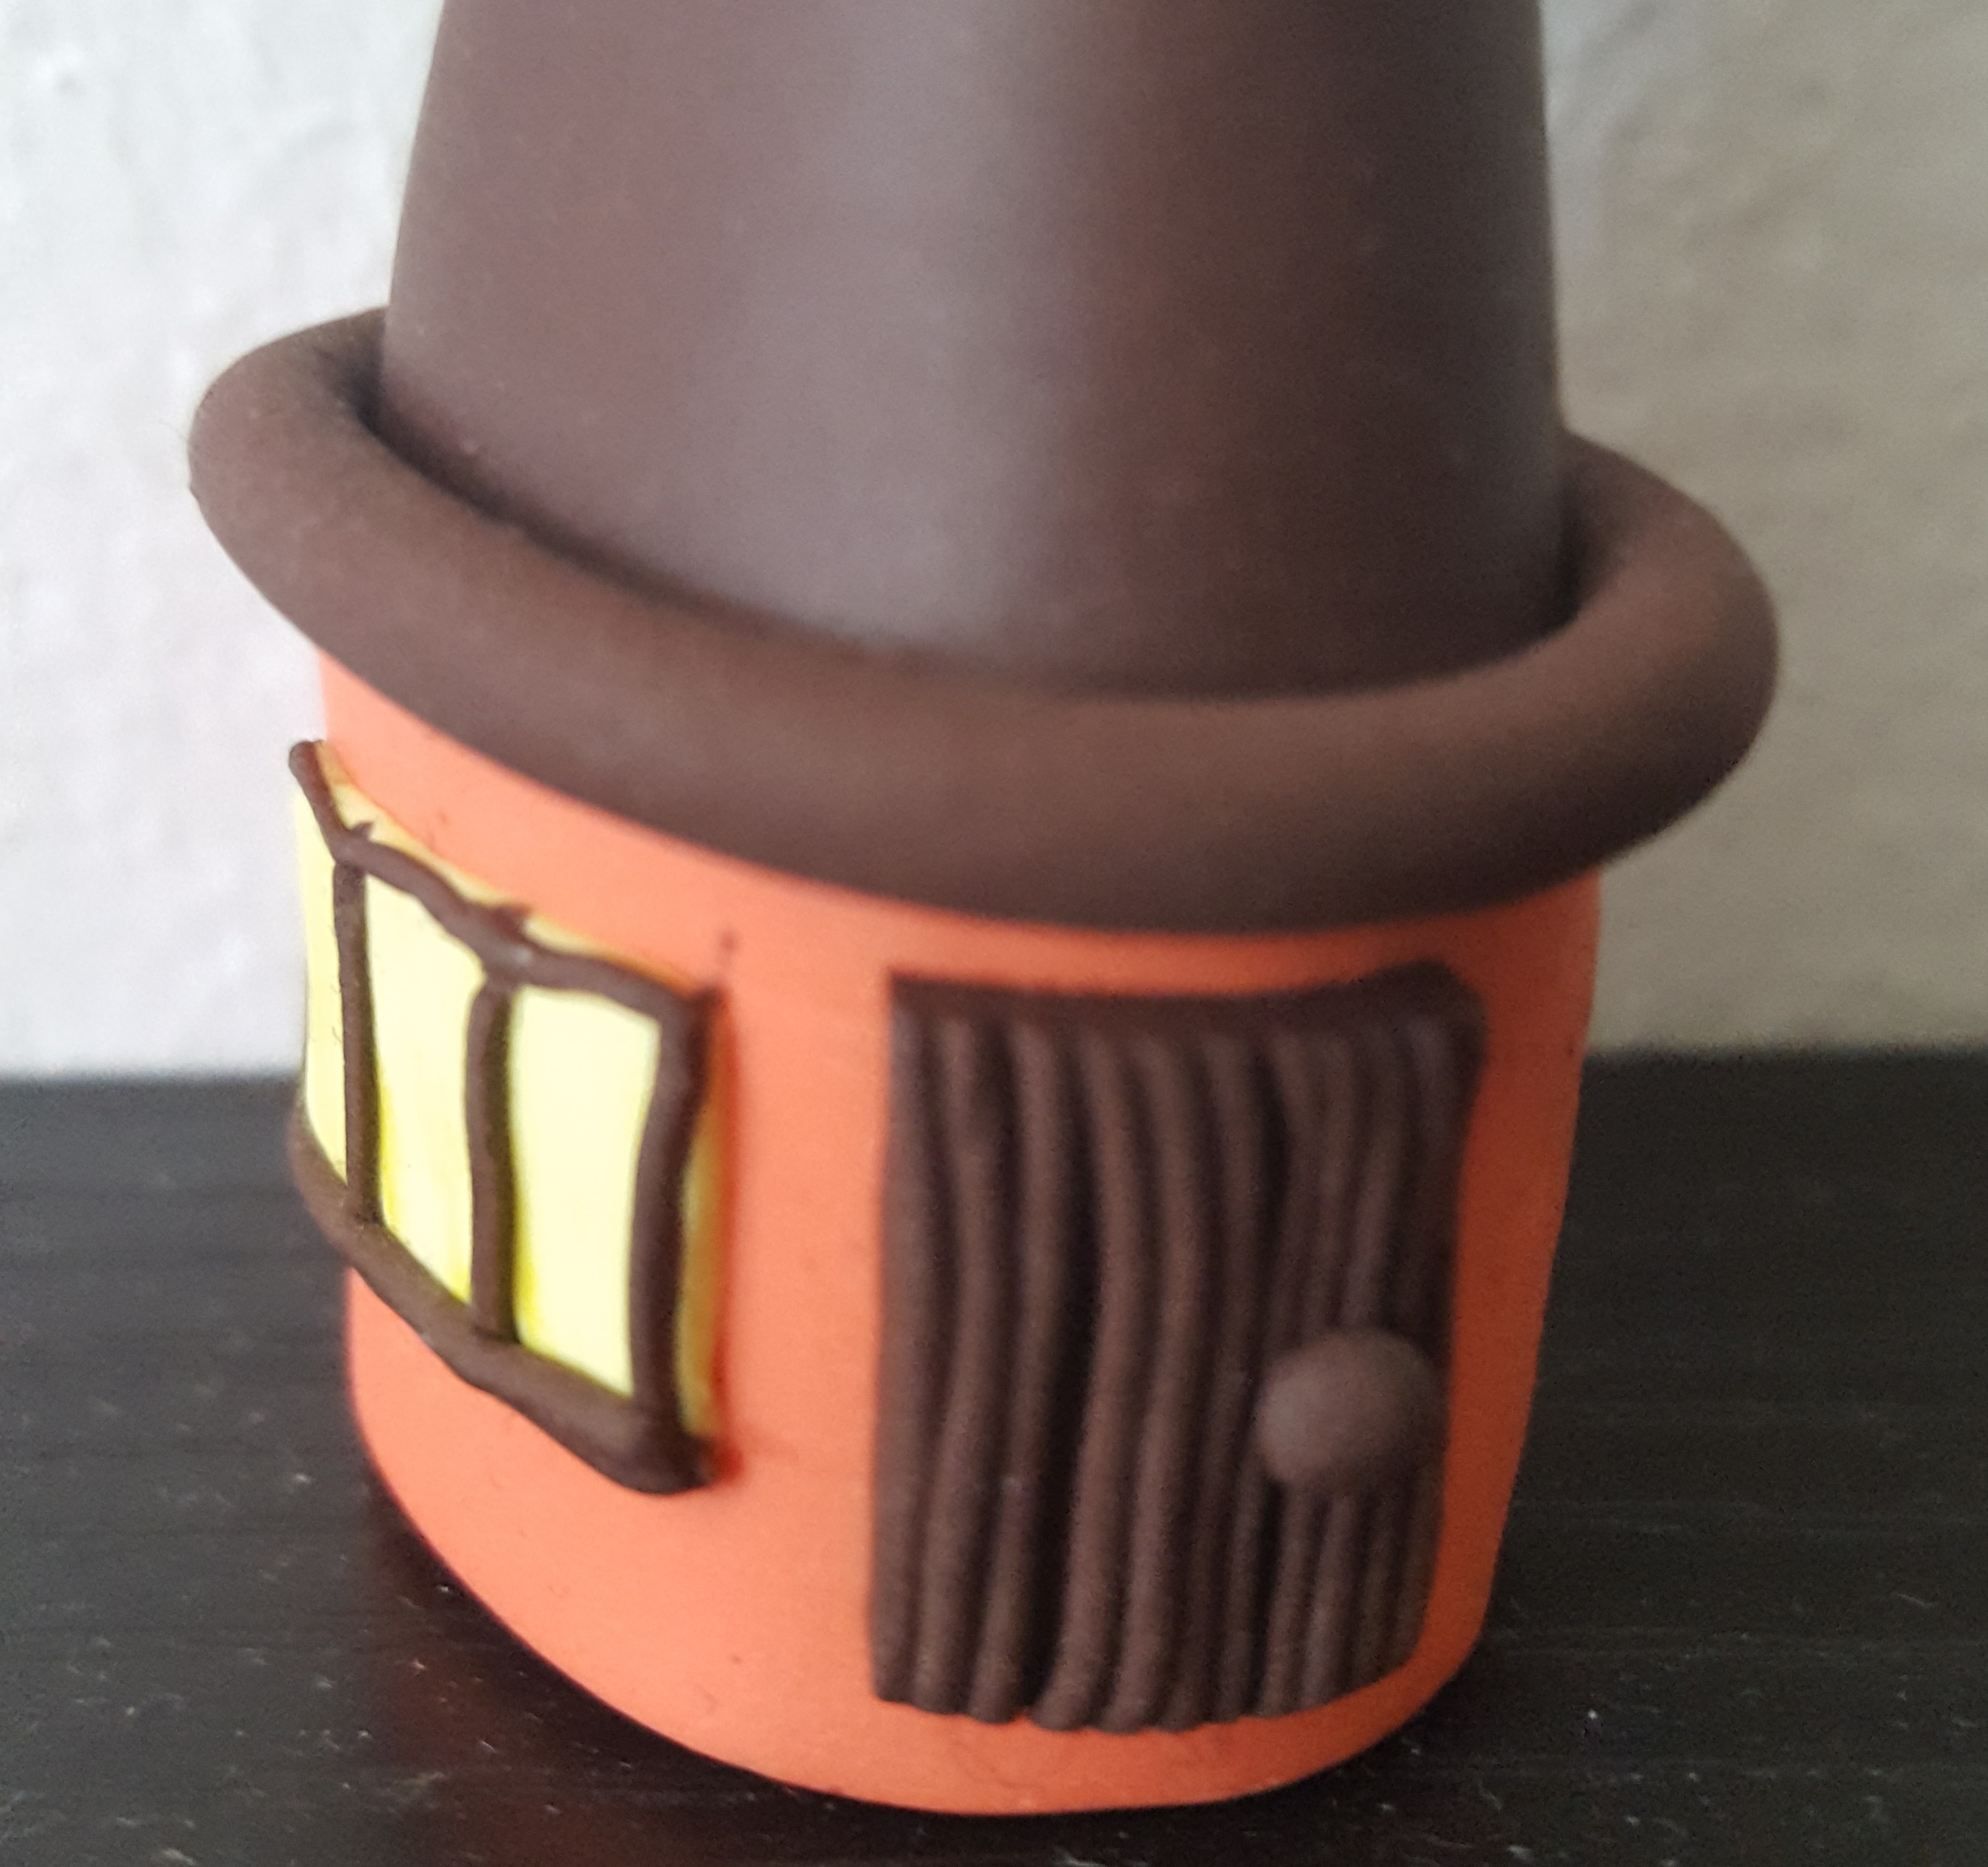
This is my polymer clay fairy house. I hope you enjoyed this tutorial! See you later for more free tutorials!

You may consider using this photo to share on Pinterest.
See you later for more tutorials. You may consider following to follow my Pinterest page to get updates on free fimo diy tutorials..
######