Polymer clay sea star tutorial
This polymer clay sea stars tutorial is a simple one. It is a good choice for beginners.
To go through this polymer clay sea star tutorial you will need one color of clay, a knife and a toothpick.
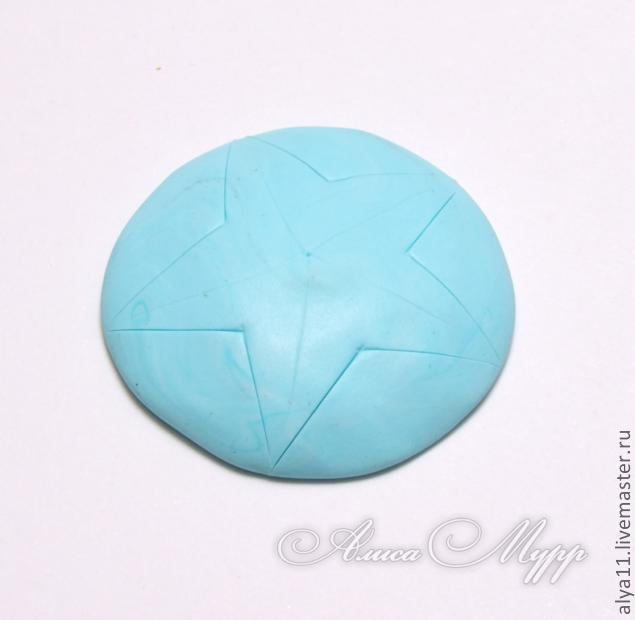
Take a piece of clay and make a bead out of it and press it leaving the edges a bit thinner. After pressing the bead, cut a star. If you don’t have a star cutter it’s better to draw a star on paper and use it to cut a perfect star.
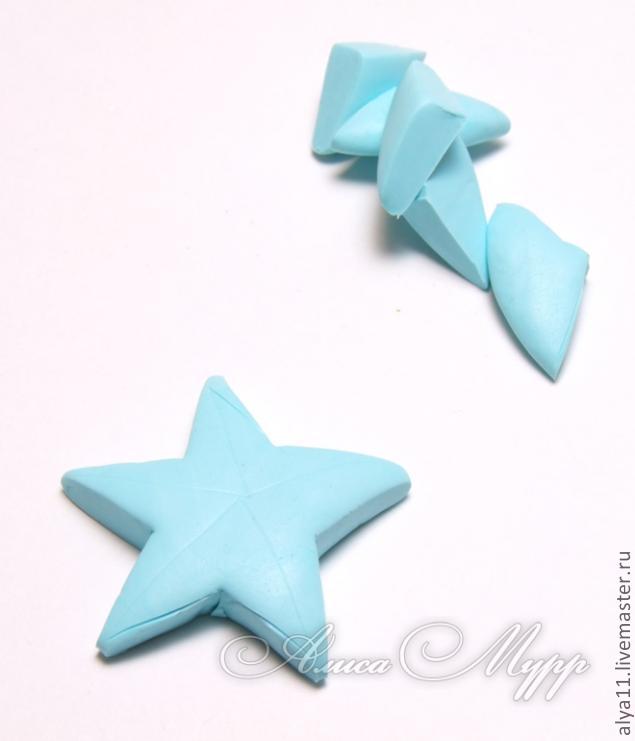
Trim the edges using your hands. Our project start looking like a polymer clay sea star.

If you expect to make jewelry, not just a souvenir or decor elements, you need a hole for fitting and now it’s the perfect time to make it.
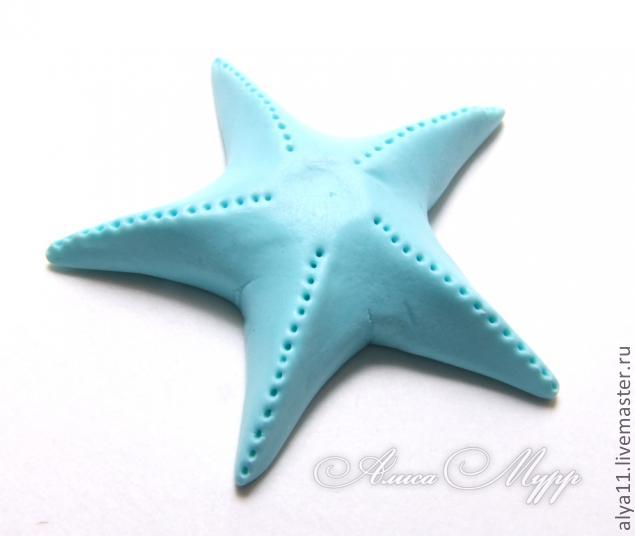
Leaky needle gently ribs along the entire length of the sea star.
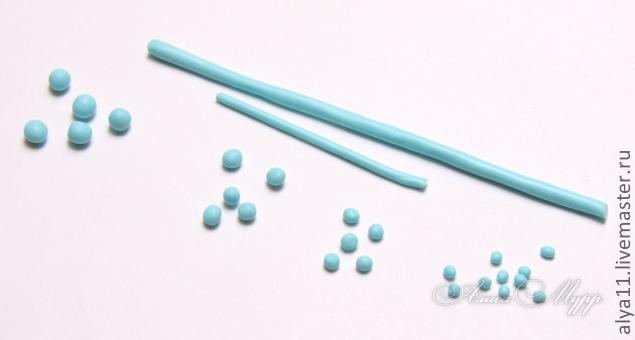
Out of the rest of polymer clay (from cutting the star) make two sausages in different dimensions, cut equal parts from them and make little balls.
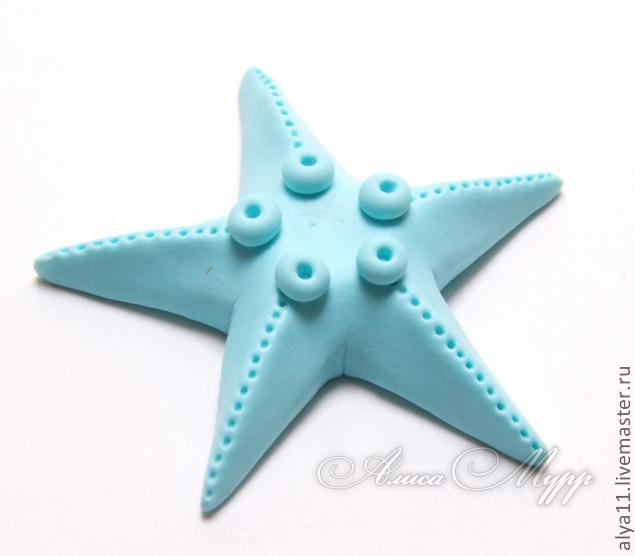
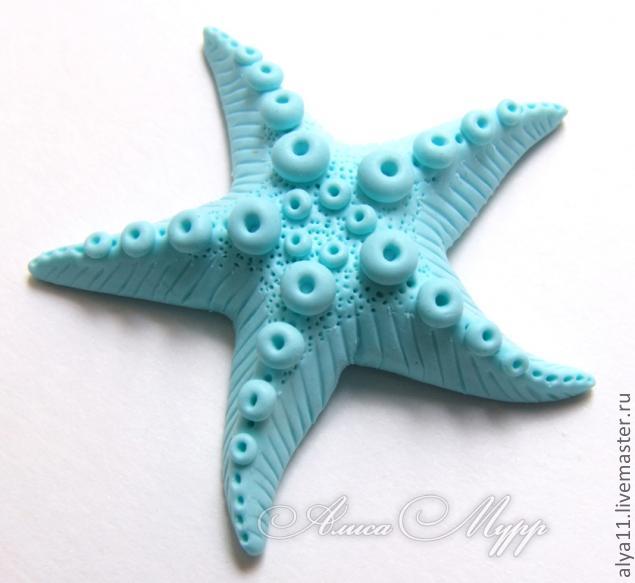
Now it’s time for decorating our polymer clay sea star! put 5 balls in the middle of the star and make a hole in the beads.
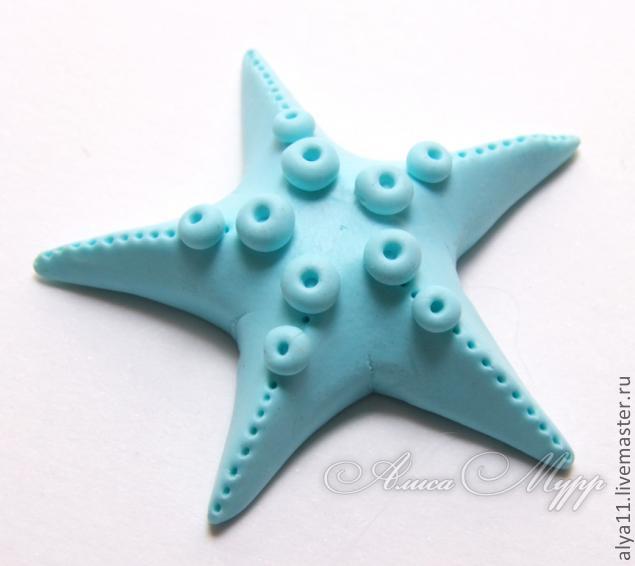
For decorating you can use your imagination, our star looks like this.

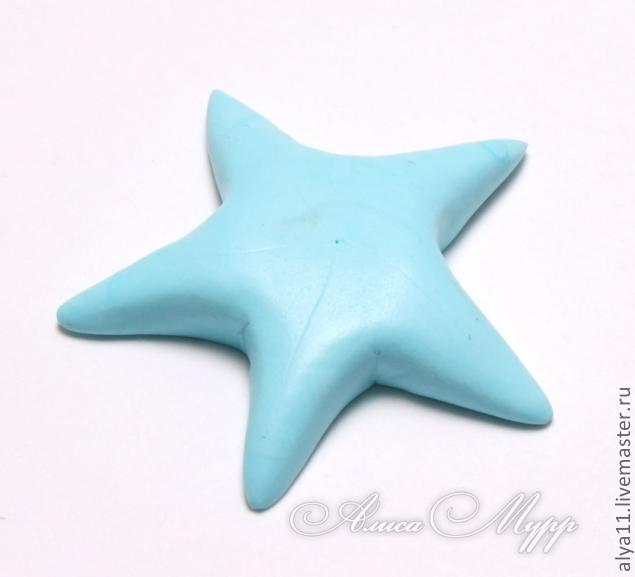
Needle gently scratched star side, making grooves.
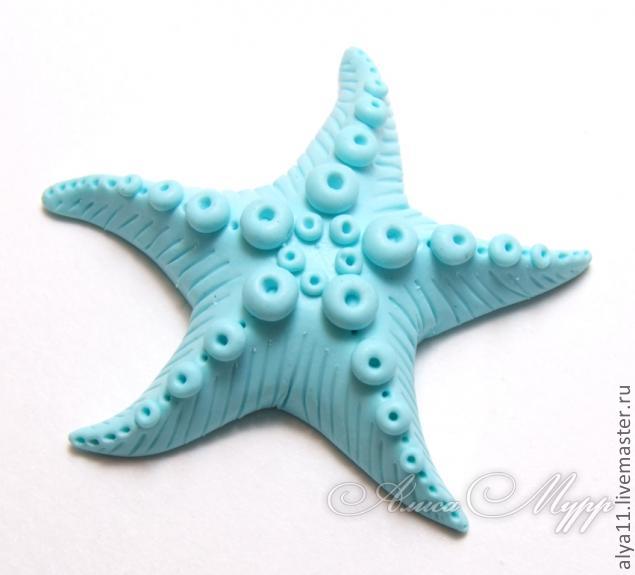
For the last step in this polymer clay sea star tutorial you have to do small needle holes in the empty places (very, very easy, barely touching).
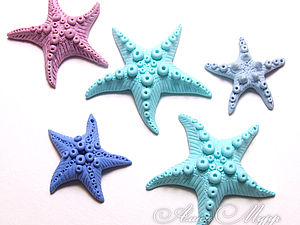
Here are some variation of colors and decor patterns. Thanks to livemaster.ru
To share on Pinterest this polymer clay sea stars tutorial I recommend you to use this photo:

I have a lot of nice things to share! So see you later for more free polymer clay ideas and tutorials!
You may consider following to follow my Pinterest page to get updates on free fimo diy tutorials.
######