Polymer clay snail tutorial
Hello everyone! I prepared for you a polymer clay snail tutorial. It will be a funny project and a way to exercise your molding skills.
Learn how to make your own figurines. This is an easy steps by step tutorial with lots of instructions.
For this polymer clay snail tutorial you will need:
- more colors of polymer clay (withe and black for the eyes
- clay shaper
- cutter
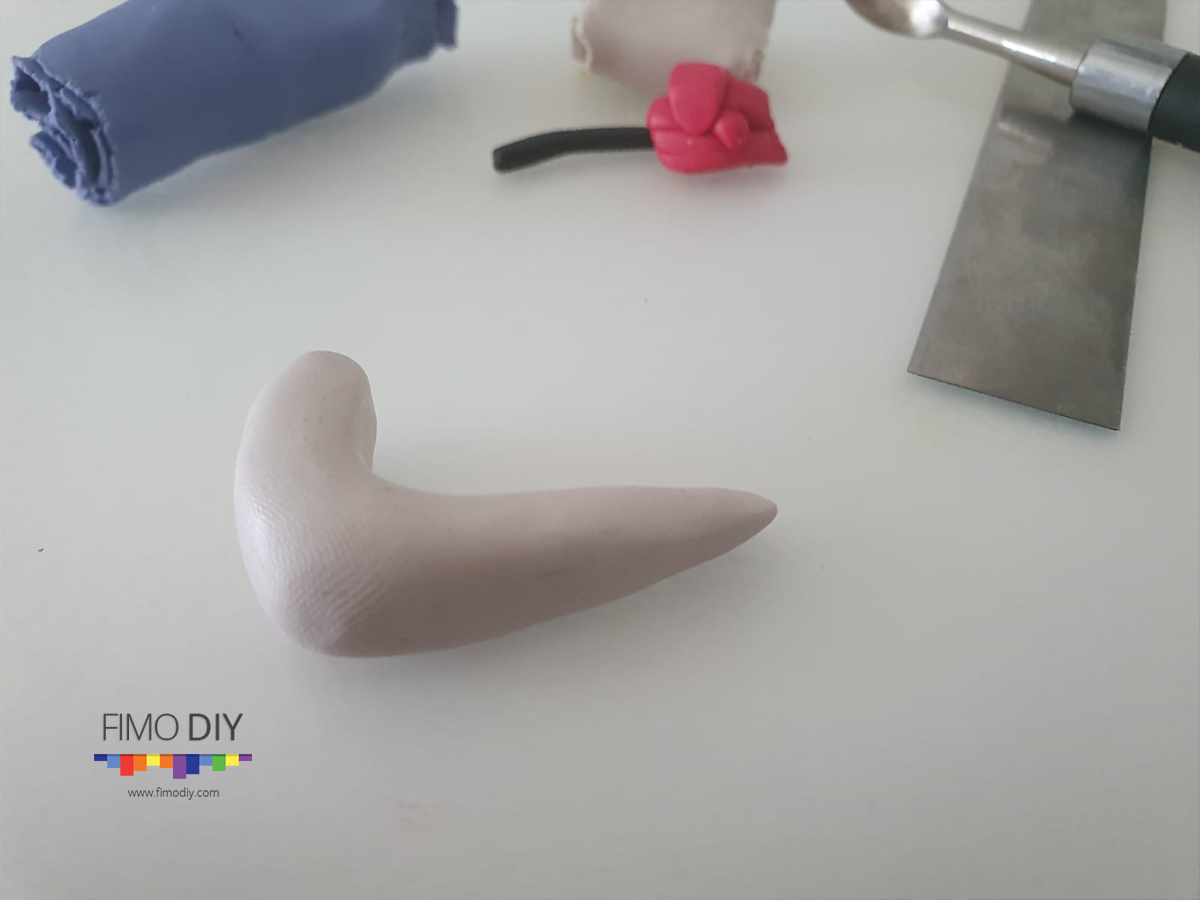
Step 1:
As the first step in creating your polymer clay snail you have to create the body i the shape as shown in the picture bellow. It looks like V letter but with a larger opening.
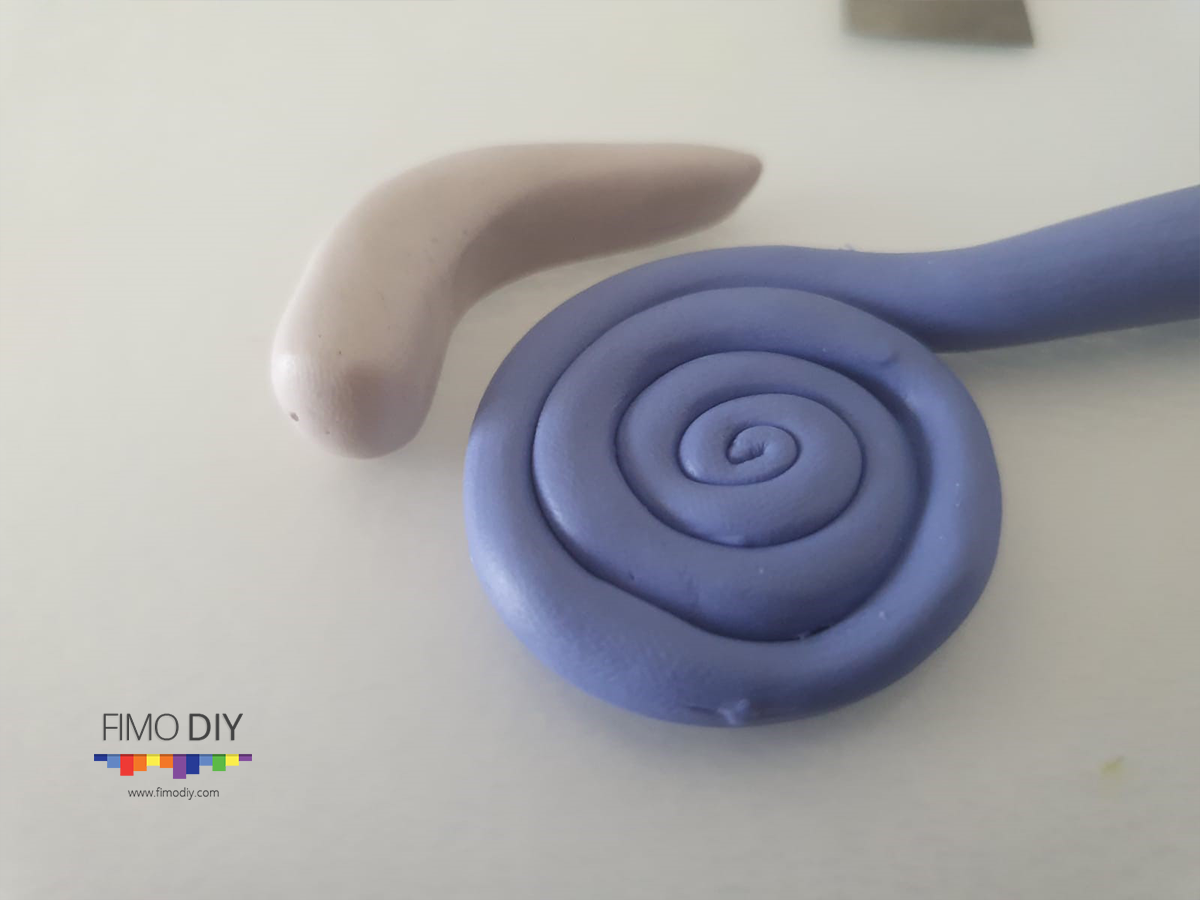
Step 2:
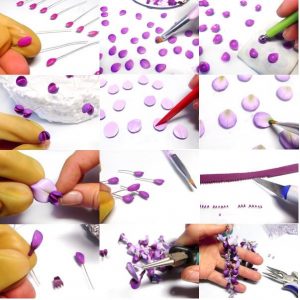
We’ll take the blue color and create a cylinder out of it. Then you will smooth a edge of the cylinder and starting from the lighter edge to round it in the shape of a spiral. Last thing you have to do is to add it to the body.
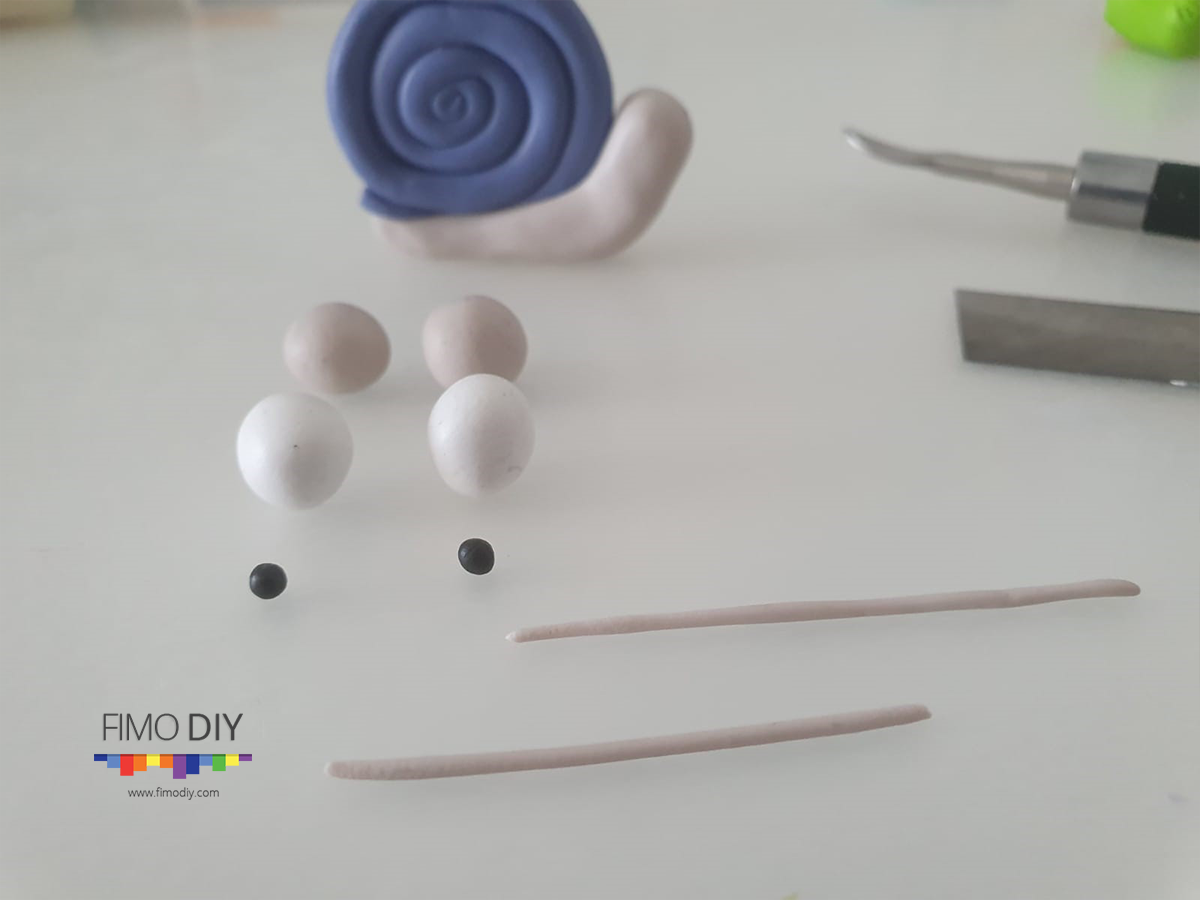
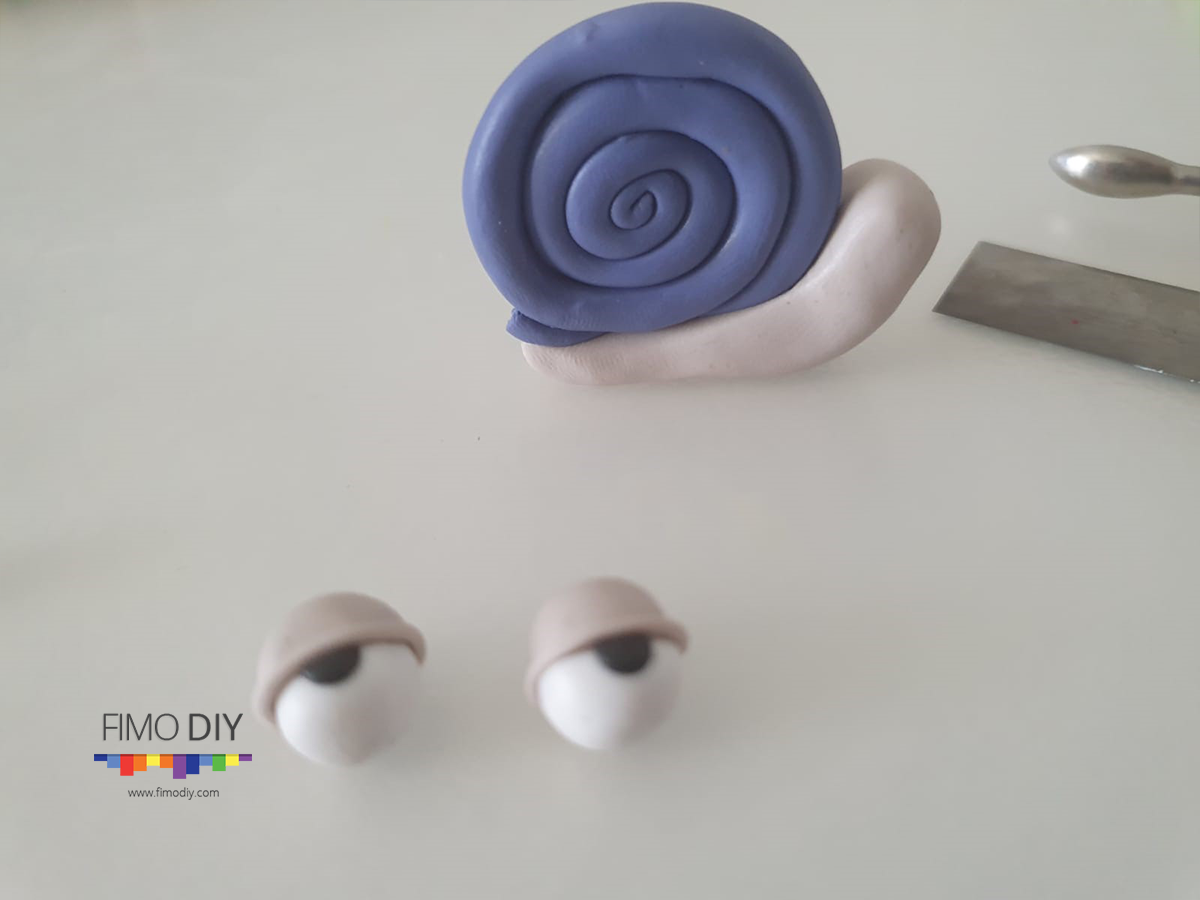
Step 3:
At this stage we will add the eyes. Make 2 larger bolls of white and 2 smaller of black. press the small ones and add them to the center. Make another ball having the same color as the body and the same size as the eyes (white balls). Press it with your fingers till you have a circle and cut in half. This 2 semicircle will be the eyelids. Combine this pieces as shown in the bellow image and then add them to the body
Step 4:
For this step all that’s left is the mouth. Take the tool and make the hole for the mouth. Add in it a small amount of red clay. This will be the thoung.
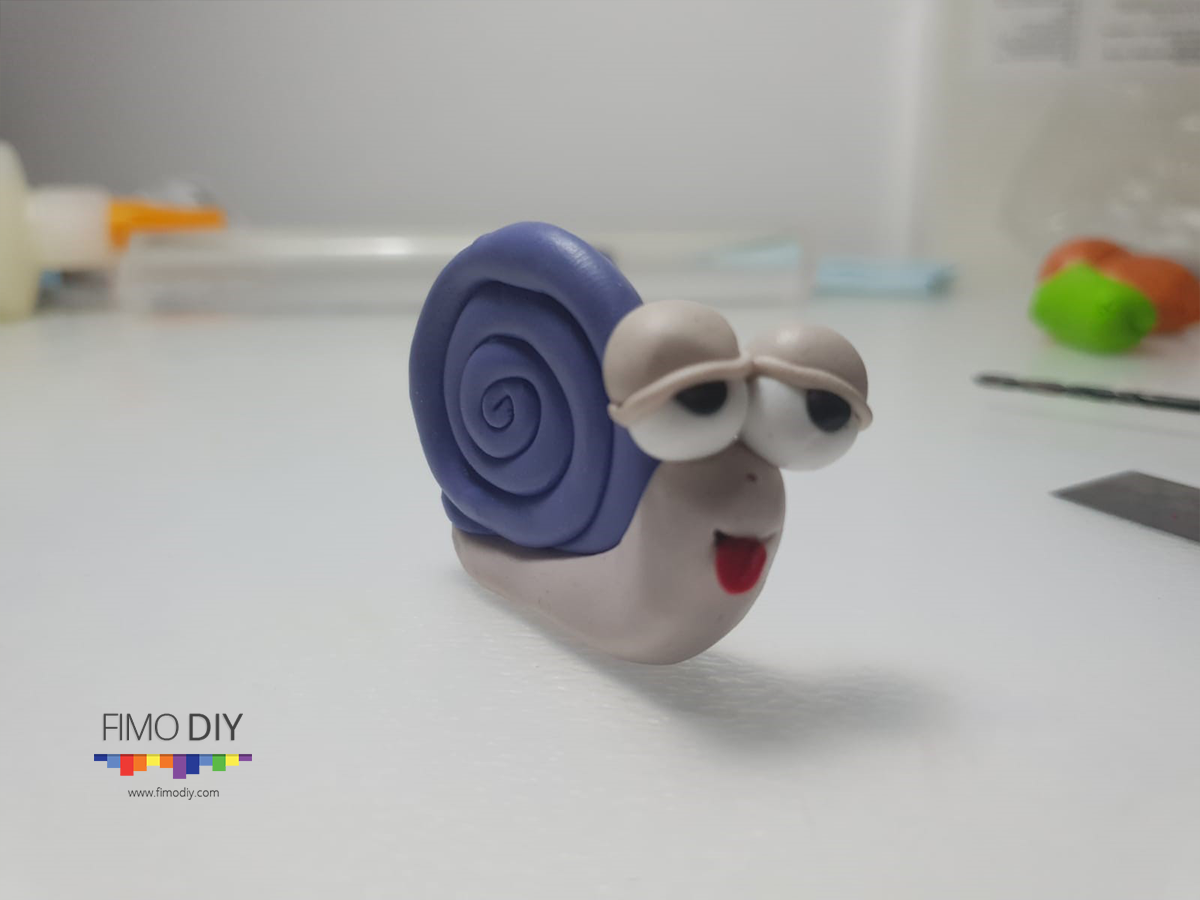
Congrats! By following the steps in this polymer clay snail tutorial you have created your first snail!

What do you think about this polymer clay snail tutorial? Will you give it a try to create your own?
Take a look at our collection of clay tutorials, I bet you ill find many project that suits you.
######