DIY polymer clay calla flower tutorial
This article shows you step by step how to create a fimo calla flower. I create this dyi fimo tutorial, because this beautiful fimo flower you can benefit substantially, whether to apply a pin wedding, a box, to make a fimo brooch, a fimo earrings, a fimo bracelet or even some home decorations such as a spoon or a frame.
As you see, it’s simple yet beautiful, simplicity is the beauty of this flower, which can decorate many of your craft, whatever type they may be.
Don’t forget to follow my Pinterest page to get new ideas and updates on free fimo diy tutorials.
Things you need for making a fimo cala:
-three colors of polymer clay (I use fimo classic): white, yellow, green
and some imagination to make some jewelry or decorations with your polymer clay calla flower!

First you have to roll out the white fimo pasta rather thin: you can use a rolling pin. Spread the pasta thin so you use the cutters to form a heart. If you don’t have a heart cutter you can draw a heart on paper and follow the silhouette of paper to form the petal of calla.


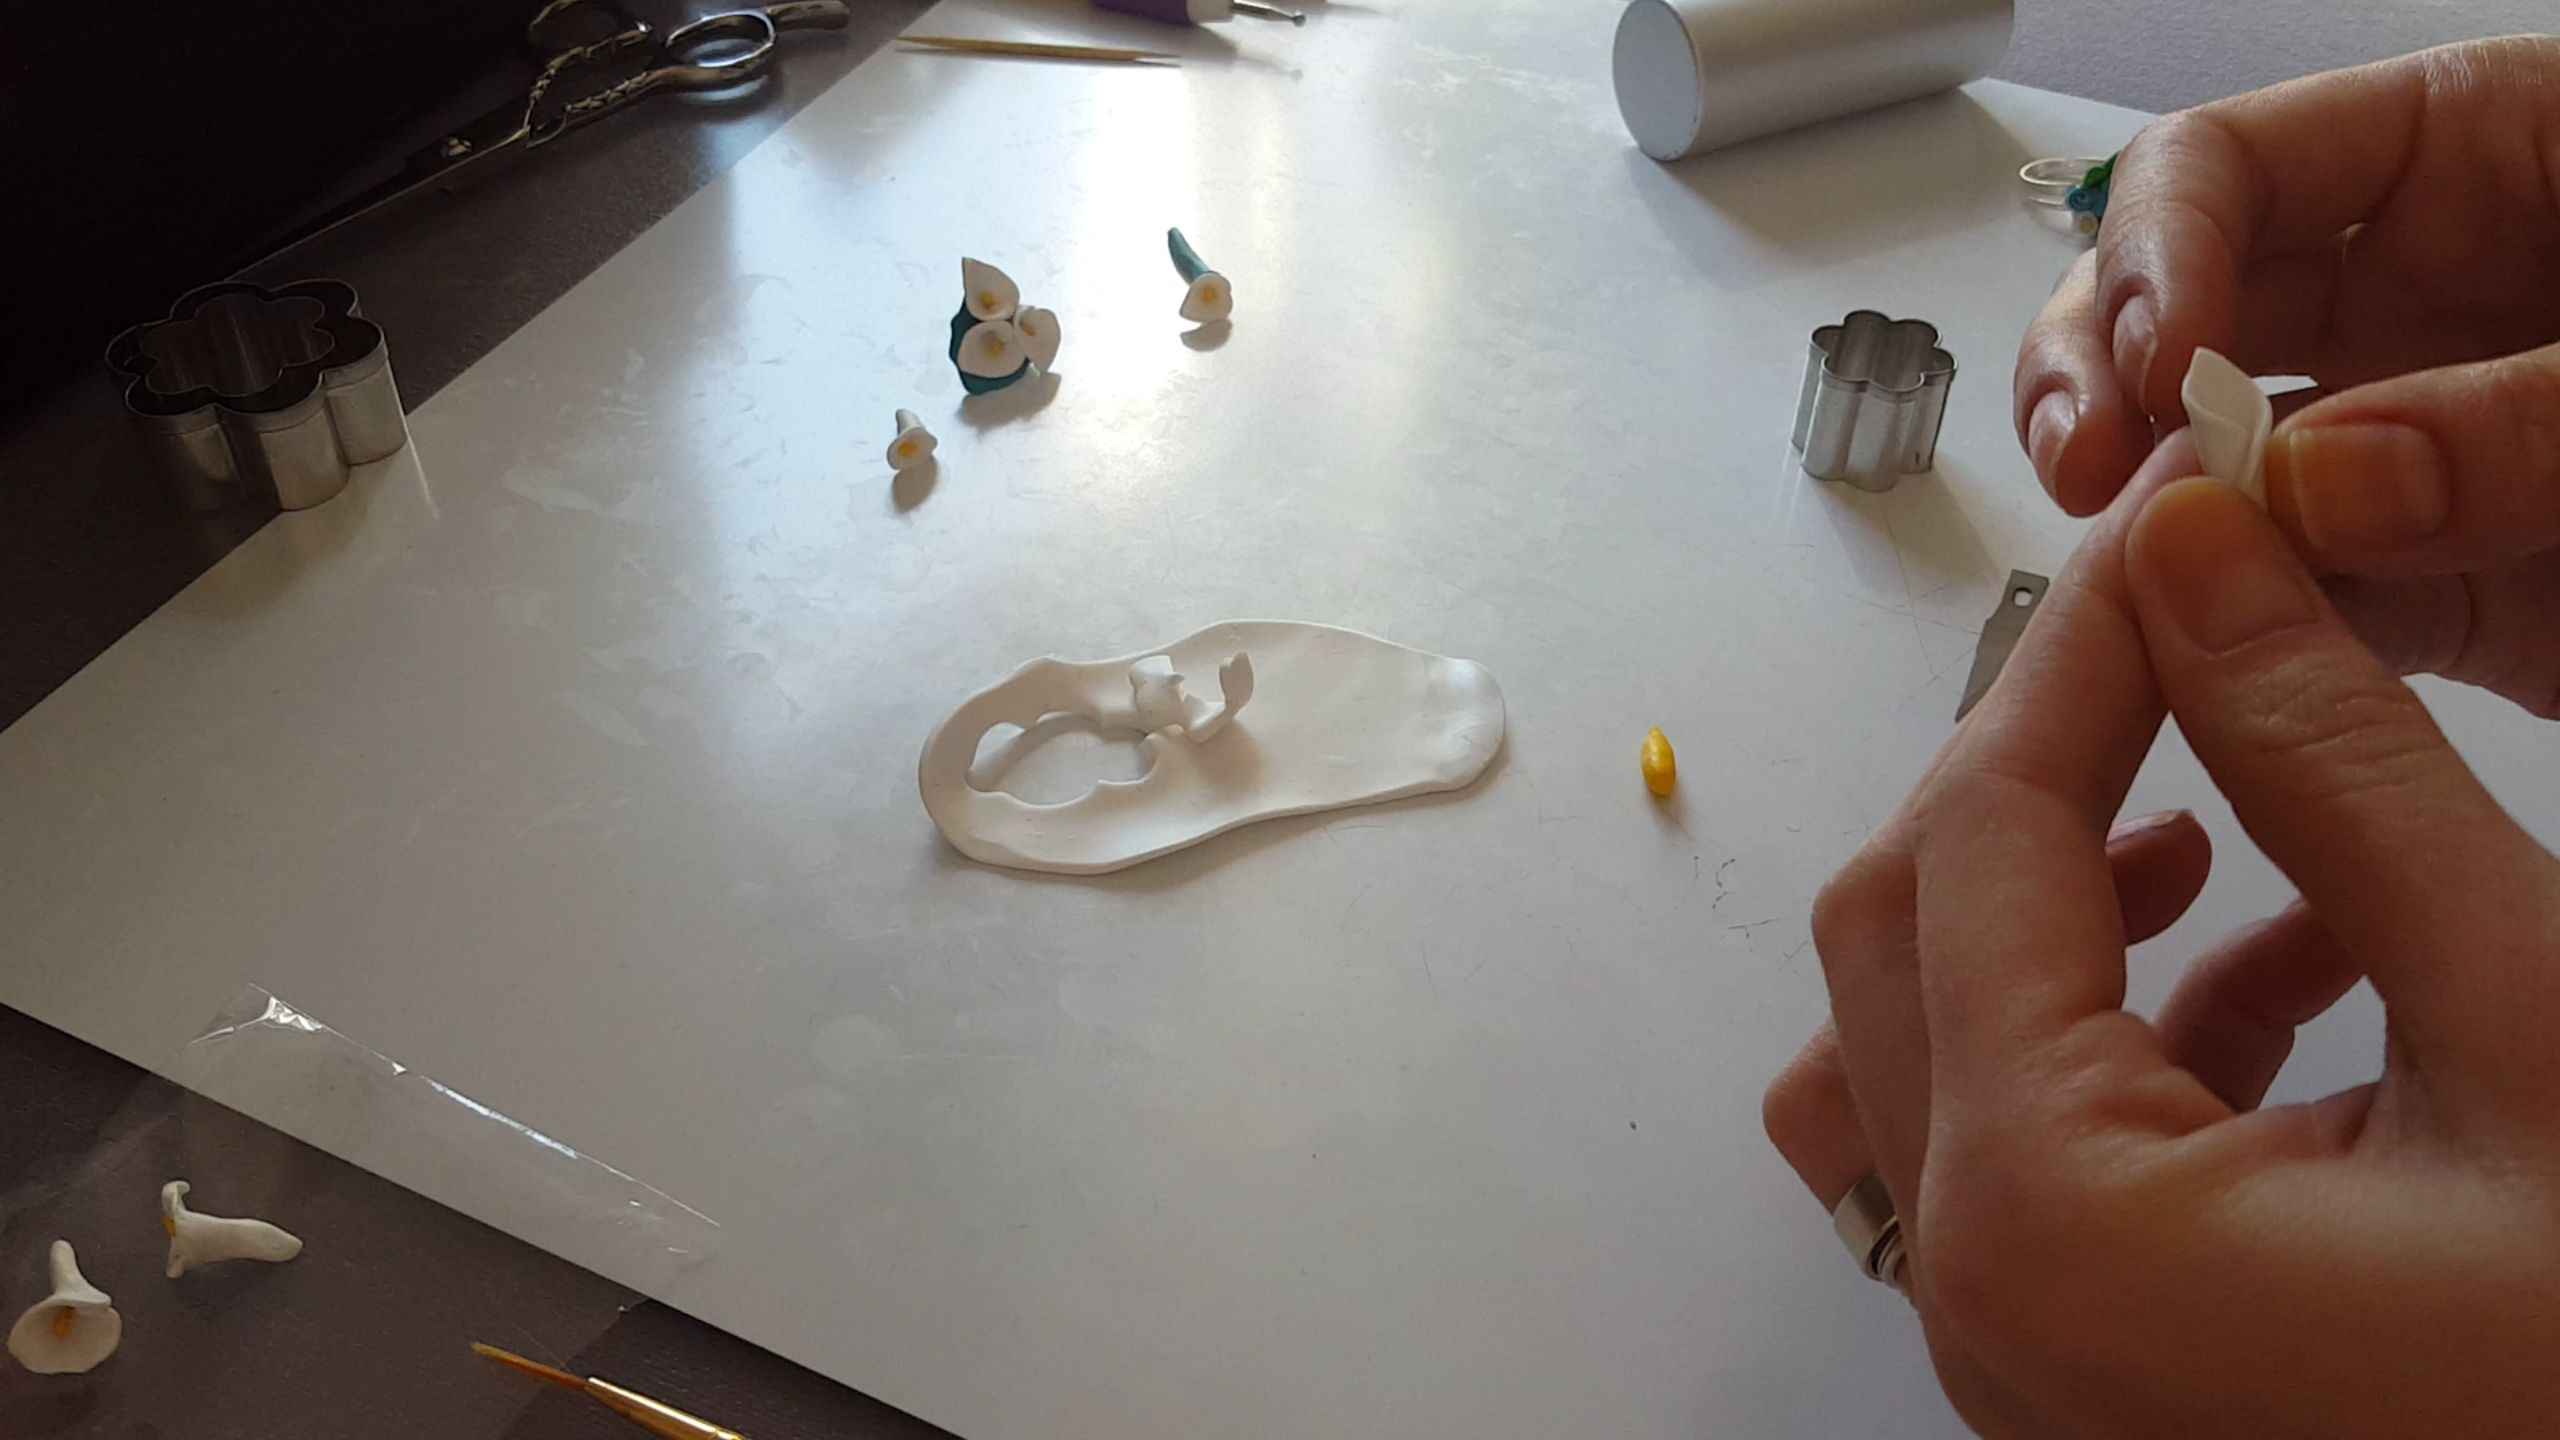
Once cut out your heart, you have the petal. Some of the fimo kits come with a cone, but you can easily build one with the paper or cardboard. Whatever the support, take the petal and position it so that the wide part of the heart is on the tip of the cone and the tip of the heart is the basis.

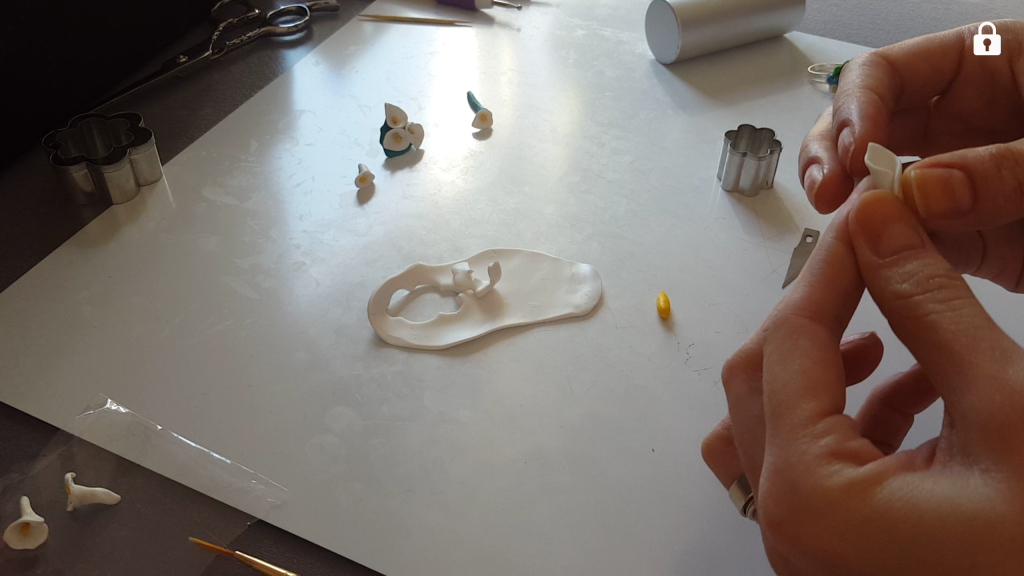
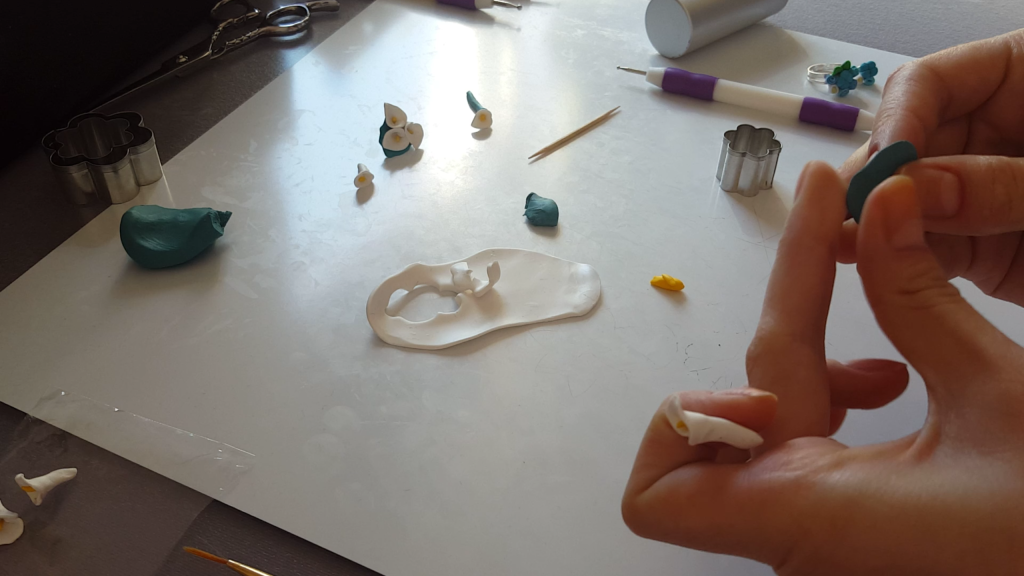
With your fingers raise a little the edges of the petal to give it a more natural look. Now put aside the body of the flower and let’s work at the pistil. Take a piece of yellow fimo and make it thin with a rolling pin. Cut a circle with a special cutter or with a cap. Then cut this circle into half and roll the pice out and then stretch it until you obtain the pistil.
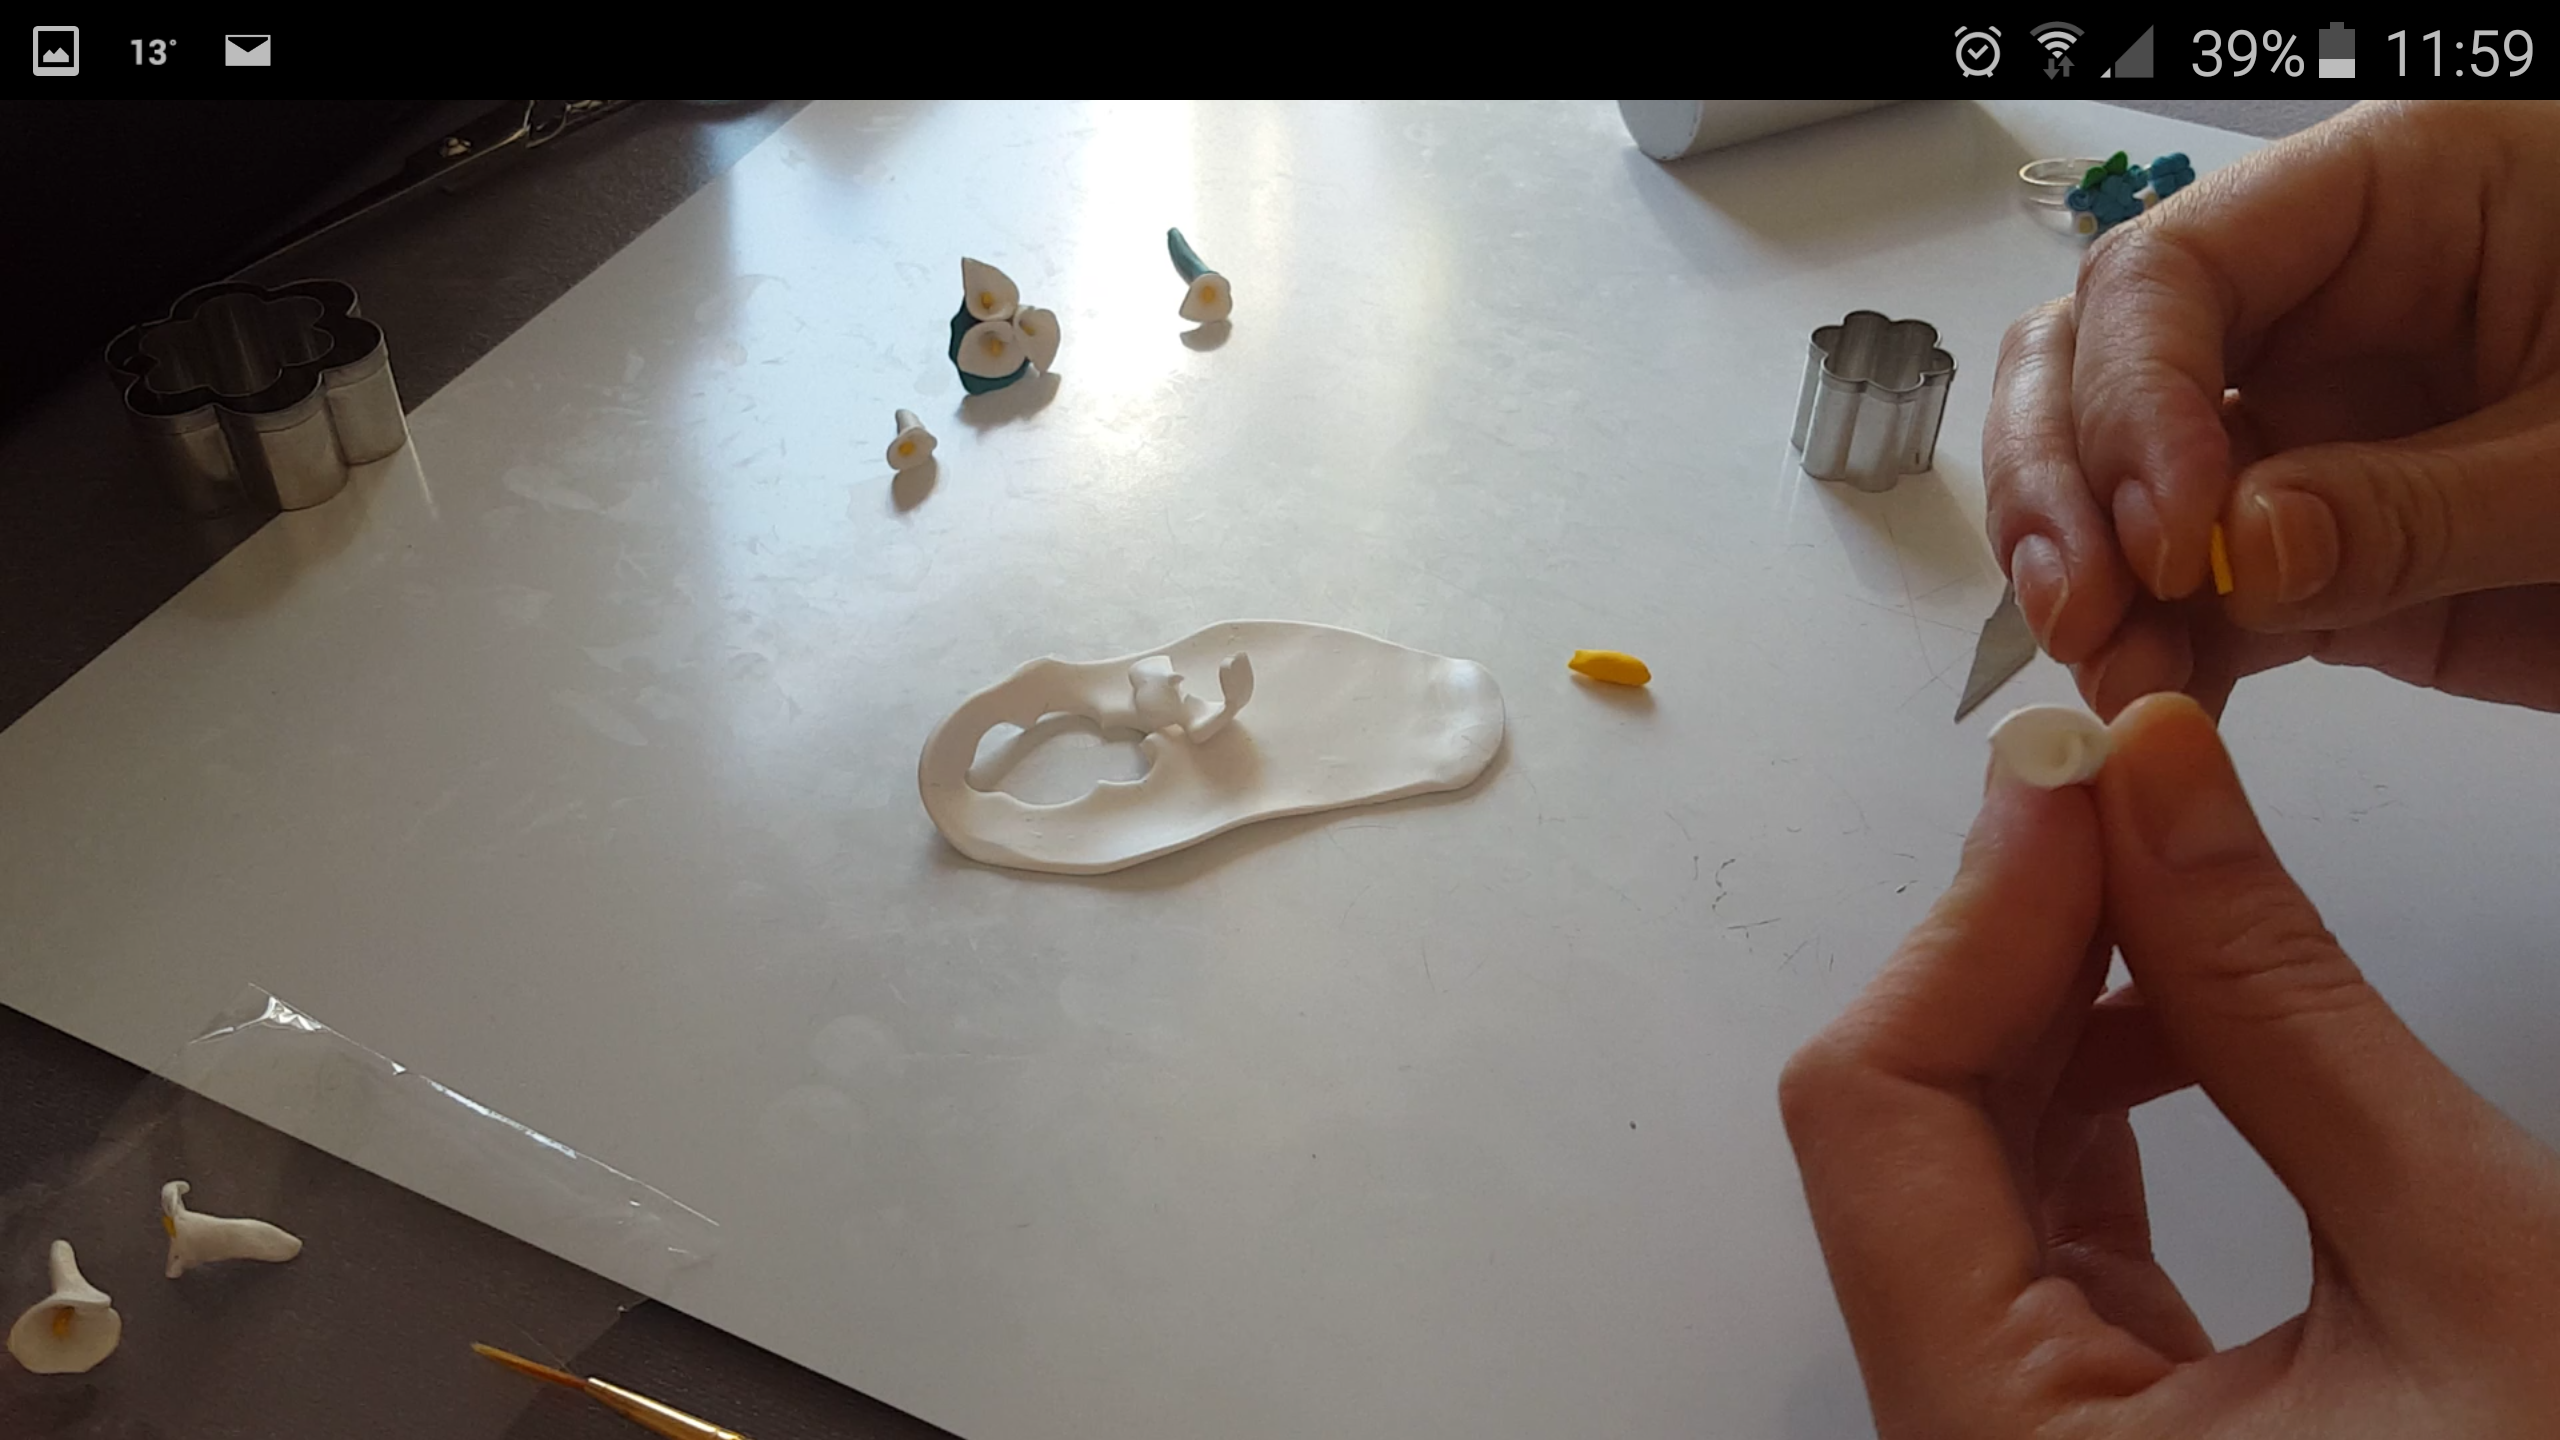
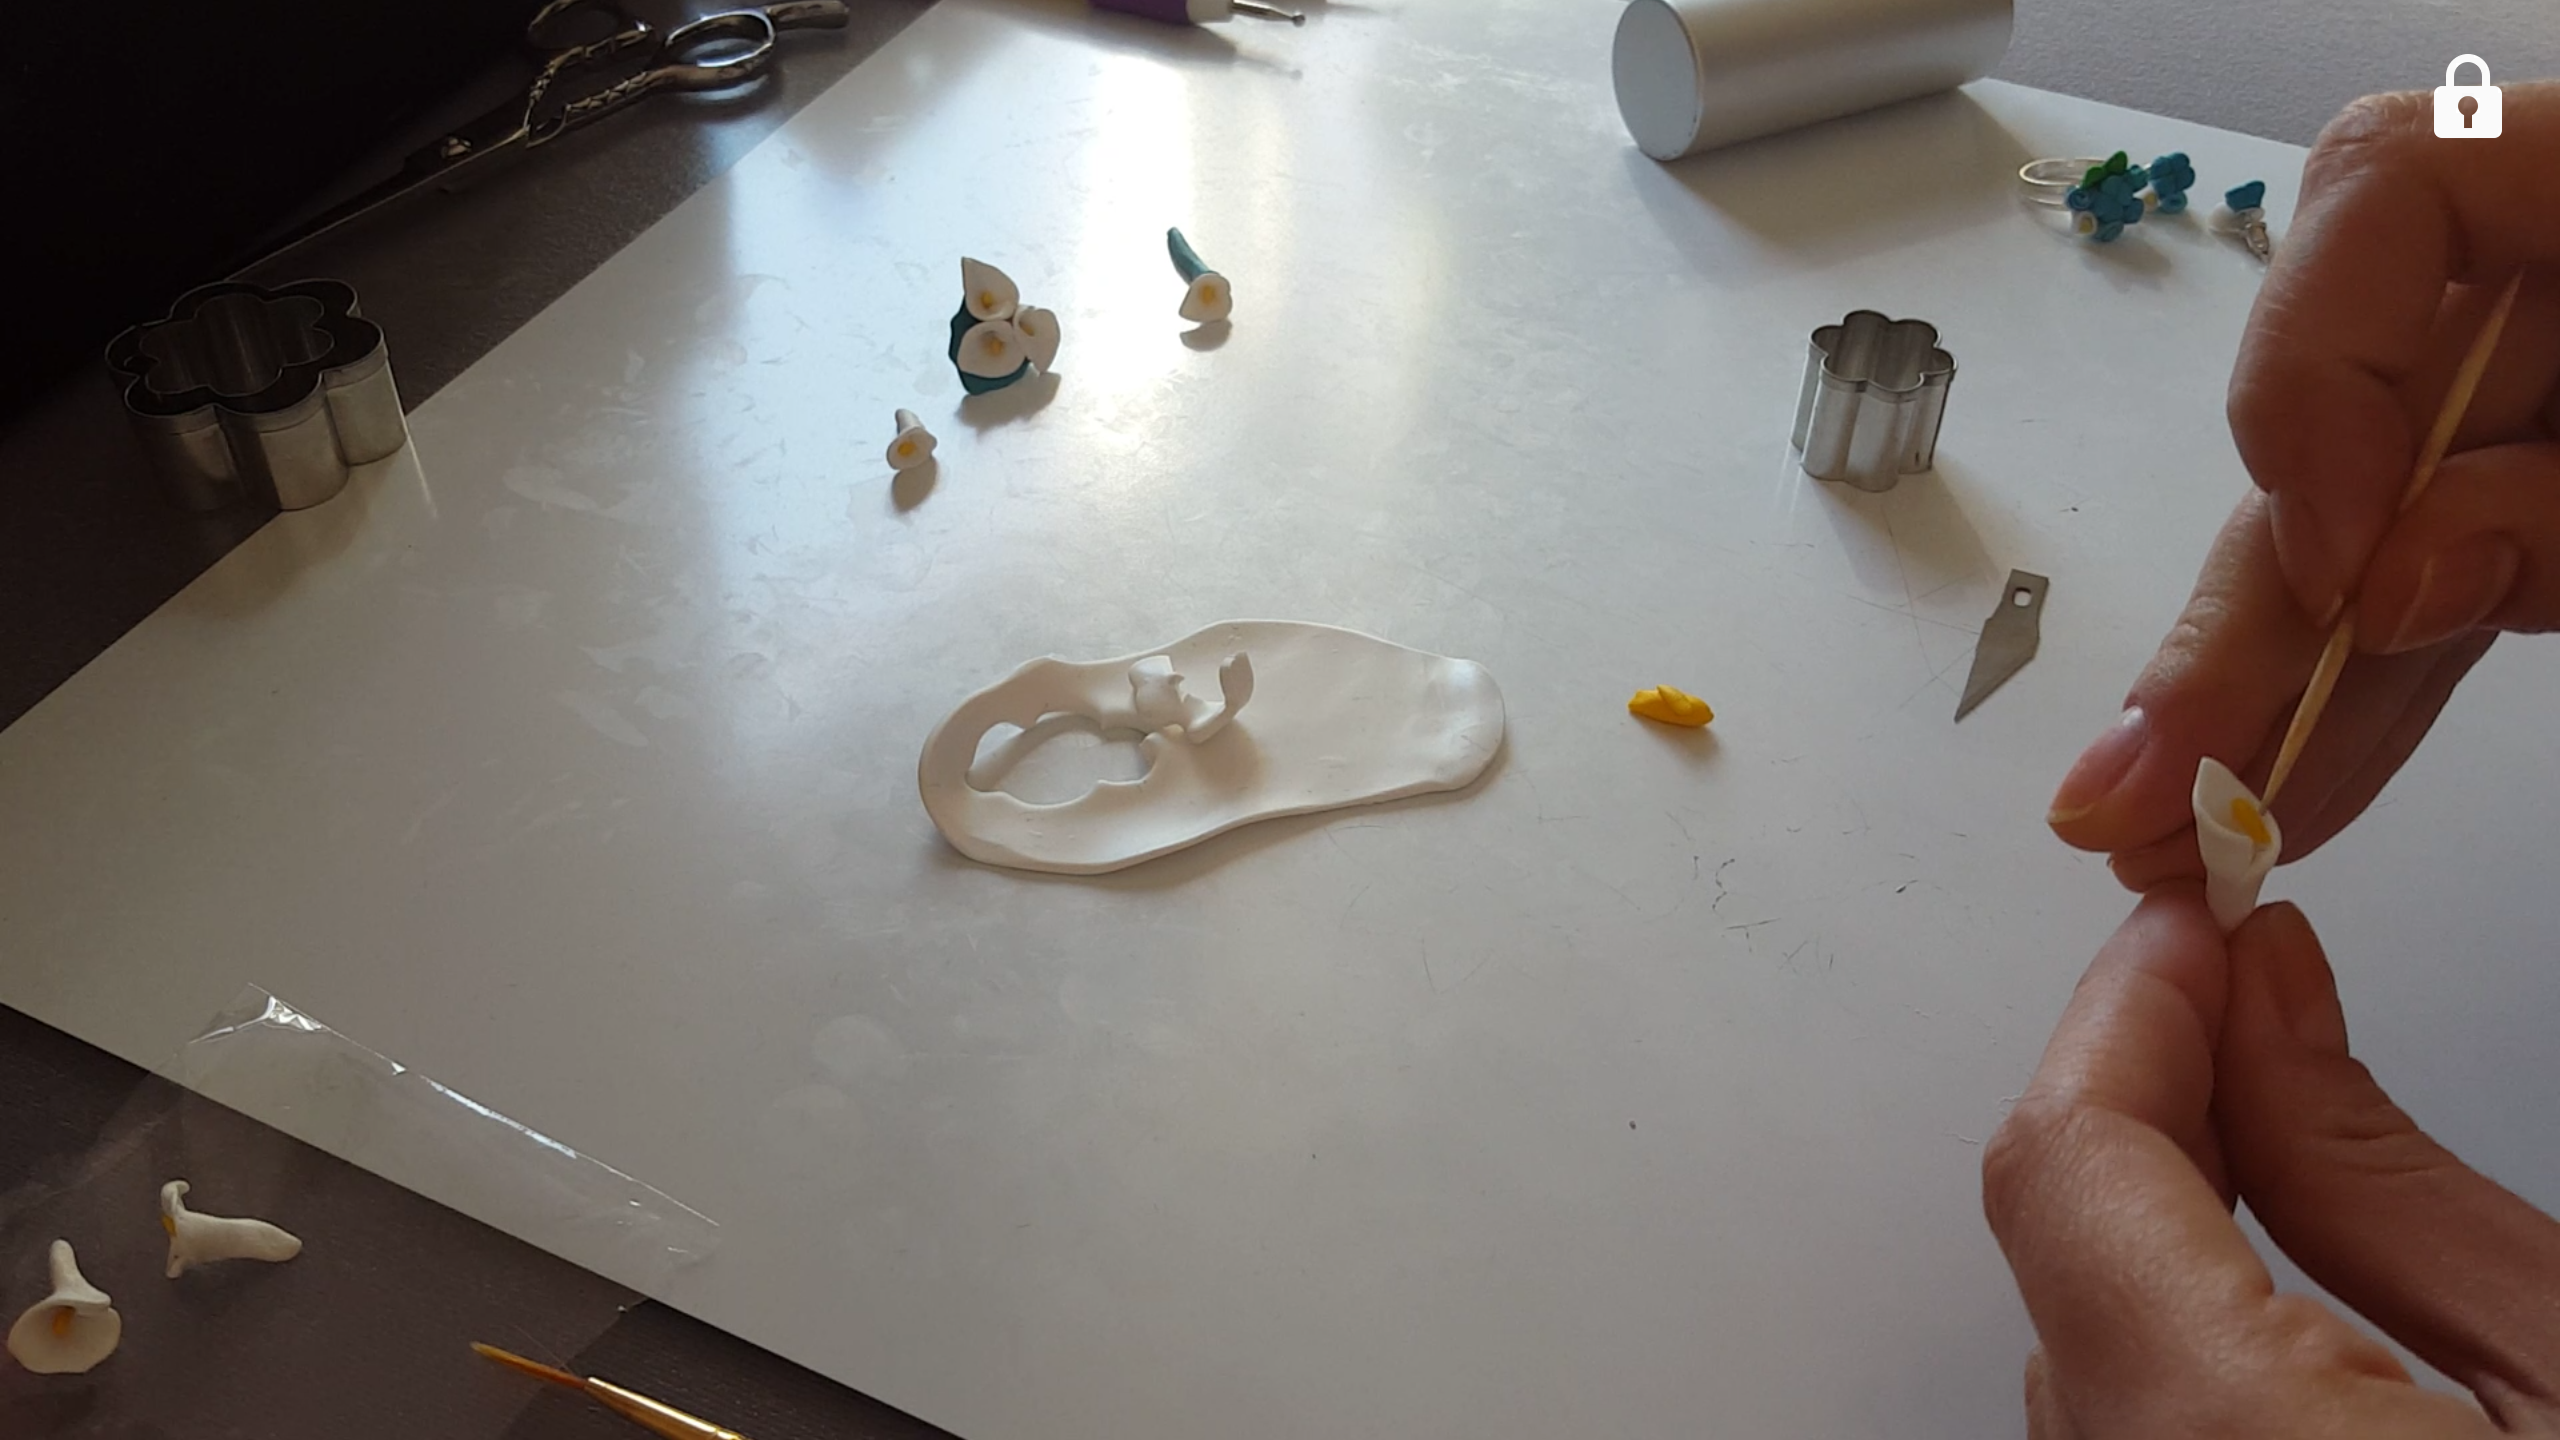
Now take a green piece of fimo and repeat the actions until you get half of the circle. Be careful not to crumple. You must now place the center of the straight side on the opposite side of where you close the petal of calla; the curved side must rest instead on the flower. It wraps around the semi-circle around the base of the flower and you press with your fingers to fix it. At the end add the pistil to the rest of creation and a little piece of green fimo around as a stalk.
You have created your first calla and it is ready to be use it as decoration! Send us our ideas and we will add them.
######