Polymer clay textured drop earrings tutorial
I have prepared you an easy polymer clay textured drop earrings tutorial. In this article will cover the steps on how to create this nice and simple drop earrings.
What you will need for this polymer clay textured drop earrings tutorial
- clay
- roller/ pasta machine
- round small cutter and larger drop cutter (you can use any cutters you have if you are not looking to create this precise shape)
- a plastic sheet or a stamp with the pattern
- metallic link and pins/hangers
- drilling tool or a toothpick
optional: gold powder, brush and varnish
Process:
Step 1:
Using the pasta machine (or the roller) create a sheet of clay.
Step2:
Apply the plastic sheet with the pattern and press it with the roller. Remove the plastic sheet. As a result the clay sheet will have the pattern you have chosen

Step 3:
At this step we need to use the cutters in order to have the final shapes for your earrings. An make the holes for the

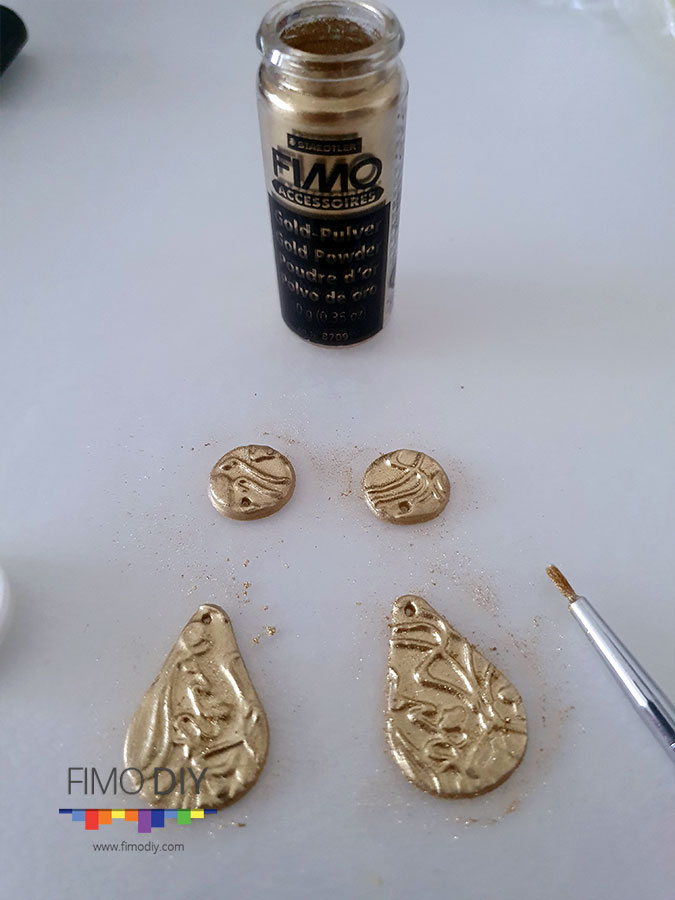
If you decide to apply gold powder they will look like this:

Step 4:
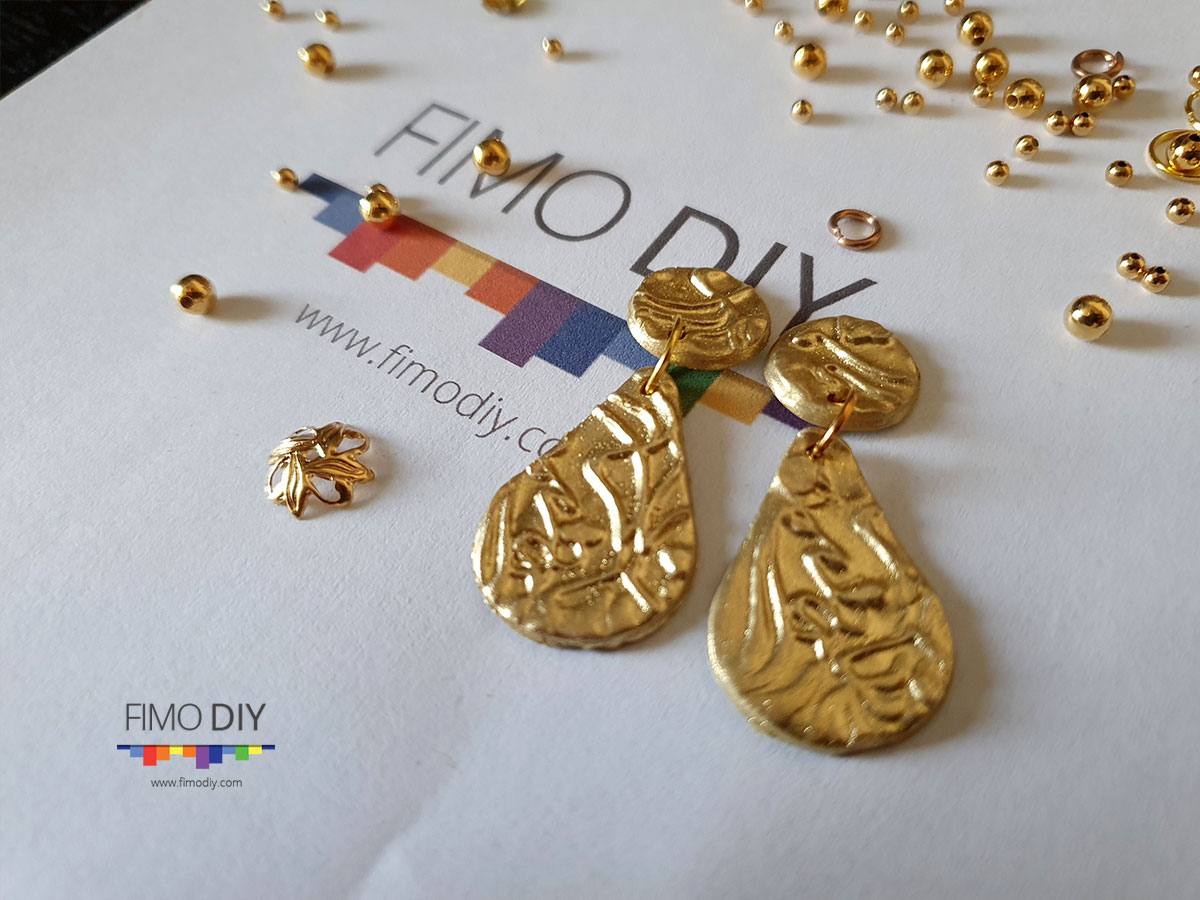
After you bake them properly, you need to add the link and the pin.

Congrats! Using this polymer clay textured drop earrings tutorial you’ve just created your earrings 🙂
What do you think about this polymer clay textured drop earrings tutorial? For a better finish you can put your finger in the jar with metallic powder and gently caress the unevenness left by the plastic sheet
I already have some ideas for new tutorials. Keep in touch!
Click here for free dyi fimo/polymer clay tutorials and save the link on your bookmarks because you will definitely want to check it frequently for ideas and inspiration.
Until next time I wish you all to be creative! I’m always open to suggestion, please leave a comment. Your opinion is valuable for me.
Don’t forget to follow my Pinterest page. It’s the best way to keep updated with free polymer clay tutorials and clay ideas to increase your creativity.
######
