Clay Frog Tutorial | Easy DIY for Beginners
I prepared for you a polymer clay frog diy tutorial. It will be a funny project and a way to exercise your molding skills. Check out how easy is to make this little frog . Enjoy!
Learn how to make your own figurines. This is an easy steps by step tutorial with lots of instructions.

Materials You’ll Need
- 4 colors of polymer clay (withe and black for the eyes, green for the body and red for the tongue)
- clay shaper
- cutter
- optional is the liquid clay (in case your clay is old and hard you’ll need the liquid clay to make sure the pieces are glued together )

Step 1: Prepare the Clay
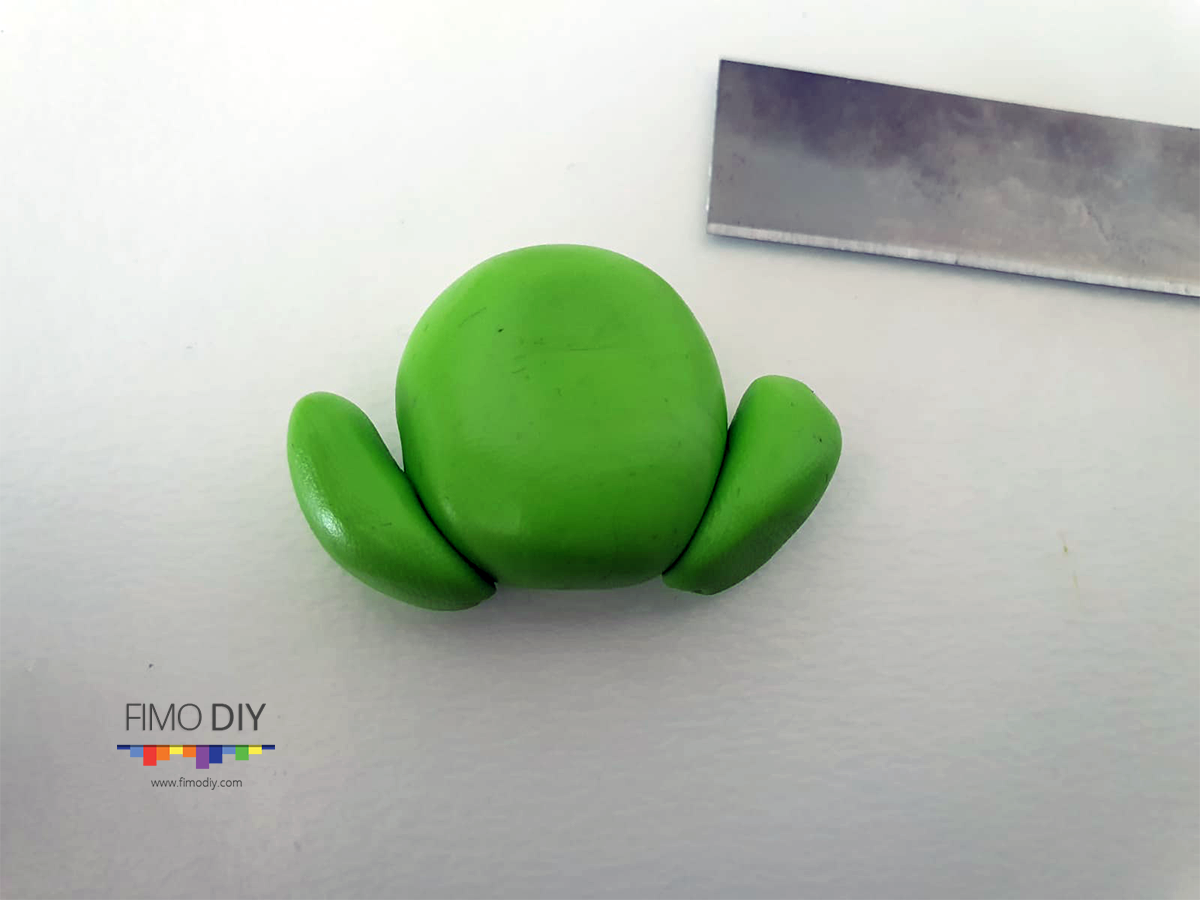
As the first step for this polymer clay frog diy tutorial is to create out of green clay a oval which will be the body of the frog

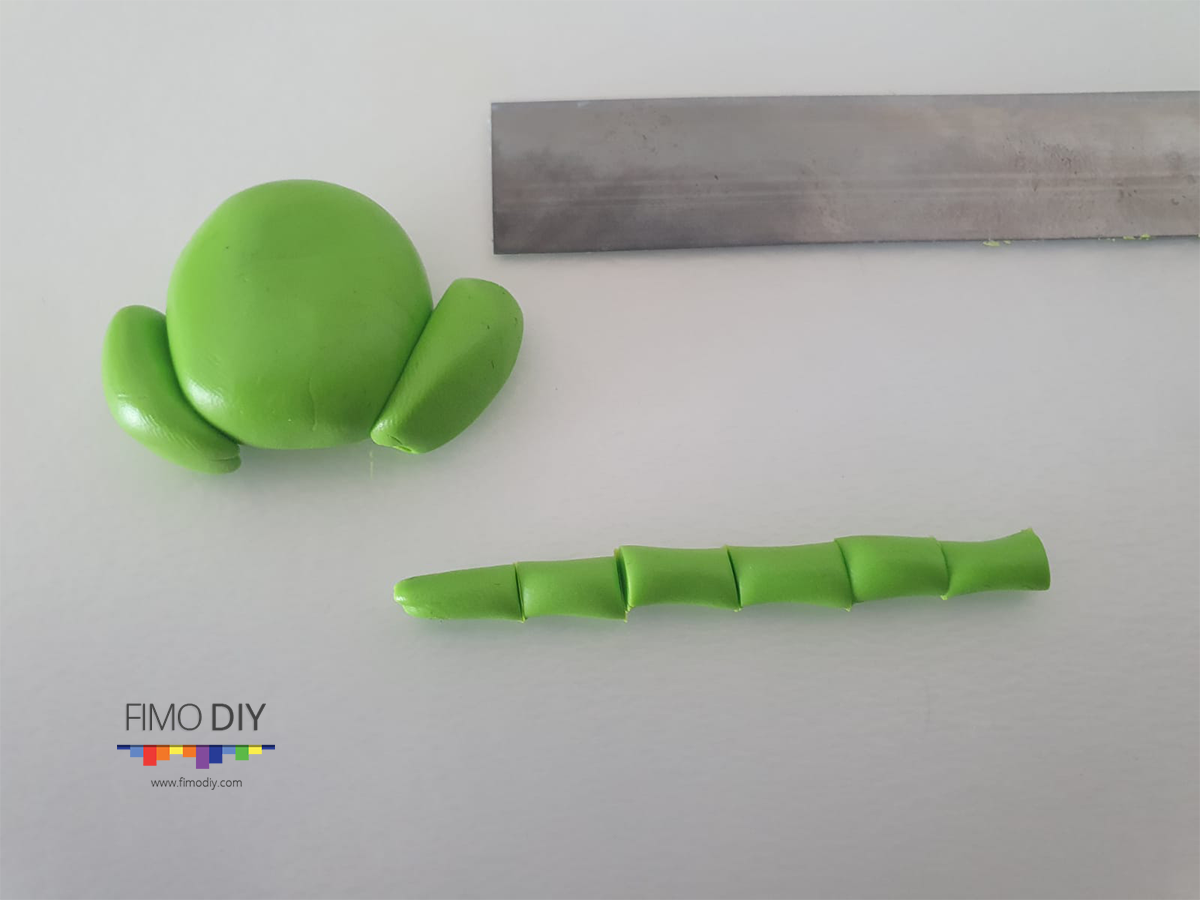
Step 2: Shape the frog body
Take a smaller amount of green and make the legs as shown in the picture below. The legs will look like drops. Add them to the body. In case your clay is old and hard you’ll need the liquid clay to make sure the pieces are glued together
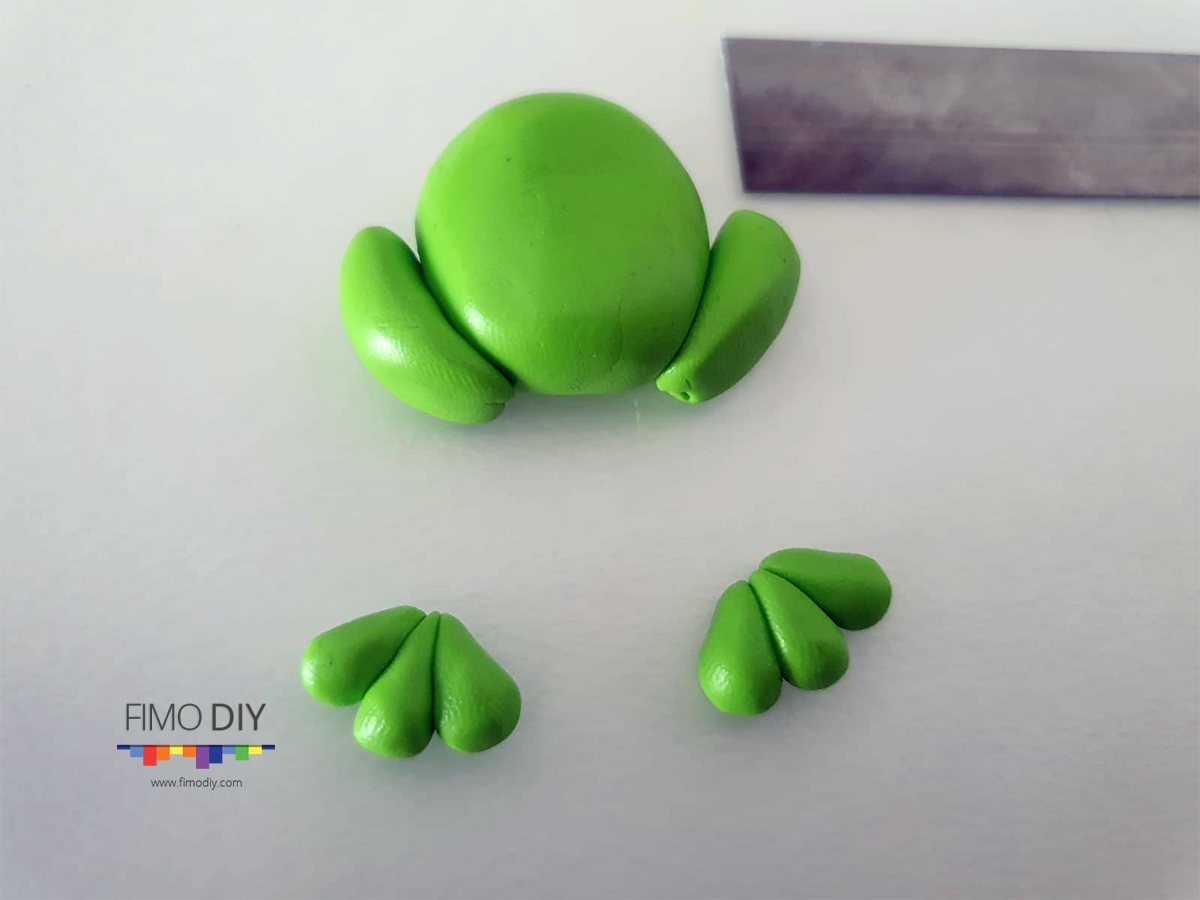
Step 3: Add details and texture
At this stage we will create the fingers as 3 smaller drops for each leg. Also will add them to the body as shown below.
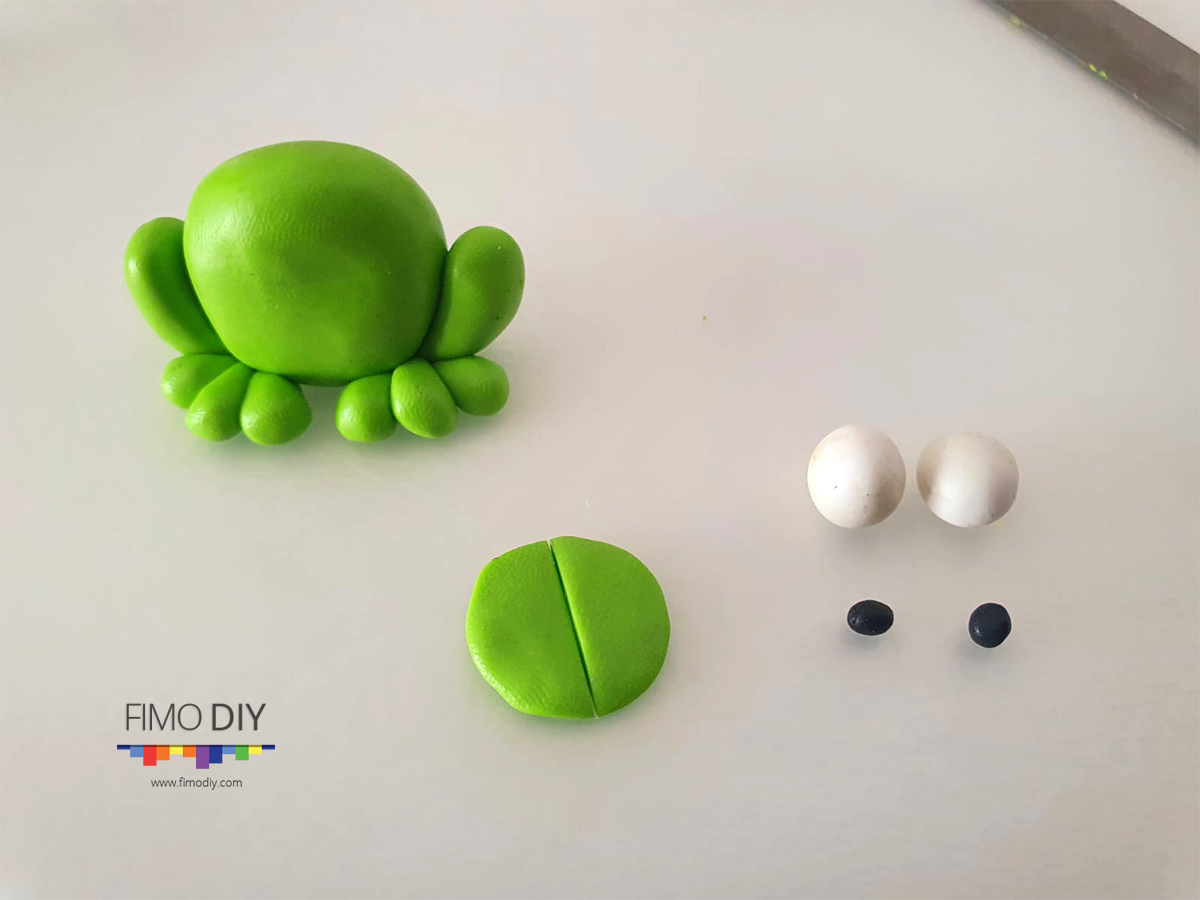
Step 4: Assemble all body parts
At this stage we will add the eyes. Make 2 larger bolls of white and 2 smaller of black. press the small ones and add them to the center. Make another ball having the same green color of the body and the same size as the eyes (white balls). Press it with your fingers till you have a circle and cut in half. This 2 semicircle will be the eyelids. Combine this pieces as shown in the bellow image and then add them to the body

Step 5: Final result
For the last step of this polymer clay frog diy tutorial all that’s left is the big smile and the tongue. We’ll take the shaper tool and and we’ll carve a smile Then we’ll make a red drop and press it a little bit to be thinner. We’ll then press with the unsharpened part of the cutter on the narrower side of the drop. Last thing you have to do is to add it to the mouth.
Congrats! By following the steps in this polymer clay frog diy tutorial you have created your first frog figurine!
Quick sheet

What do you think about this polymer clay frog diy tutorial? Will you give it a try to create your own?
Take a look at our collection of clay tutorials, I bet you ill find many project that suits you.
######