Polymer clay simple necklace tutorial
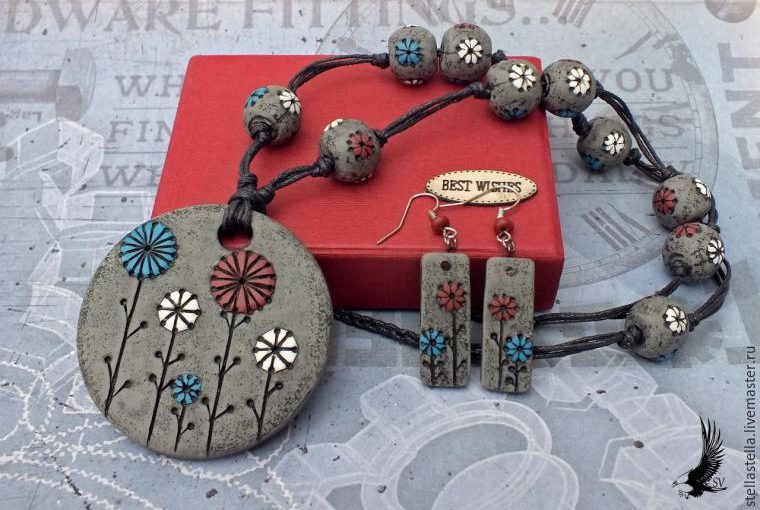
I want to share with you a simple, affordable and very inspiring polymer clay necklace tutorial. Believe me it’s an easy polymer clay necklace tutorial! Enjoy it and when in best mood be creative!

For this polymer clay necklace tutorial it is necessary to have:

  • Polymer clay in gray and three more colors to choose from;
  • Paste machine or rolling pin;
  • Cutters of different diameters;
  • Knife, dots, sandpaper;
  • Black acrylic paint;
  • Matte varnish for polymer clay;

As a first step in creating a beautiful polymer clay necklace you have to roll out a layer of gray clay and press it with a circle mold or what shape you want the pendant. You can leave it smooth, you can make some drawing.
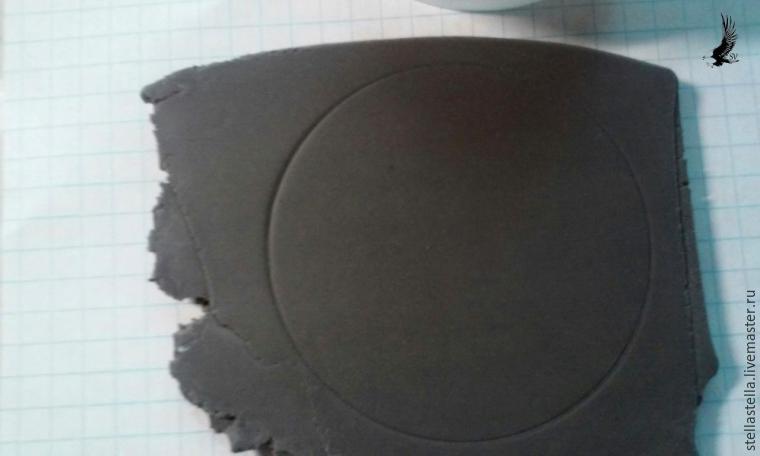
polymer clay pendant tutorial - step 1

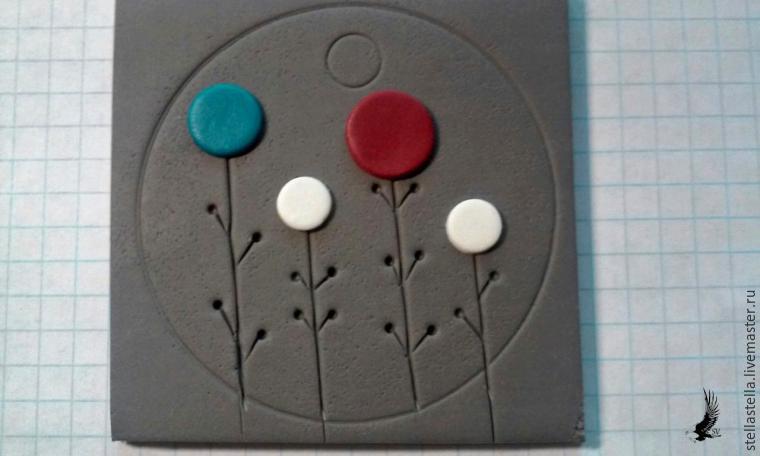
Take a knife or a cutter and make dashes (stems), dotted dotted.
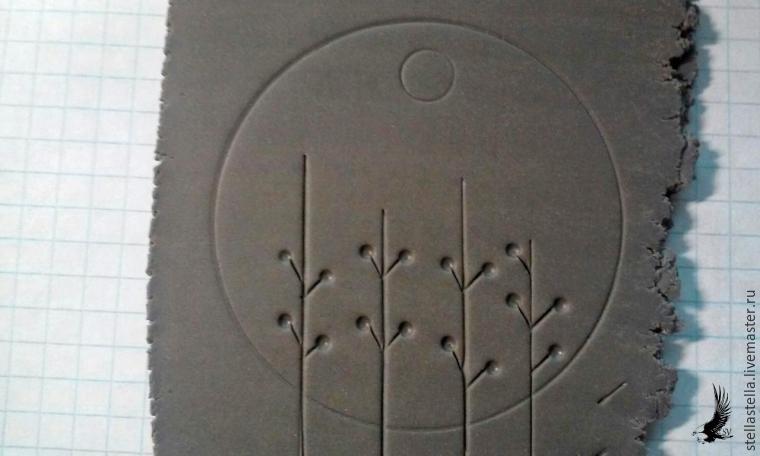
polymer clay pendant tutorial - step 2

With a hard brush change the texture of the clay as shown in the picture below.
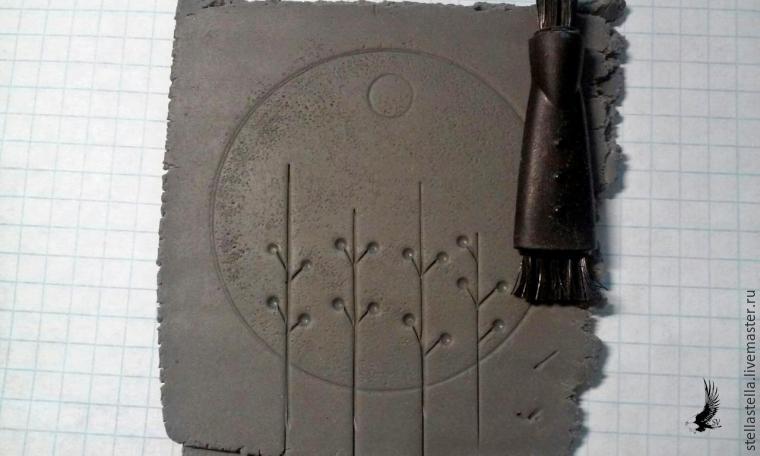
polymer clay pendant tutorial - step 3

Take three different colors, roll them thinly and cut out four small circles.
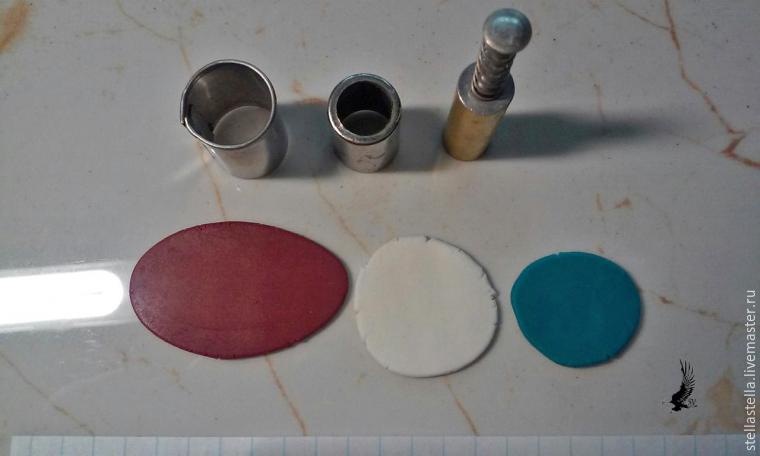
polymer clay pendant tutorial - step 4

Put them at the end of every line.

polymer clay pendant tutorial - step 5

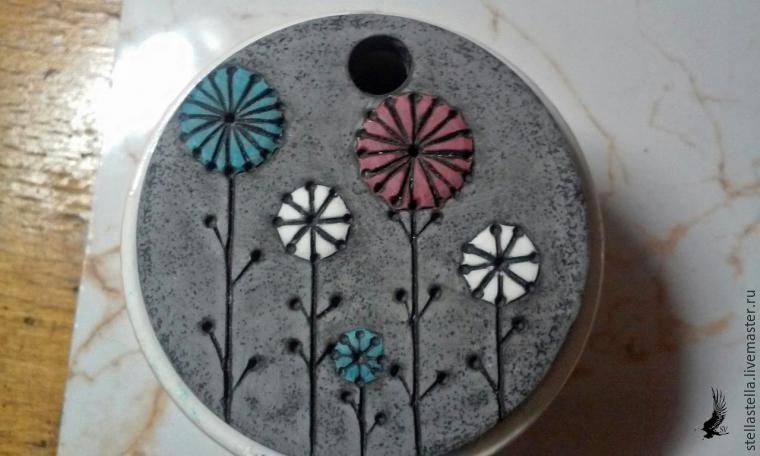
Then you have to divide the mugs into segments, in the center and on the edges, again, dot the dot. Cut out your pendant, and bake at the desired temperature.
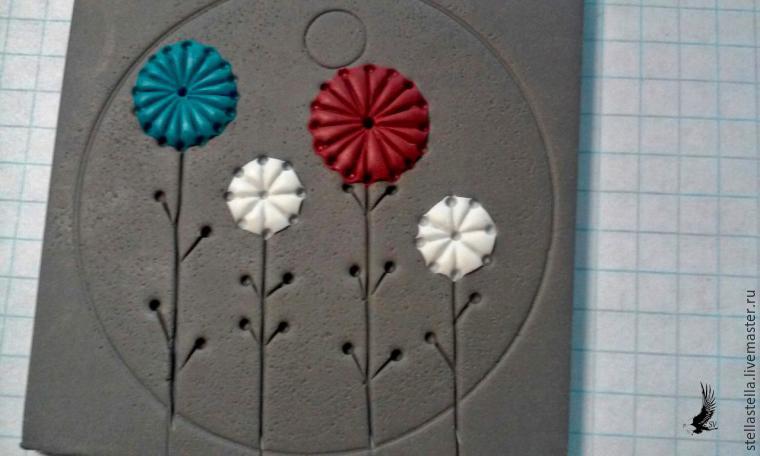
polymer clay pendant tutorial - step 6

In the meantime, you continue your project by making the beads to assemble our pendant. polymer clay pendant tutorial - step 7
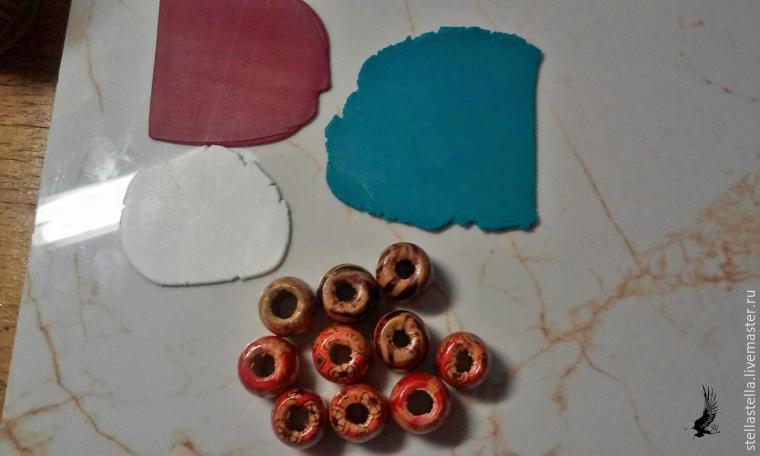
If you use a wood beads, wrap them with clay otherwise mold some beads. Like on the pendant, you have to make the decor of the beads, this time without the stems, only the flowers.
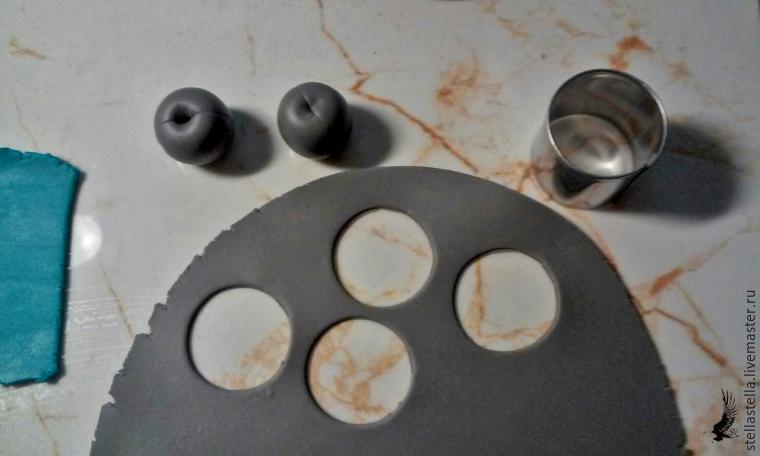
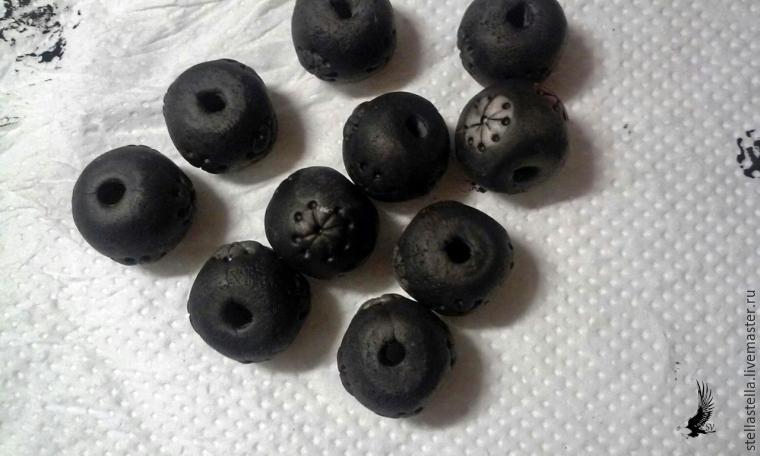
polymer clay beads tutorial - step 2

polymer clay beads tutorial - step 3

Don’t forget to bake the beads 😉 This should look like the result!
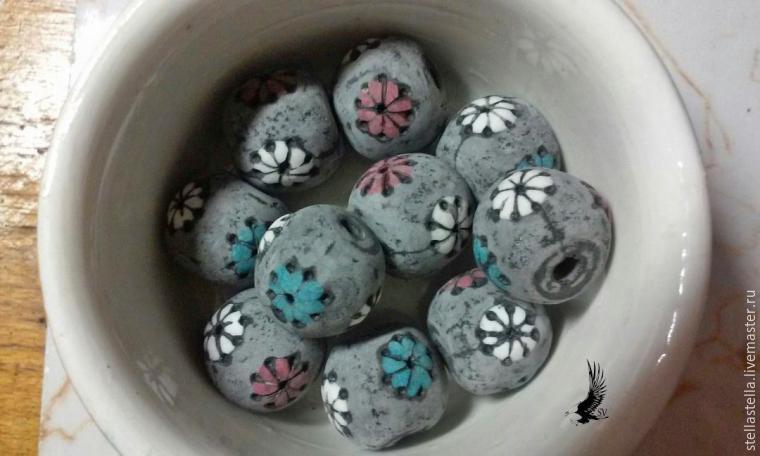
polymer clay flower beads

polymer clay flower pendant

Apply a matte varnish and wait until is dry.
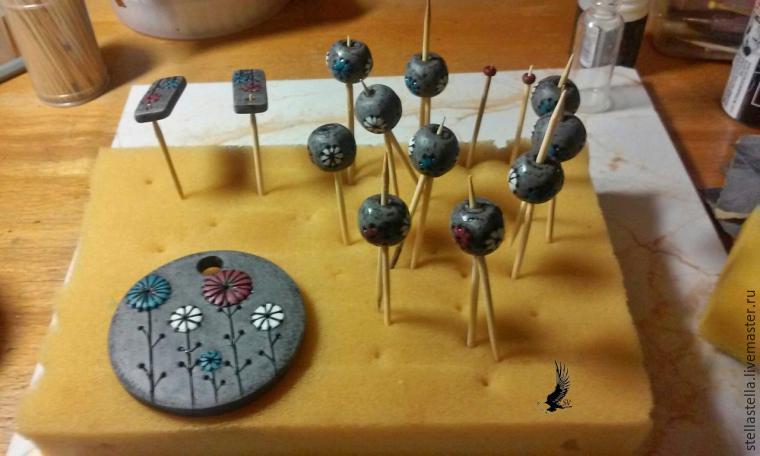
polymer clay pendant tutorial

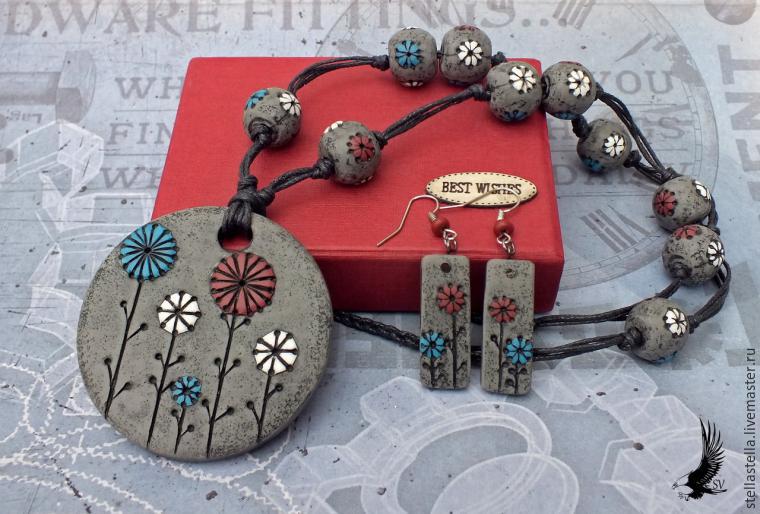
This is the beautiful polymer clay necklace that result
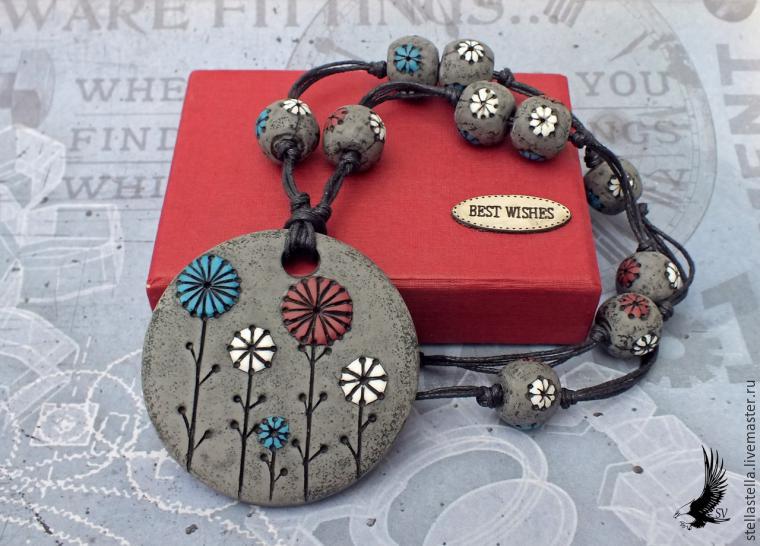
polymer clay necklace tutorial

polymer clay flower set


I found this beautiful polymer clay necklace tutorial here.

See you later for more tutorials. You may consider following to follow my Pinterest page to get updates on free fimo diy tutorials.
######
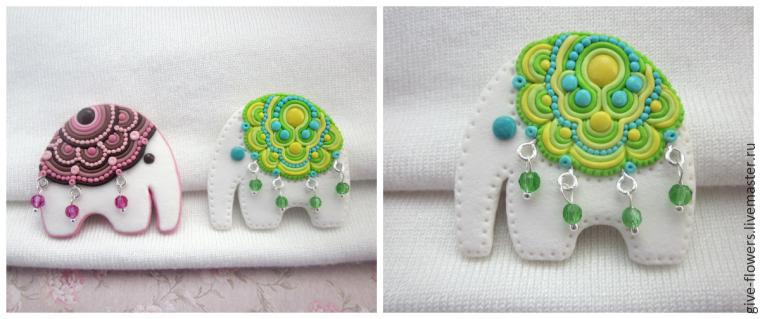
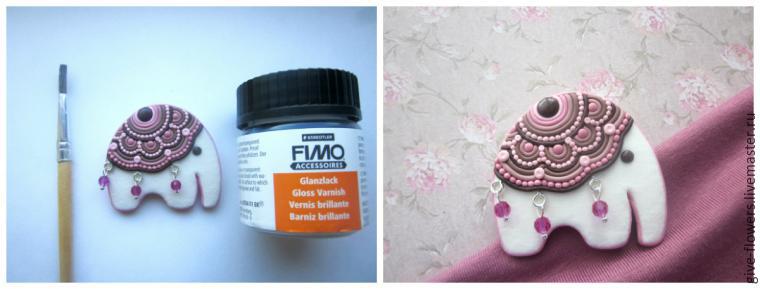
Polymer clay happy elephant brooch tutorial

Today I will show you a nice and very easy tutorial: polymer clay happy elephant brooch.

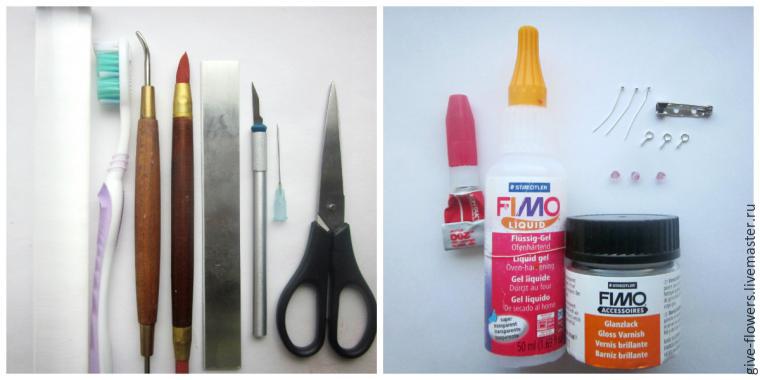
Let’s get started. For this polymer clay brooch tutorial you’ll need the tools presented in the photo or you can improvise.

tools

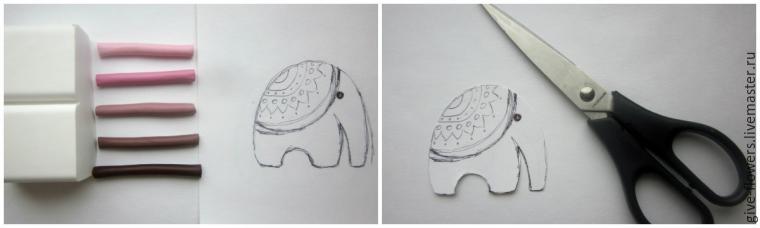
You will need white clay for the base of the elephant and some colored polymer clay for the lace. As a first stage of this polymer clay brooch tutorial you need to draw the elephant on paper and cut it out.

elephant tutorial -step 1

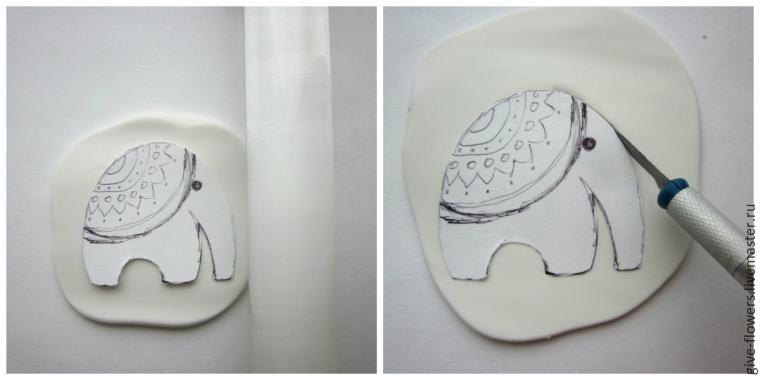
For the next step in this polymer clay brooch tutorial you have to make a white sheet of clay and use the elephant mold you cut it out earlier to cut the base of the brooch.

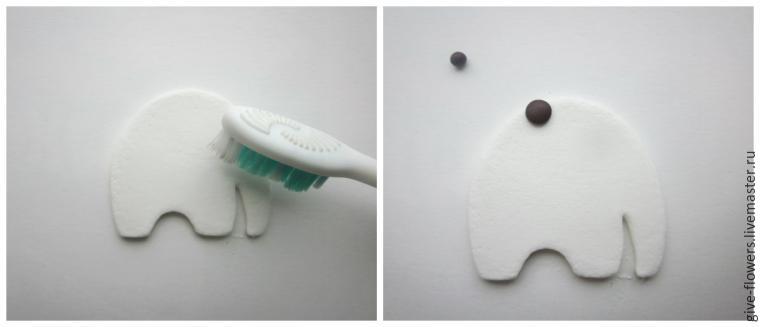
elephant tutorial -step 2For the next step you have to clean the base surface  with a toothbrush to remove your fingerprints. Now it starts to look like a polymer clay elephant, isn’t it? Add a small colored clay bead as shown in the picture below..

elephant tutorial -step 3

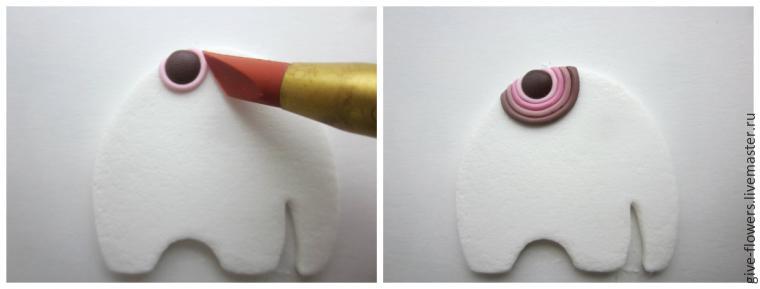
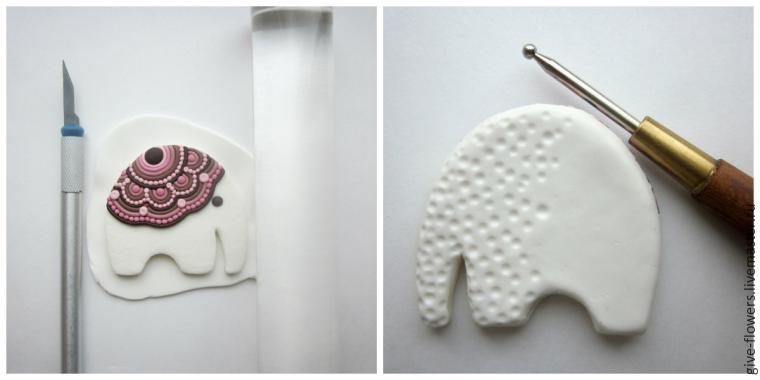
Next, you have to lay out the pattern of pink shades. In such a small work, I recommend you to use an extruder and roll the clay with my hands.

elephant tutorial -step 4

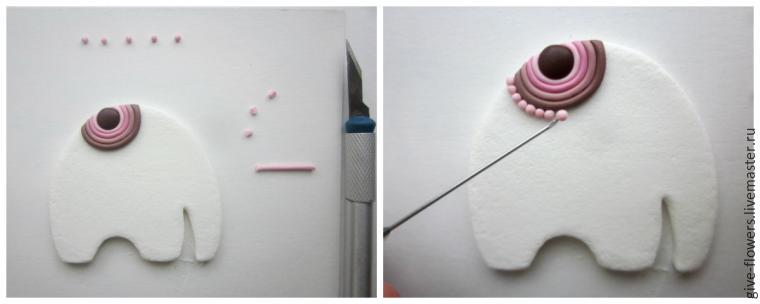
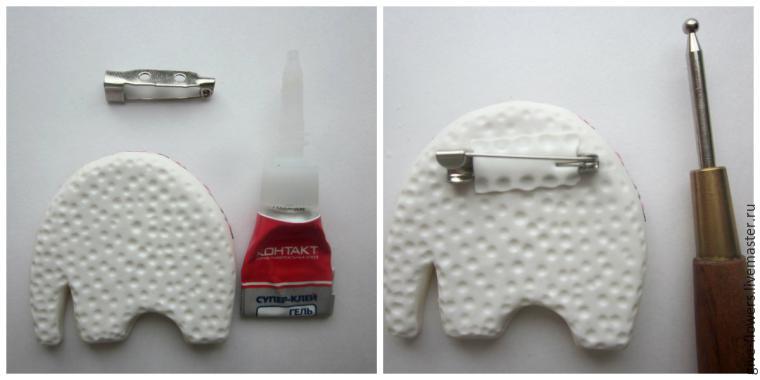
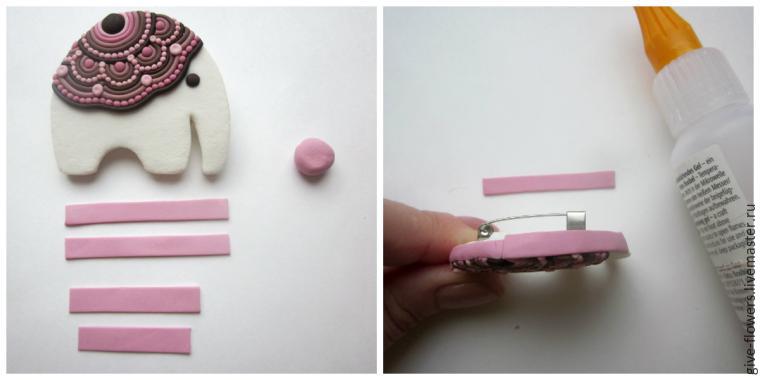
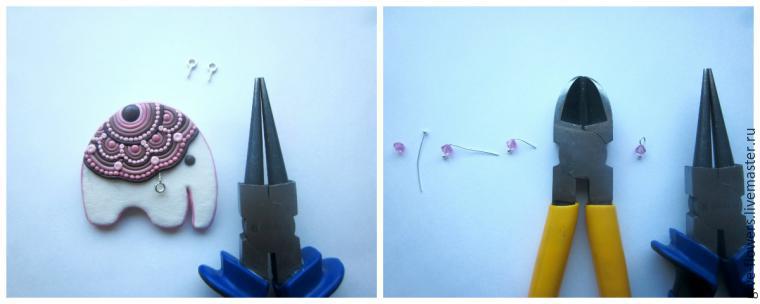
It is simple, you have to fallow the steps in the pictures below and you will have your polymer clay elephant brooch. Don’t give up, you are in the middle of polymer clay brooch tutorial!

elephant tutorial -step 5

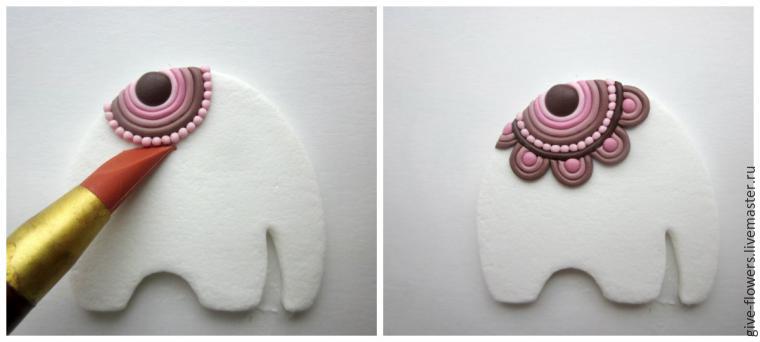
Keep it going! Keep it going! You are almost there!

elephant tutorial -step 6

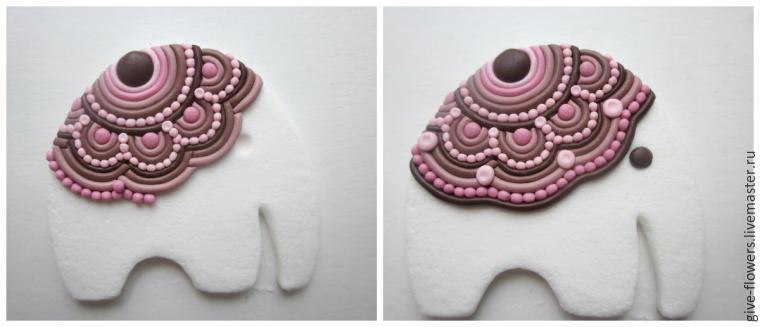
elephant tutorial -step 7

You can skip this step. It’s nice to have for your brooch but yet not mandatory.

elephant tutorial -step 8

elephant tutorial -step 9

elephant tutorial -step 10

elephant tutorial -step 11

elephant tutorial -step 12

elephant tutorial - polymer clay brooch tutorial  - step 13

I found this beautiful polymer clay elephant brooch tutorial here.

Until we meet next time (and I hope to be very soon) wish you all a wonderful polymer clay day!

See you later for more tutorials. You may consider following to follow my Pinterest page to get updates on free fimo diy tutorials.
######
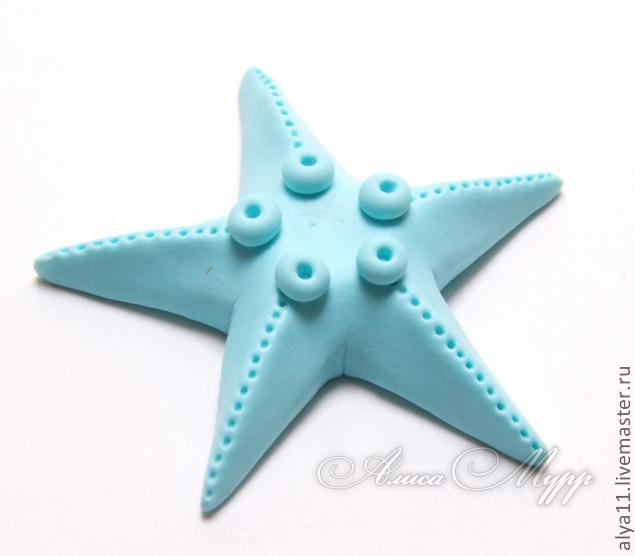
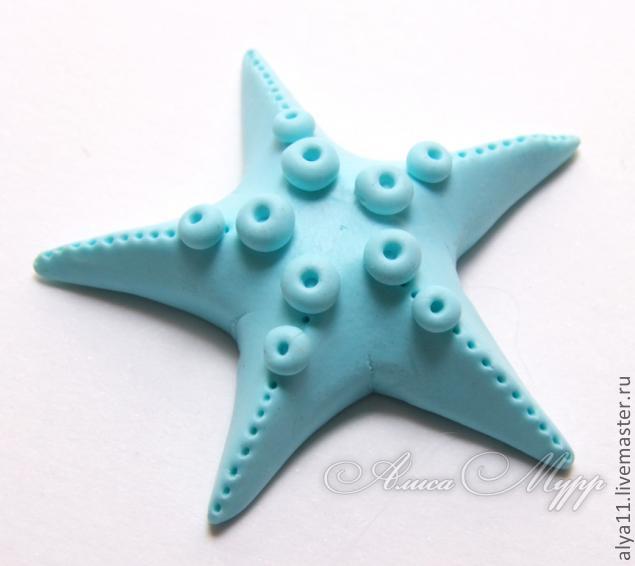
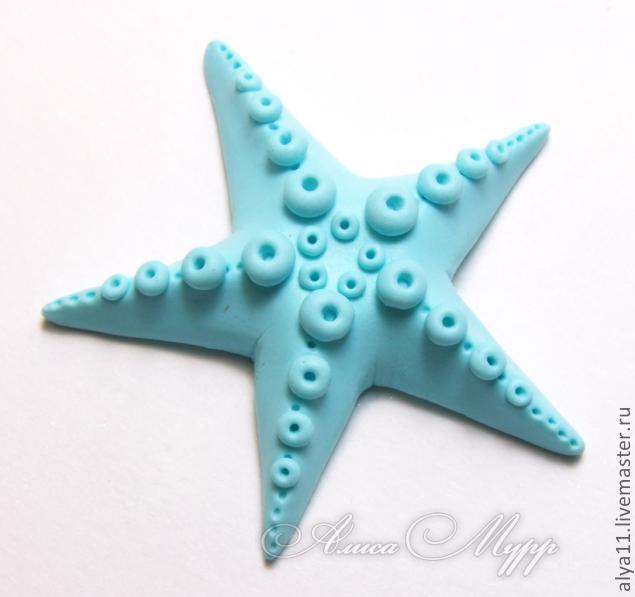
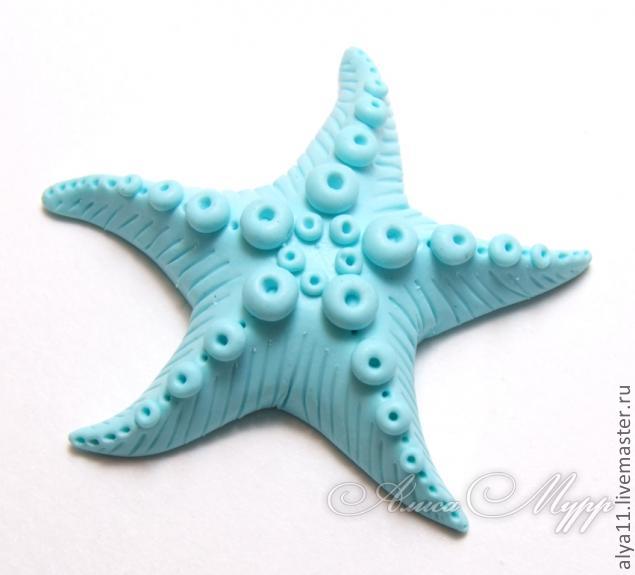
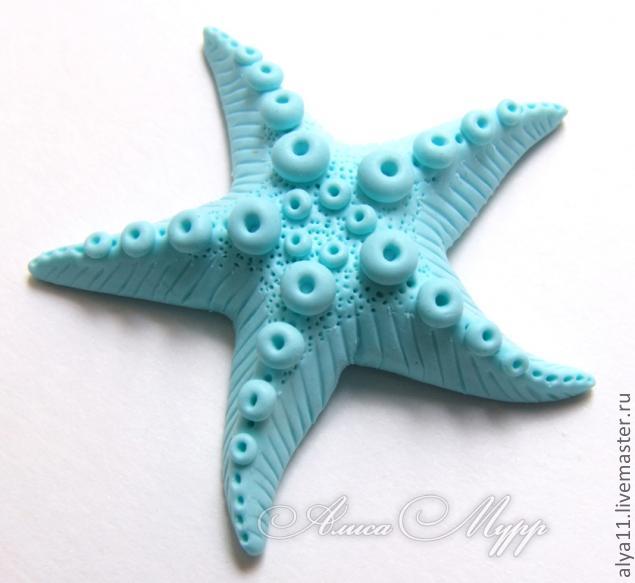
Polymer clay sea star tutorial

This polymer clay sea stars tutorial is a simple one. It is a good choice for beginners.

To go through this polymer clay sea star tutorial you will need one color of clay, a knife and a toothpick.

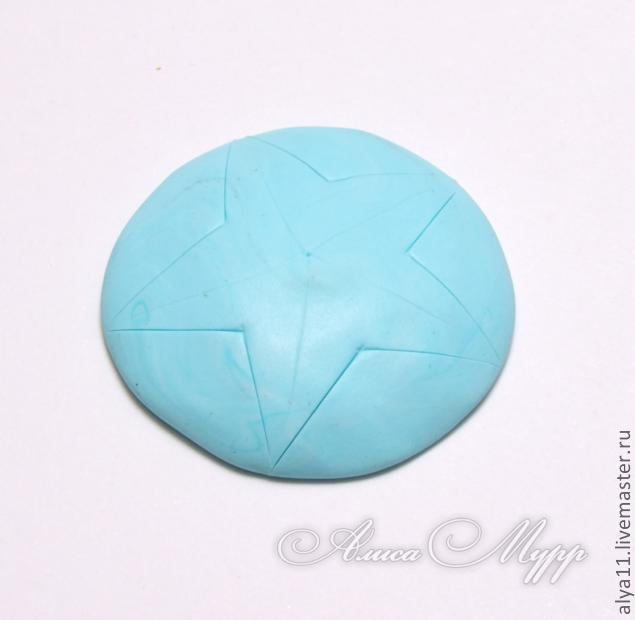
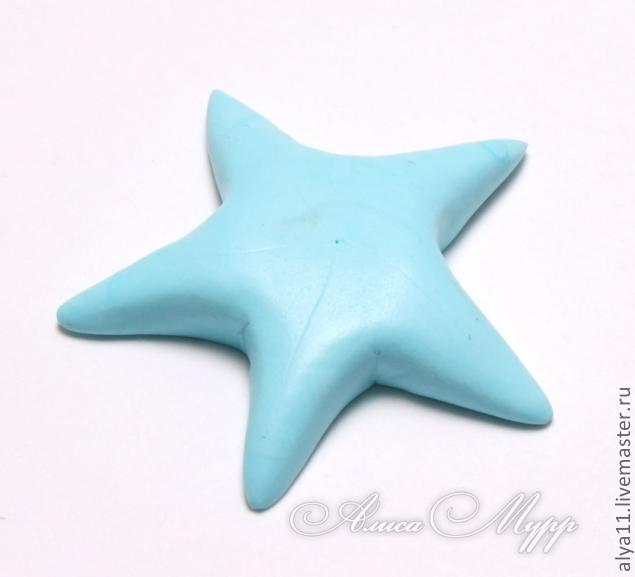
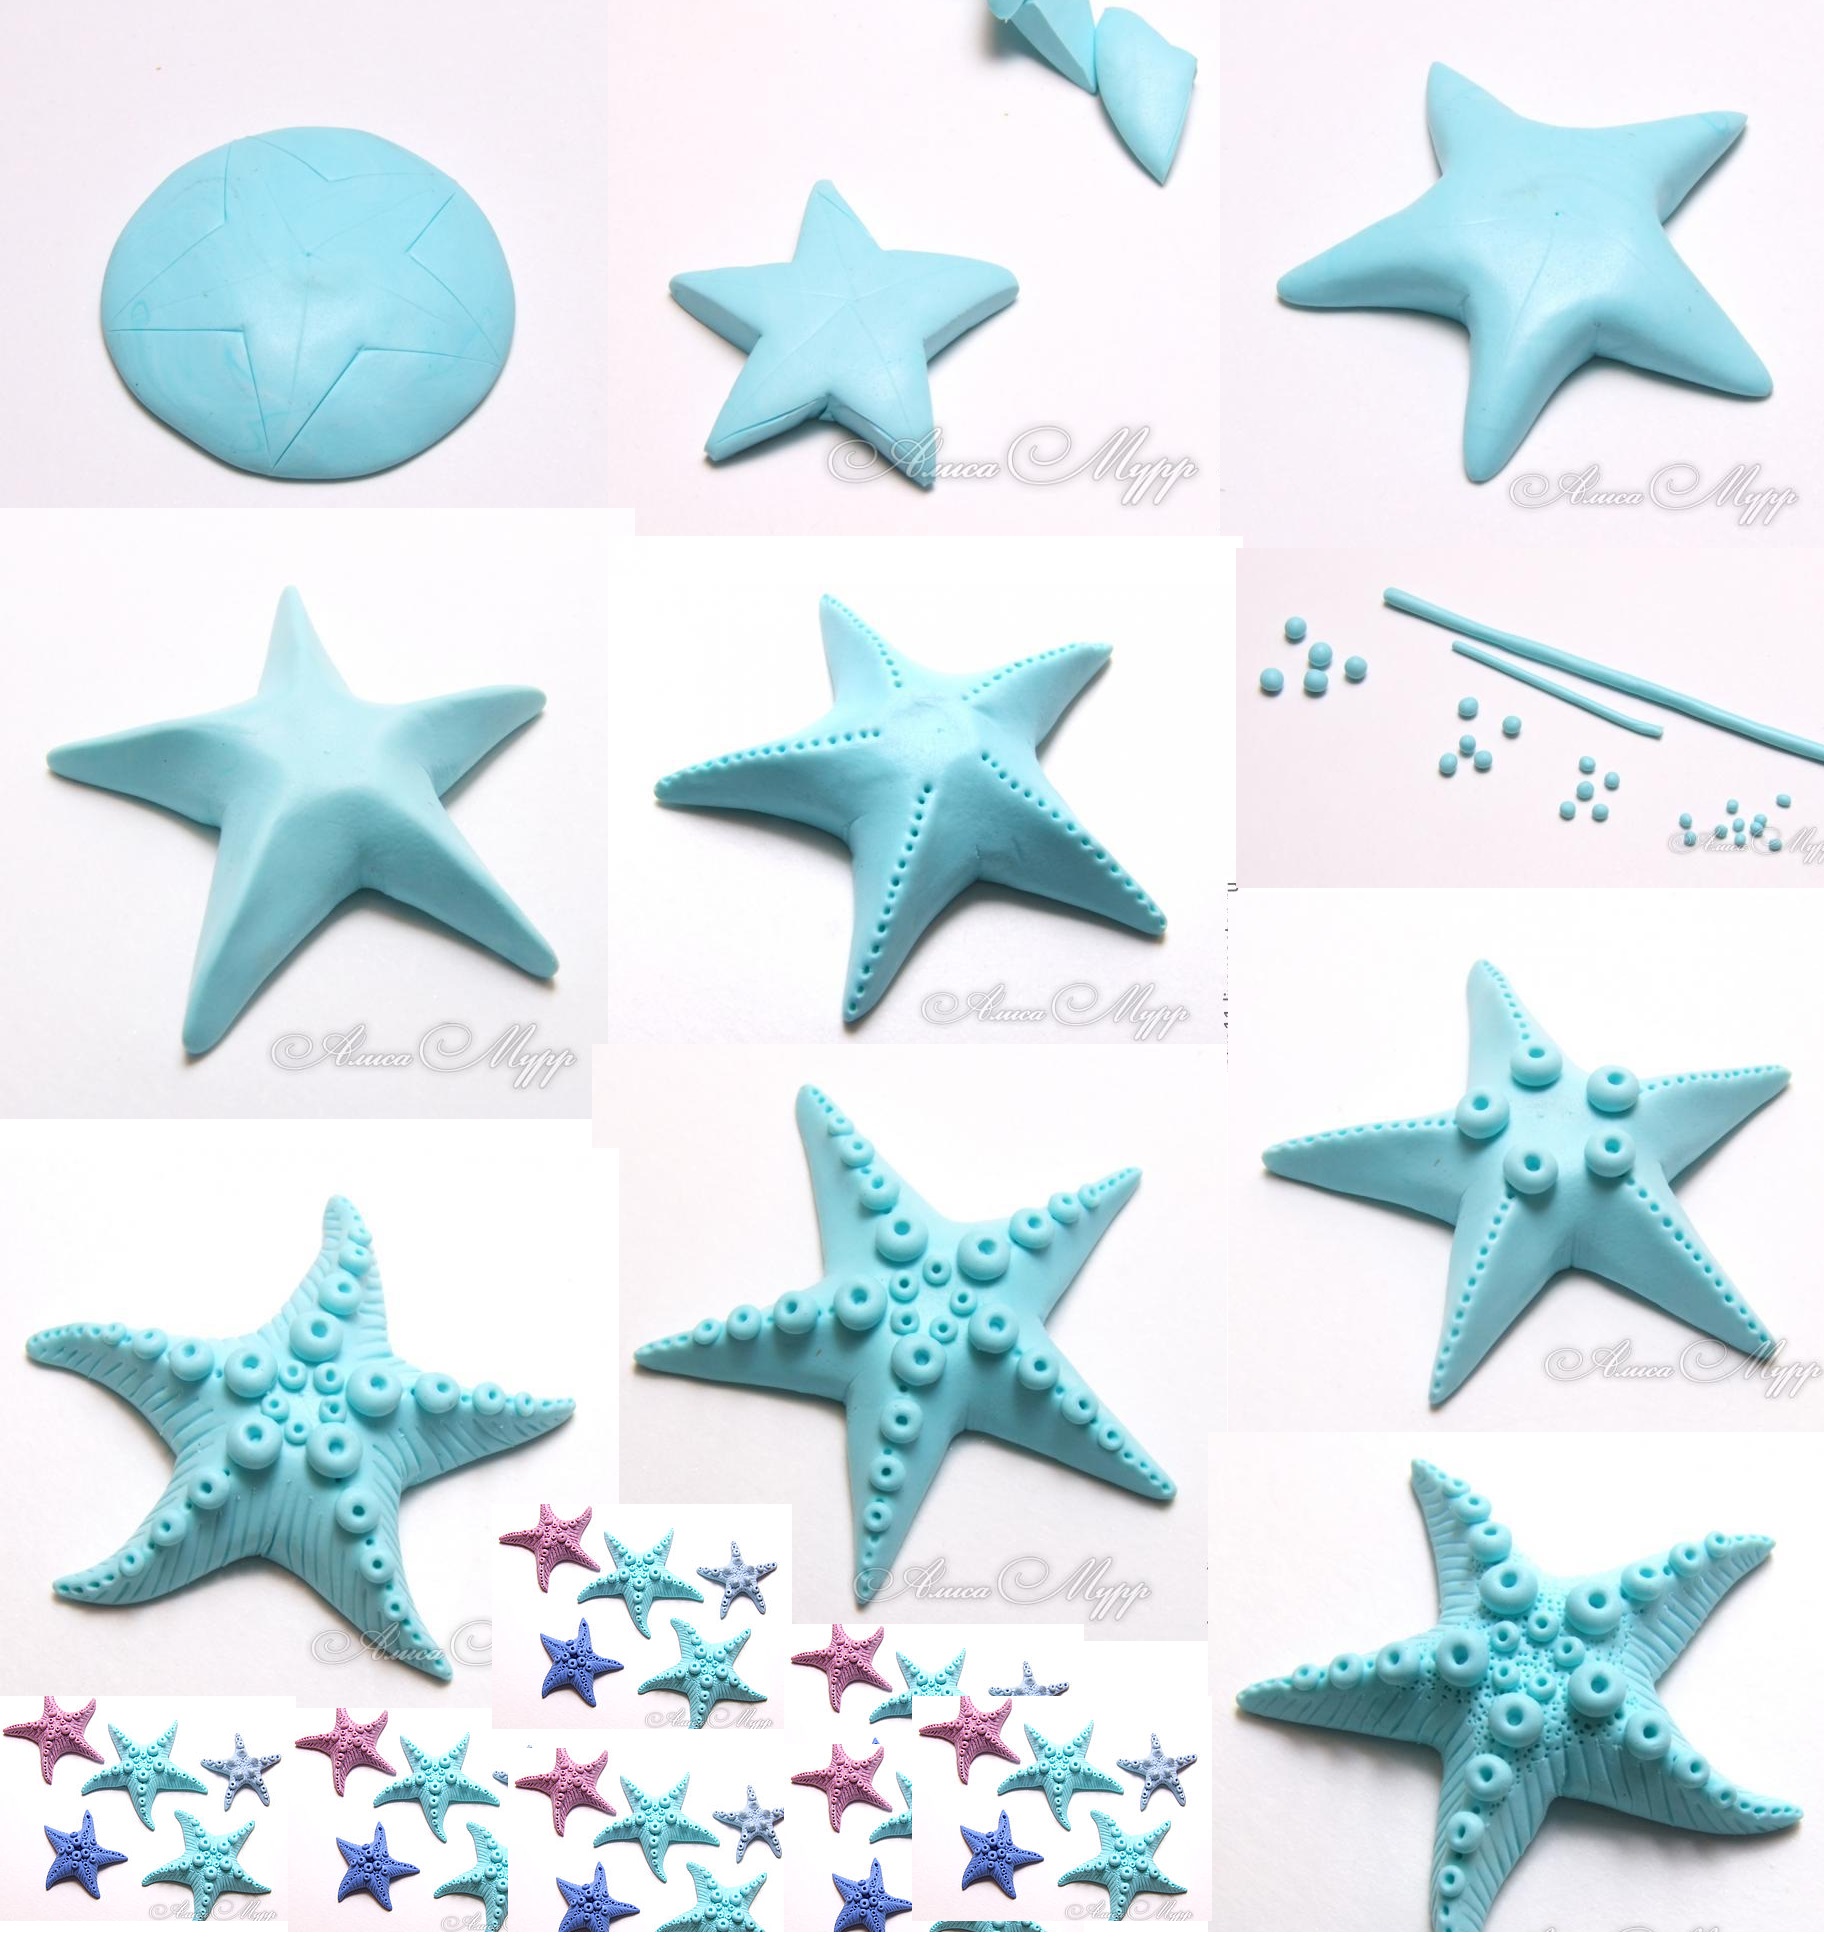
Take a piece of clay and make a bead out of it and press it leaving the edges a bit thinner. After pressing the bead, cut a star. If you don’t have a star cutter it’s better to draw a star on paper and use it to cut a perfect star.

sea-star-tutorial-1

sea-star-tutorial-2

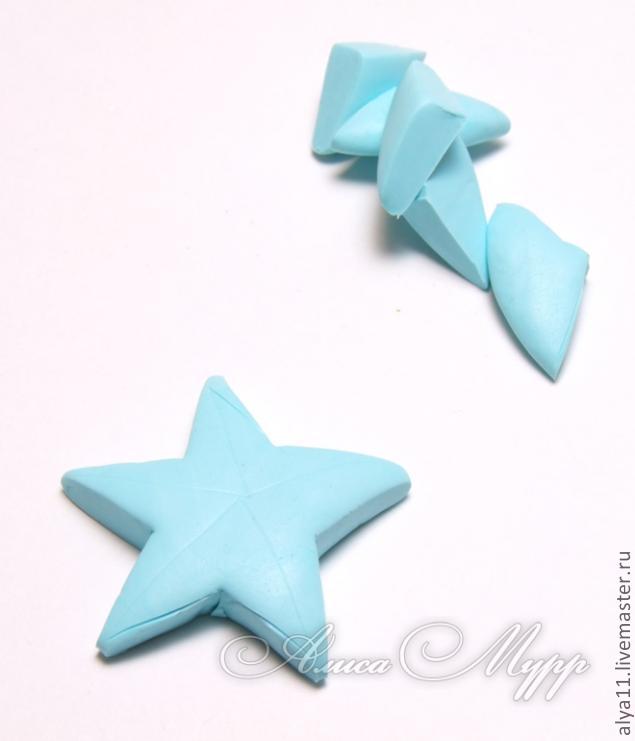
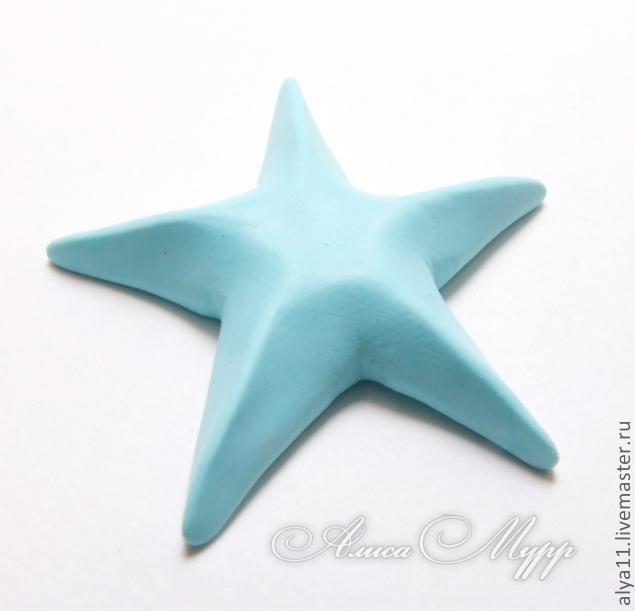
Trim the edges using your hands. Our project start looking like a polymer clay sea star.

sea-star-tutorial-3

sea-star-tutorial-4

If you expect to make jewelry, not just a souvenir or decor elements, you need a hole for fitting and now it’s the perfect time to make it.

Leaky needle gently ribs along the entire length of the sea star.

sea-star-tutorial-5

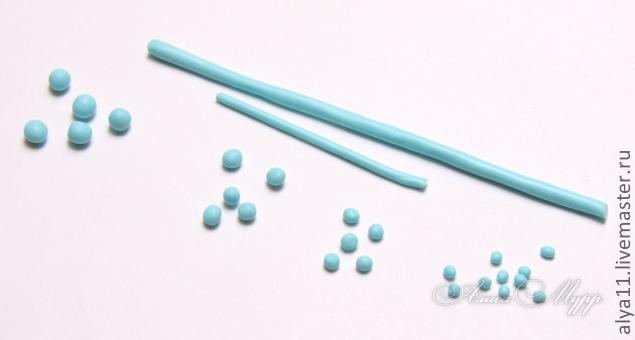
Out of the rest of polymer clay (from cutting the star) make two sausages in different dimensions, cut equal parts from them and make little balls.

sea-star-tutorial-6

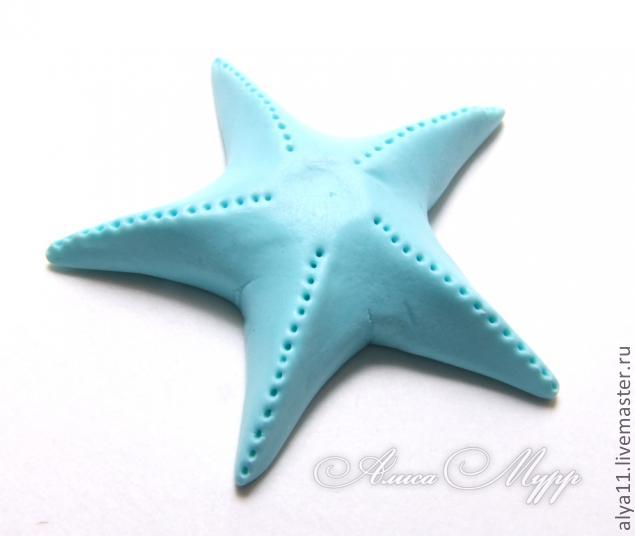
Now it’s time for decorating our polymer clay sea star! put 5 balls in the middle of the star and make a hole in the beads.

sea-star-tutorial-7

sea-star-tutorial-8

For decorating you can use your imagination, our star looks like this.

sea-star-tutorial-9

Needle gently scratched star side, making grooves.

sea-star-tutorial-10

For the last step in this polymer clay sea star tutorial you have to  do small needle holes in the empty places (very, very easy, barely touching).

sea-star-tutorial-11

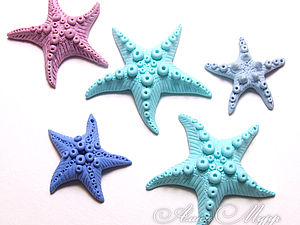
Here are some variation of colors and decor patterns. Thanks to livemaster.ru

sea-stars

To share on Pinterest this polymer clay sea stars tutorial I recommend you to use this photo:

Polymer clay sea stars tutorial - step by step

I have a lot of nice things to share! So see you later for more free polymer clay ideas and tutorials!

You may consider following to follow my Pinterest page to get updates on free fimo diy tutorials.
######
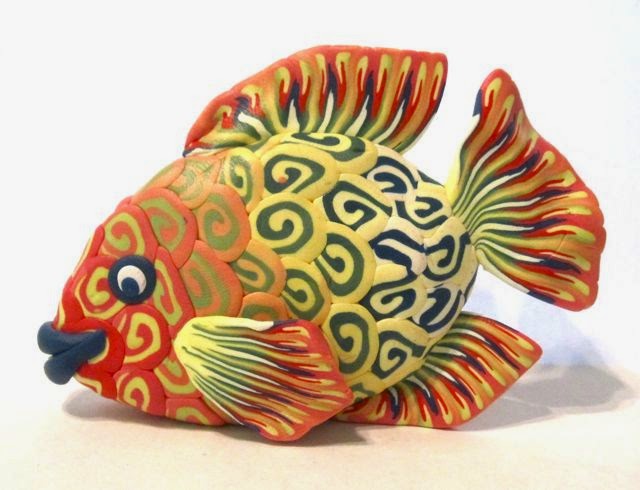
Polymer Clay Fish Tutorial

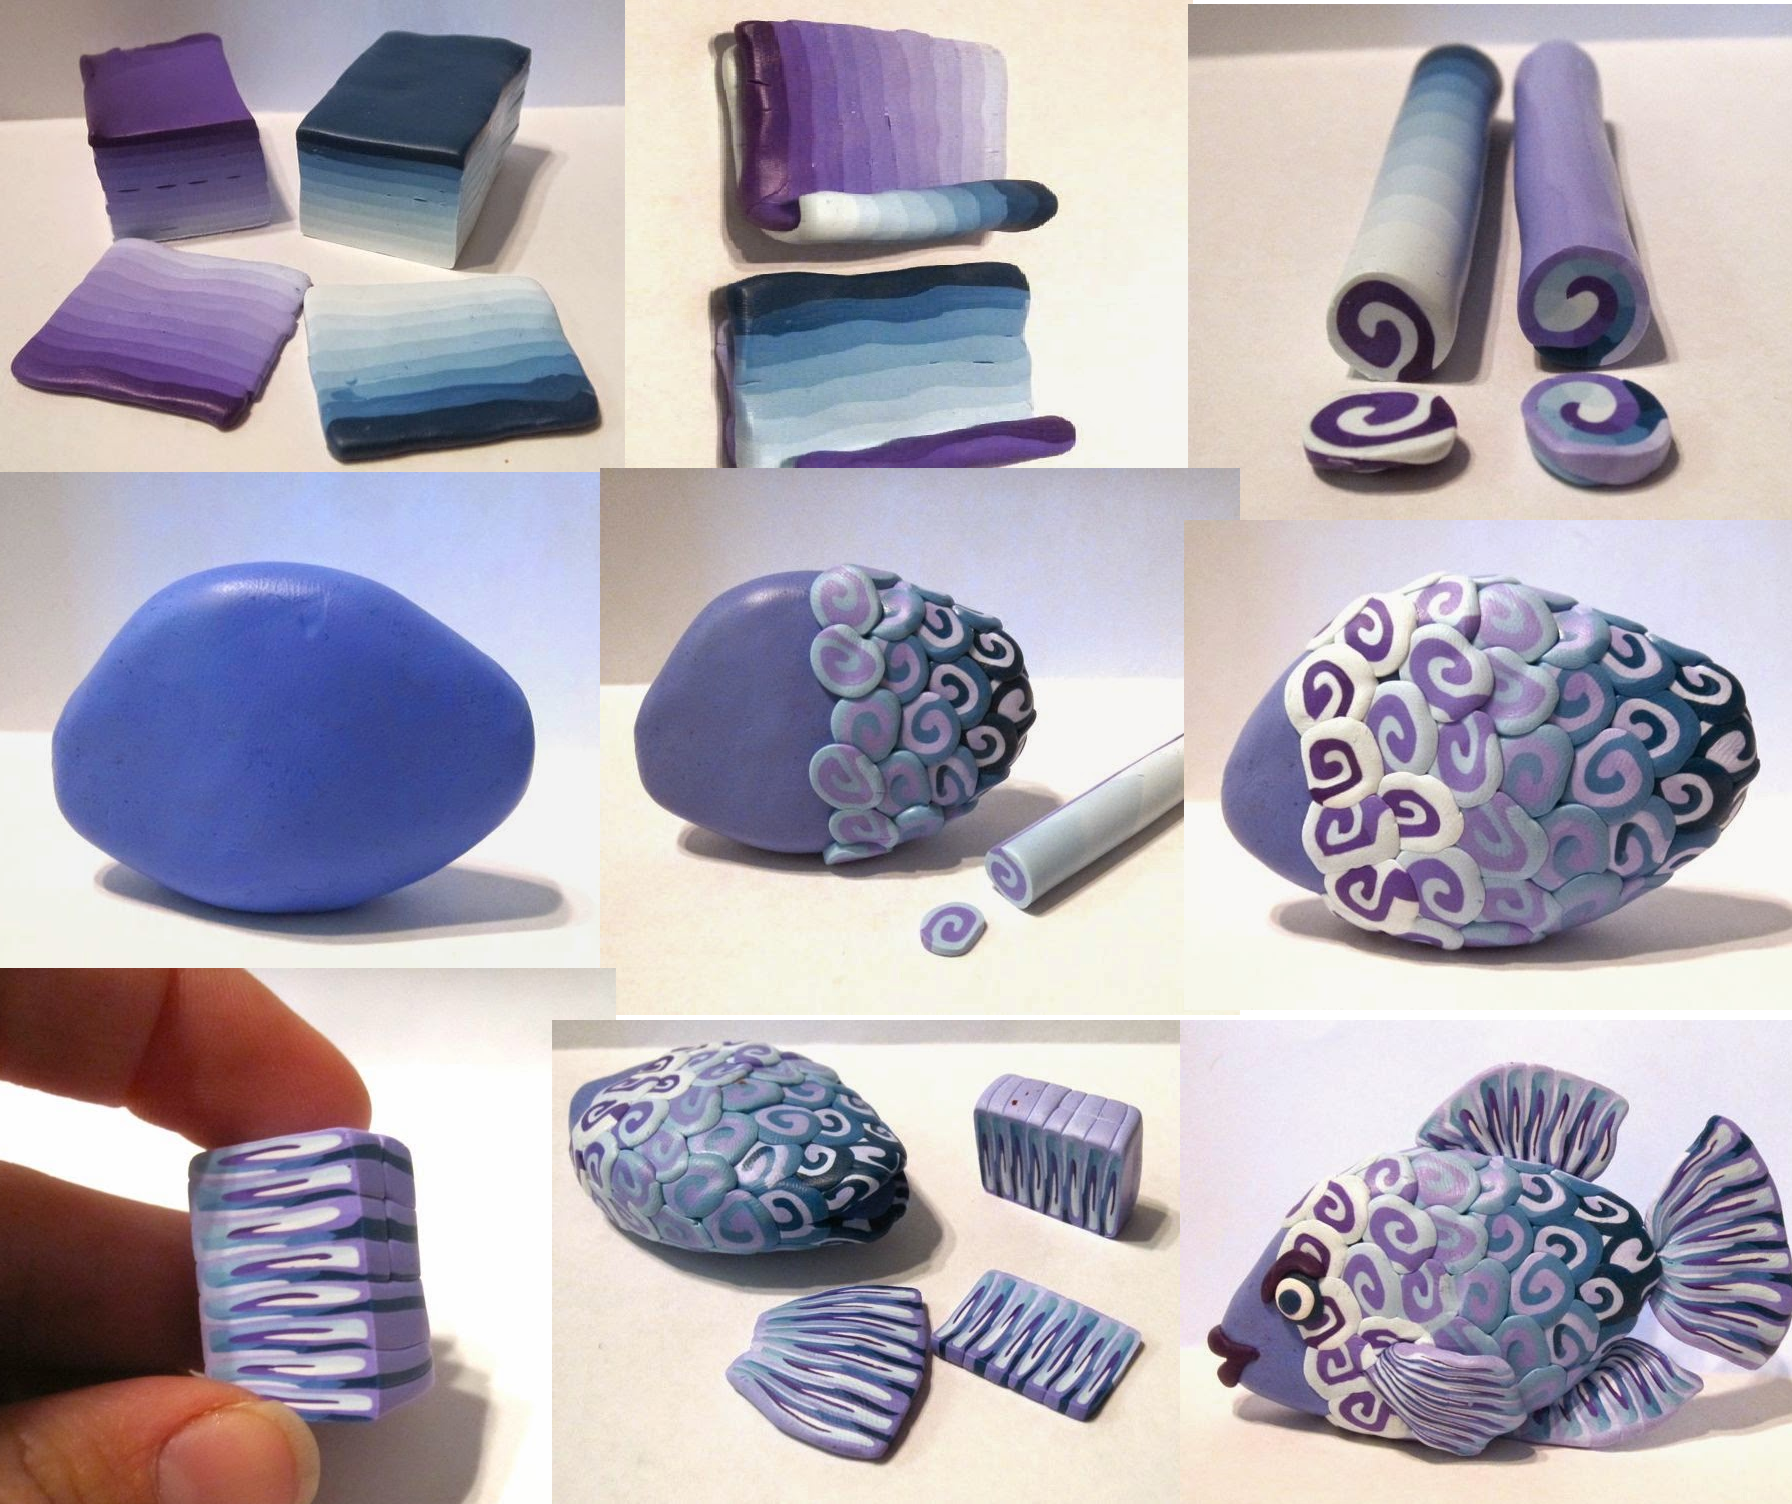
Dear reader, it’s time to make your own polymer clay fish. I hope you find this polymer clay fish tutorial easy and that you’ll try it. After all practice make perfection!

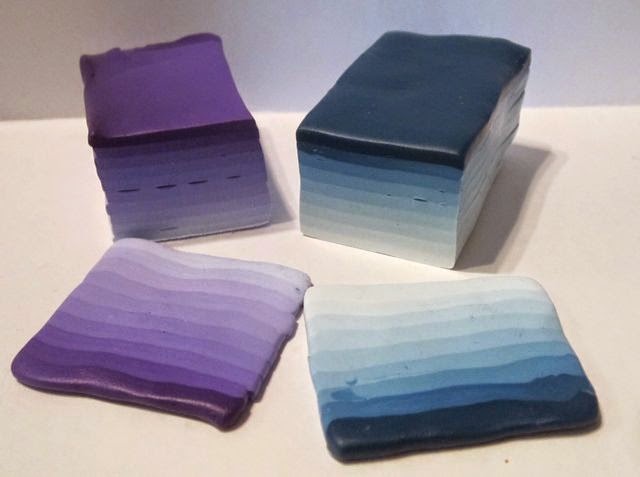
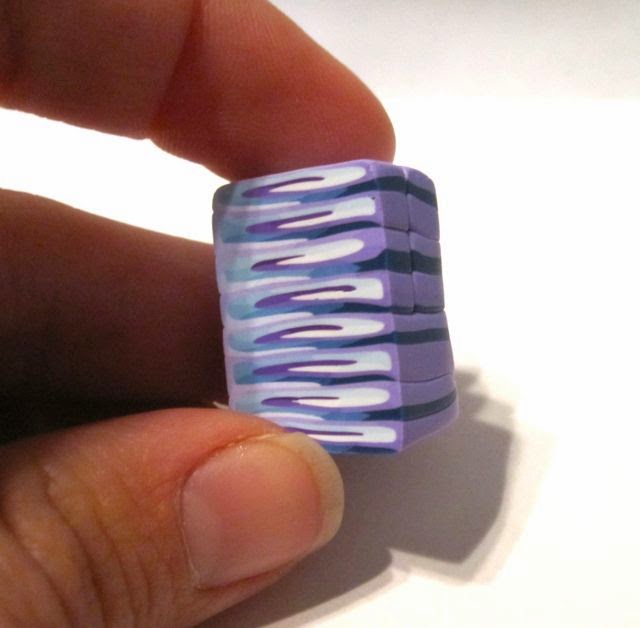
You need 2 colors and with polymer clay. Make two blocks of gradient clay as shown in the next figure

jelly-roll-fish1

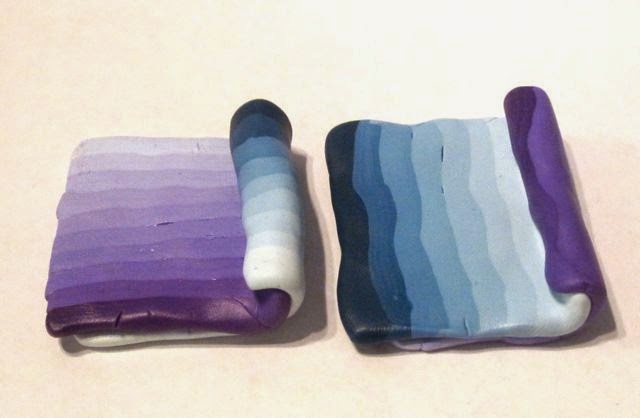
For the next step cut a sheet of the color and roll it as shown in the next photo.

jelly-roll-fish2

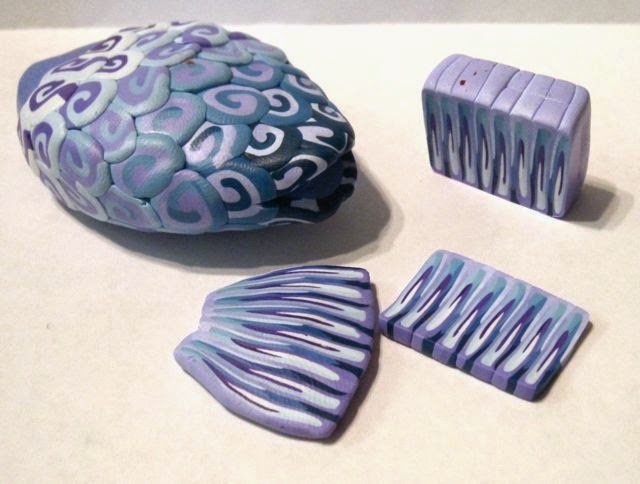
Once you have the rolls all that remains is to cut them in thin strips.

jelly-roll-fish3

In next step you have to form the fish body as shown in the next photo. The dimensions of the body depends on what you need it for.

jelly-roll-fish5

For next step layer slices o the body like scales. For the best effect start layering from he tail and work towards the head.

jelly-roll-fish6

jelly-roll-fish9

For the tail you have to combine and flatten the rest of the roll cane.

jelly-roll-fish10

Cut slice of the cane and squish one end of each slice. This will be the tail and fins for your polymer clay fish.

jelly-roll-fish11

Add eyes and the mouth to your polymer clay fish.

jelly-roll-fish12

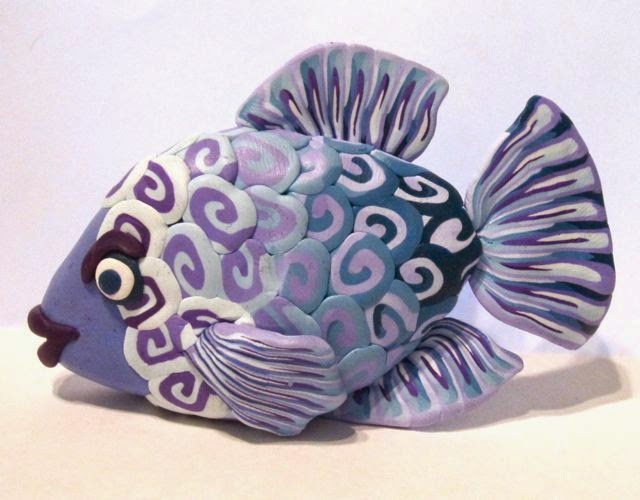
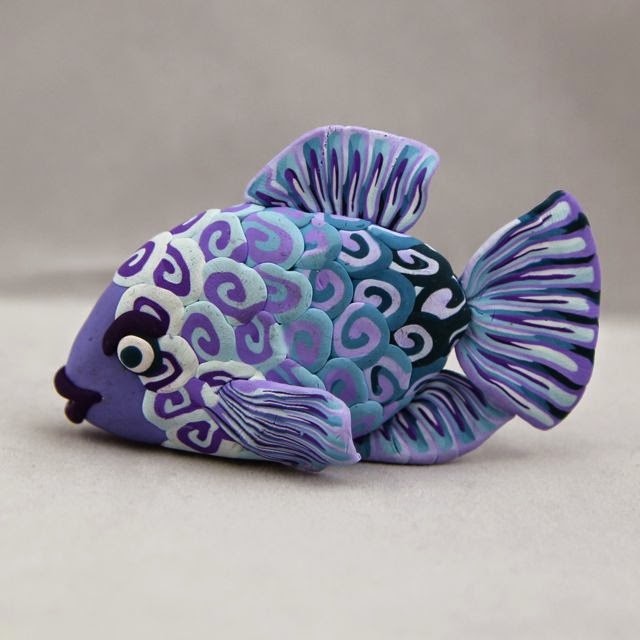
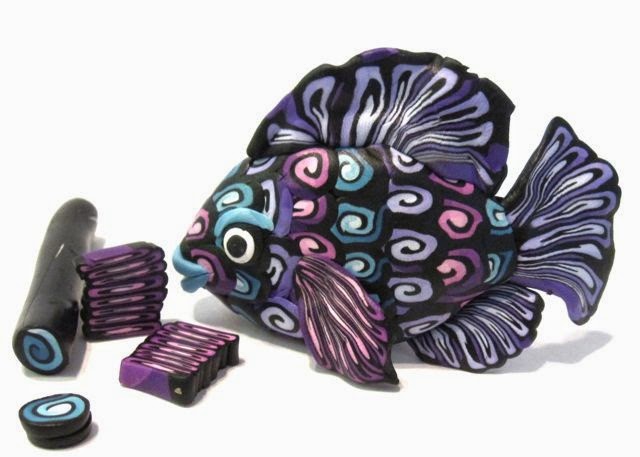
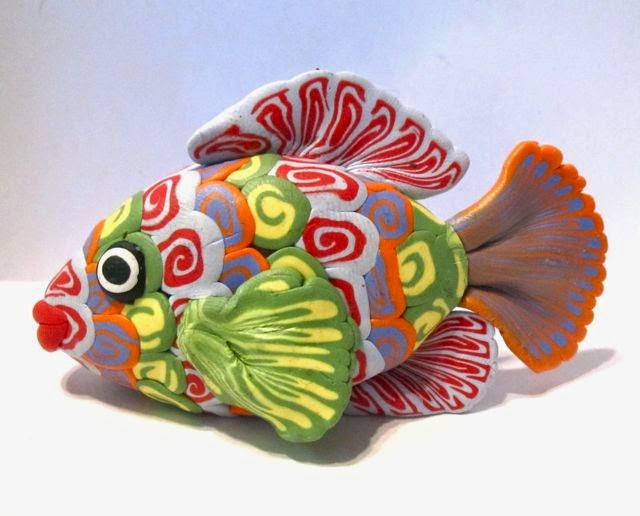
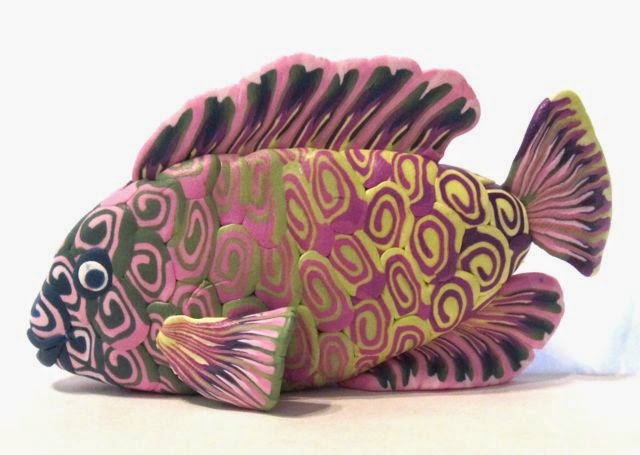
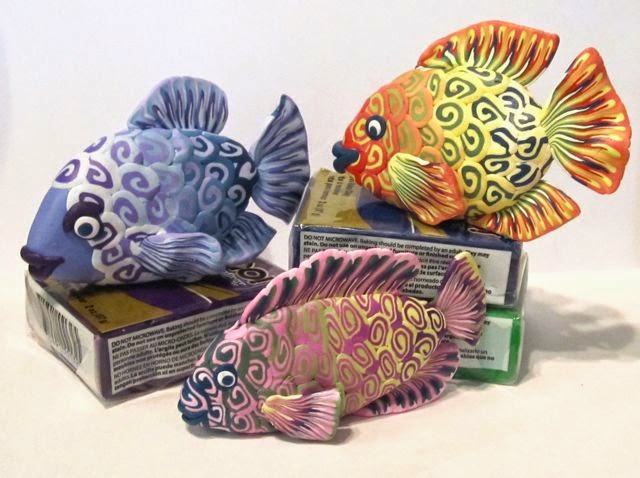
Here are some variations of colors to inspire you!

All the thanks to creatorsjoy.blogspot.ro!

polymer-clay-fish-tutorial


summer-camp-fish

crazy-polymer-fish

polymer-clay-jelly-roll-fish-2

polymer-clay-jelly-roll-fish-3

polymer-clay-jelly-roll-fish

I hope you enjoy this polymer clay fish tutorial! I would be grateful to see what’s the result of your work.

To share on Pinterest this polymer clay fish tutorial you may consider using the next photo:

polymer clay fish tutorial

If you have creations that you ant to share don’t hesitate to contact me! Until next time, I wish you all a magic polymer clay day! Keep creating and share with us your lovely ideas

Here is a link with many tutorials that fore sure you will enjoy!

You may consider following to follow my Pinterest page to get updates on free fimo diy tutorials.

 
######

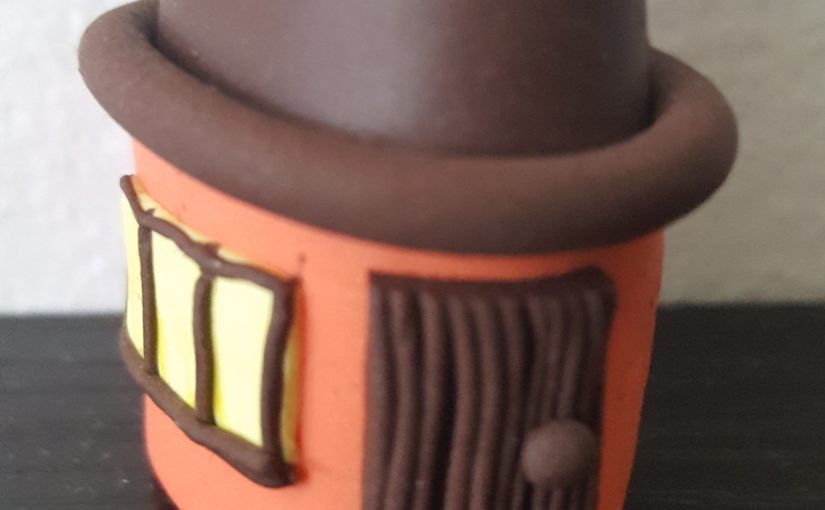
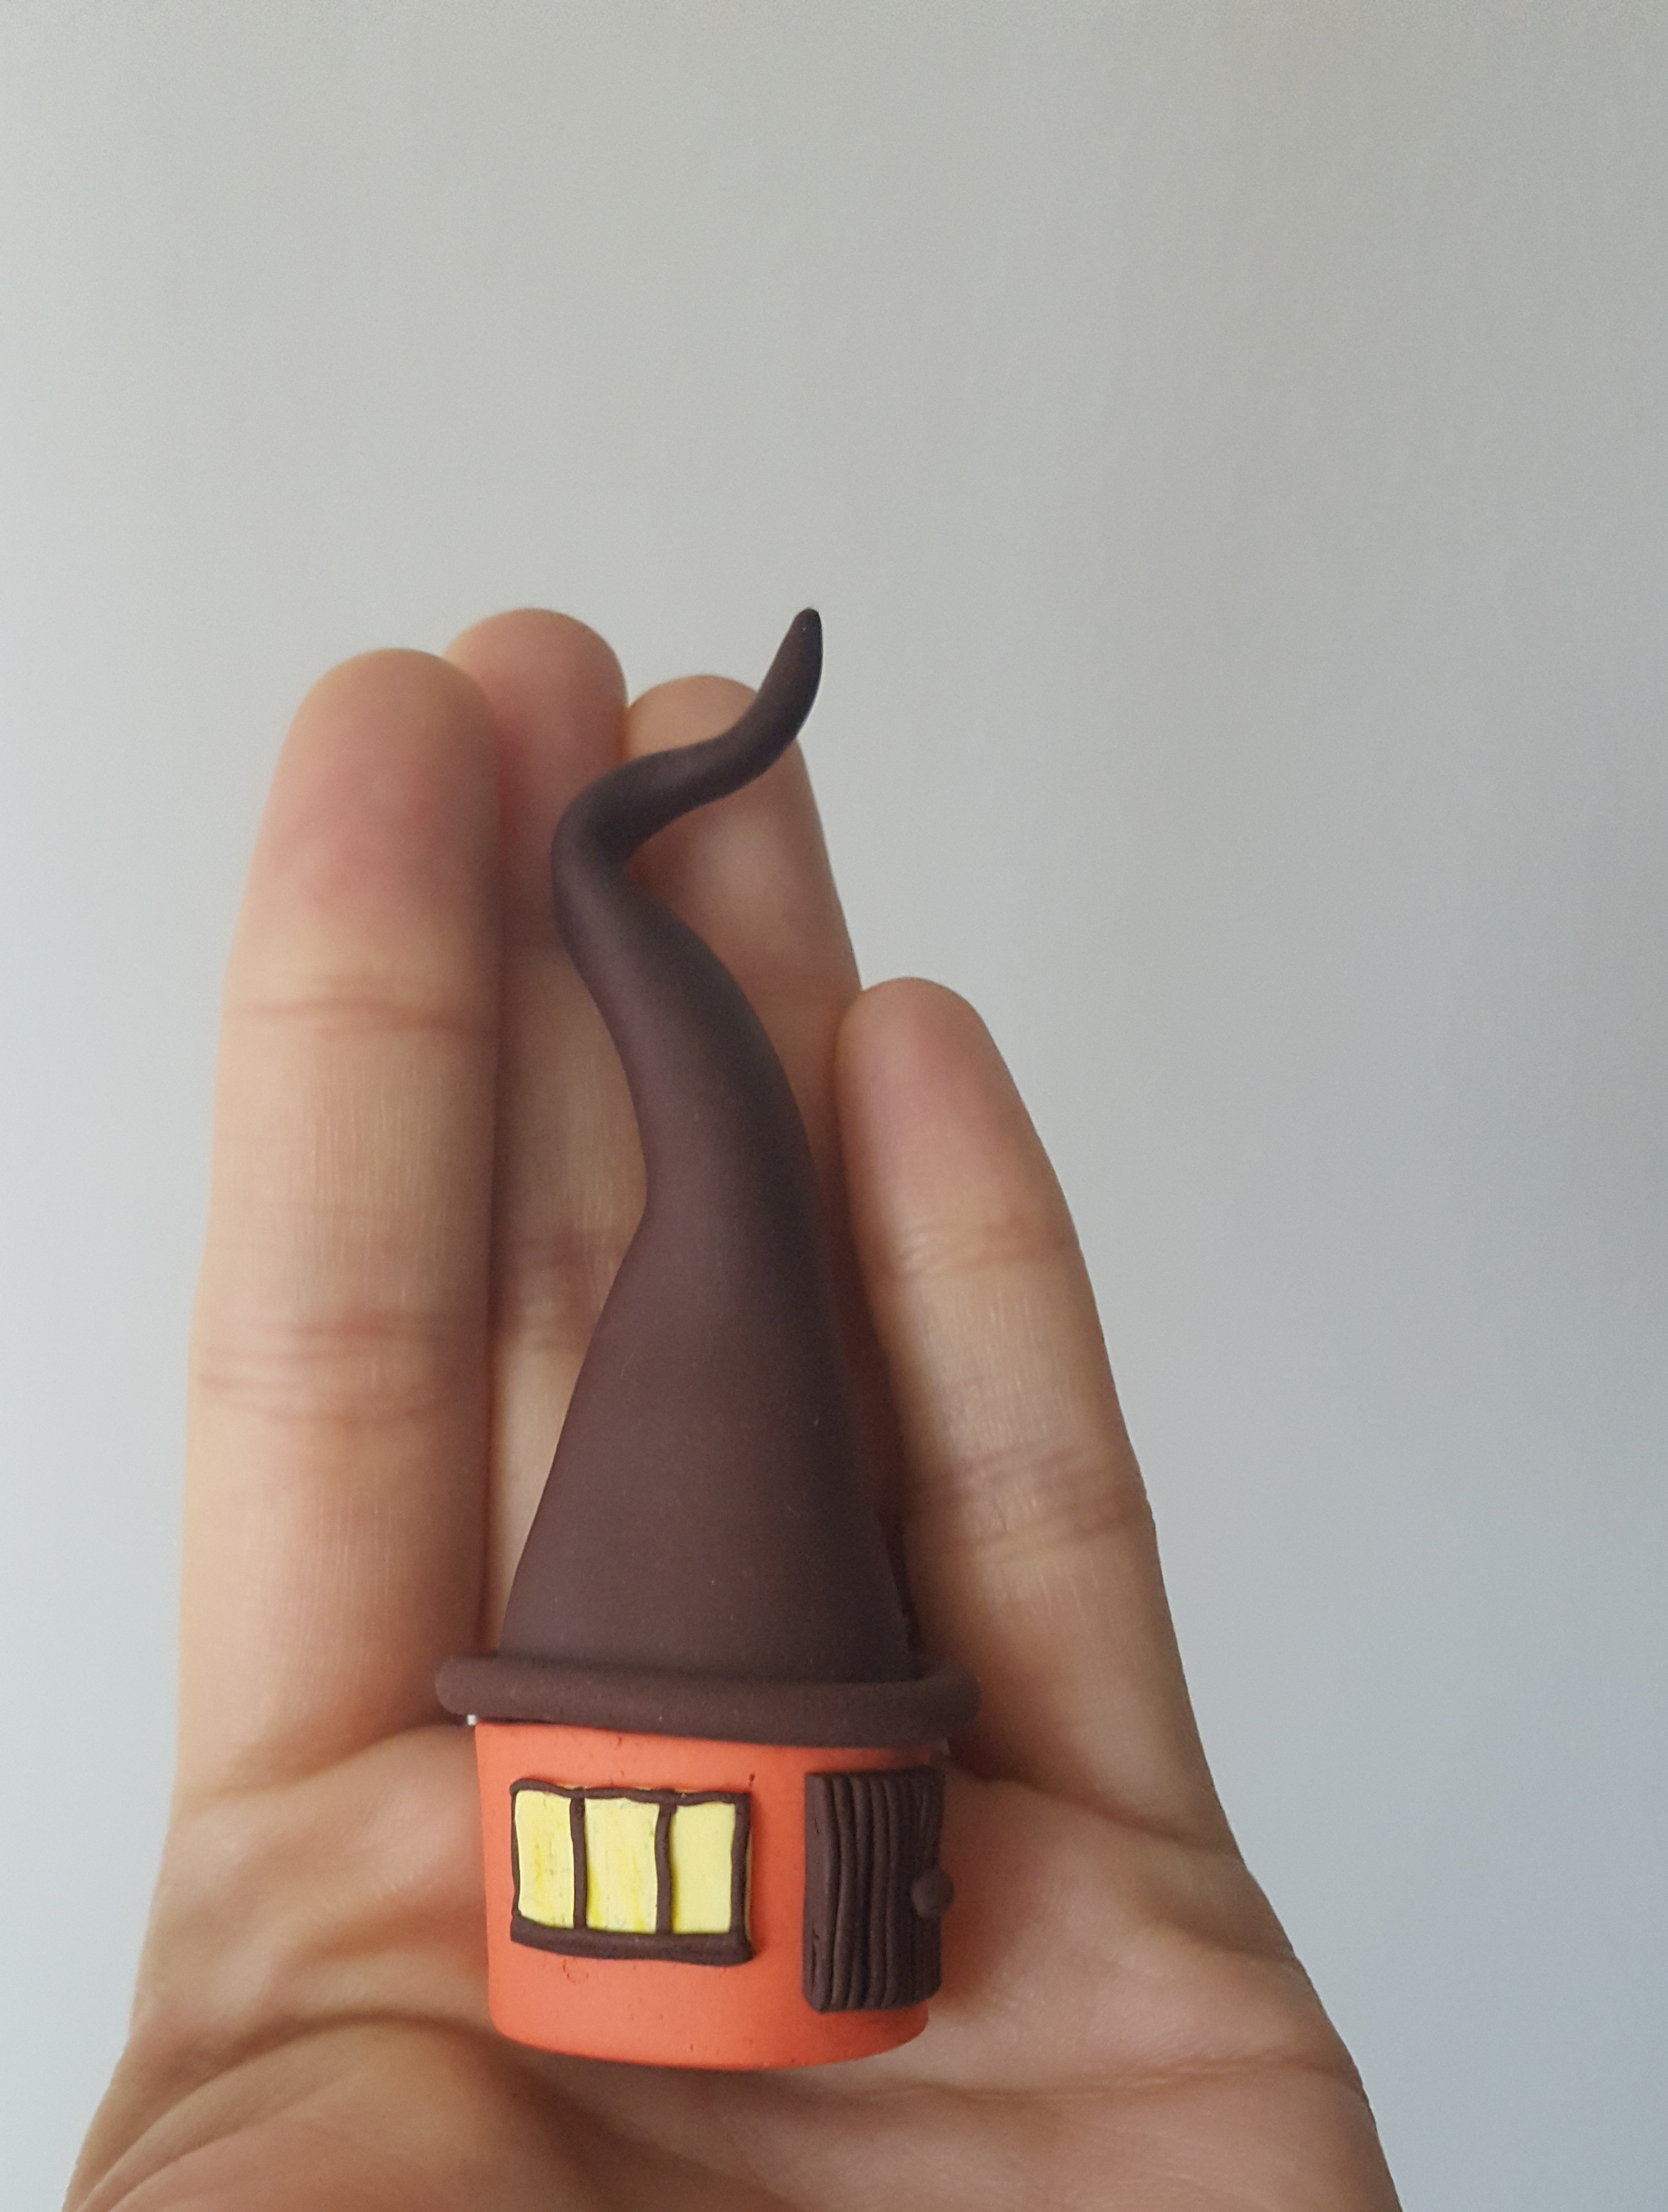
Polymer clay fairy house tutorial

I don’t know anyone who doesn’t have loved childhood stories. This polymer clay fairy house tutorial is for the child in our soul and his memories.

If your baby sleep with stories, this should definitively be a project for both.

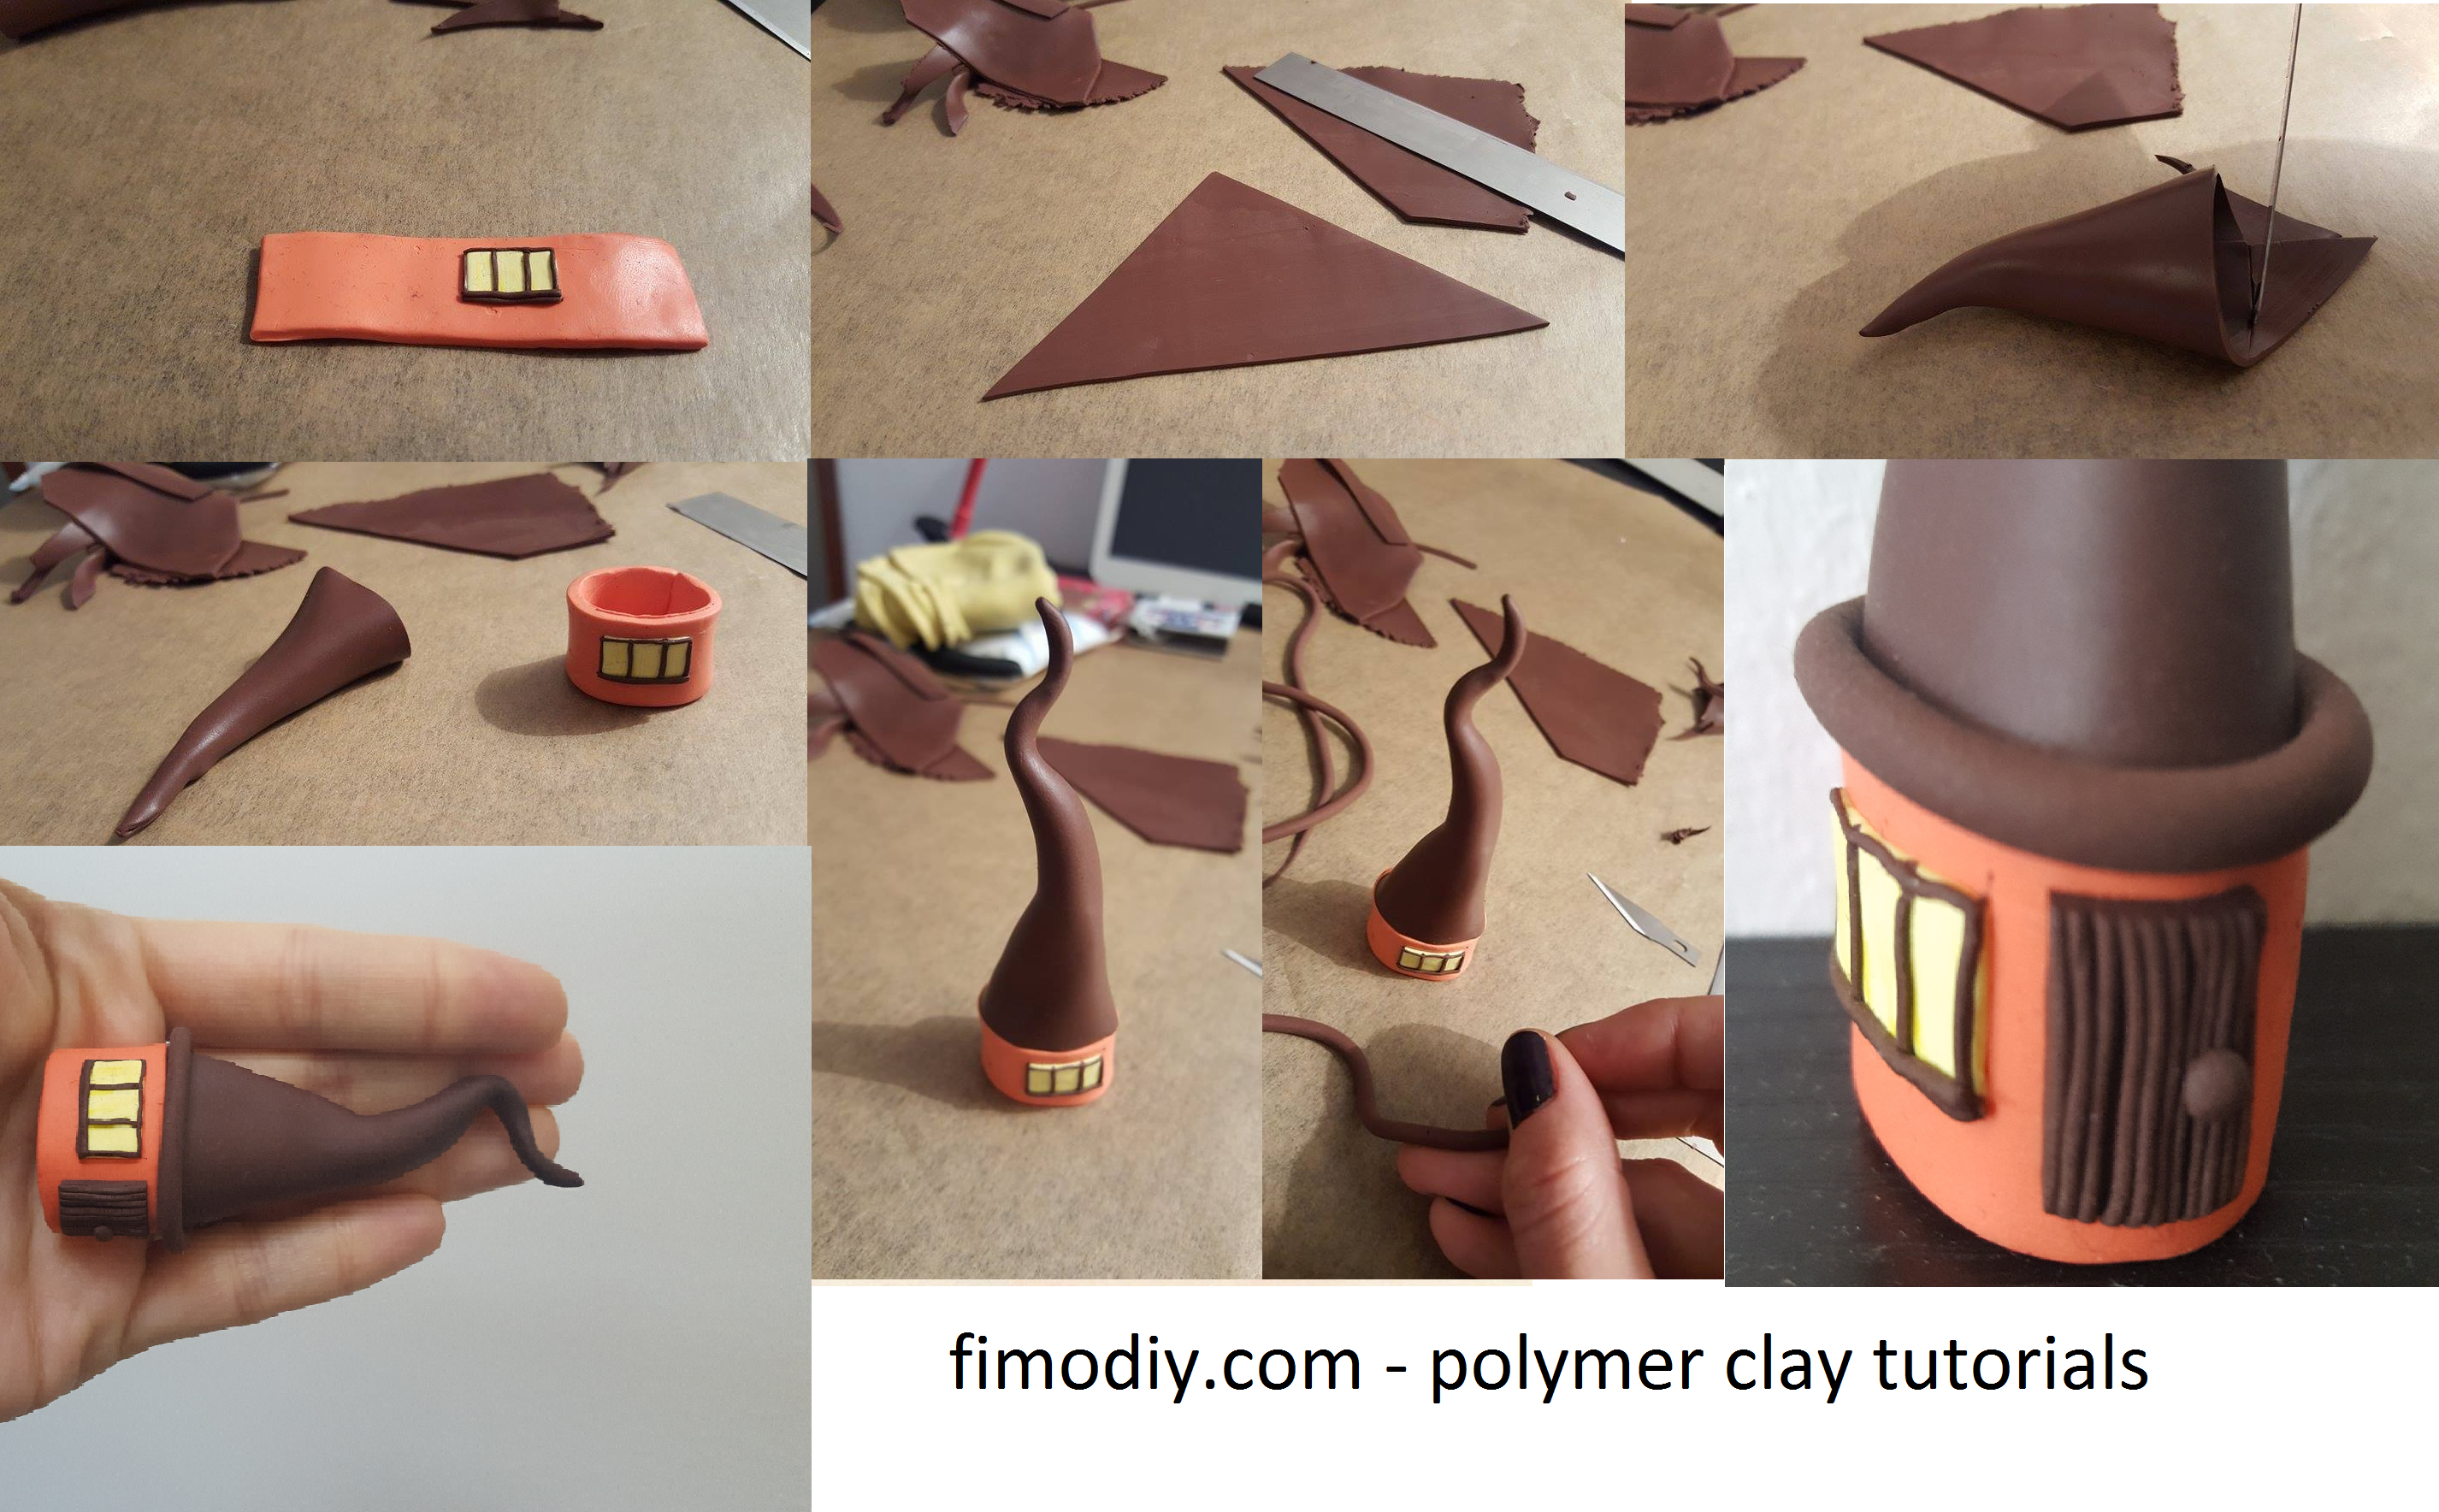
For making a fairy clay house you will need orange, yellow and brown clay and a cutter.

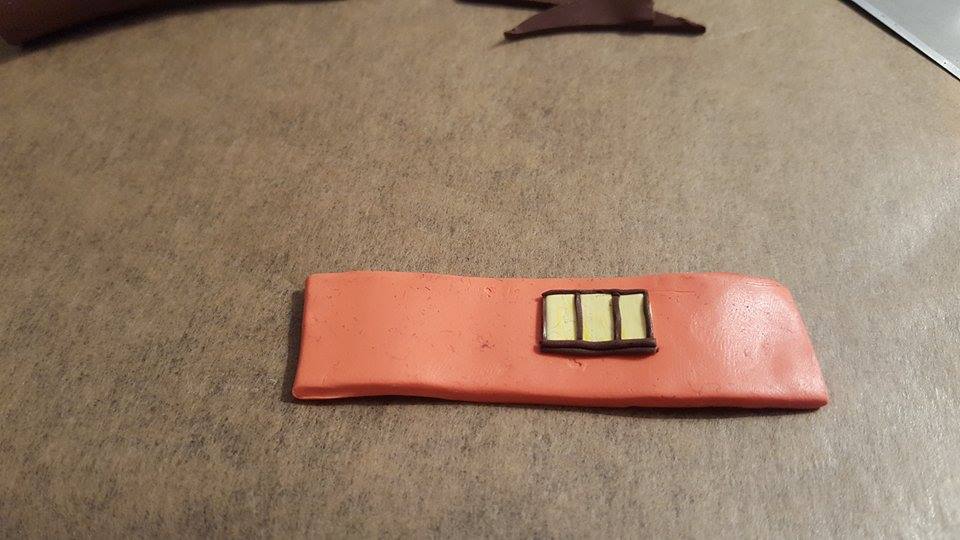
Make a thin strip from orange cay and cut a rectangle out of it.

Then make a much smaller rectangle from yellow clay. Split it by three and with tiny brown clay threads surround them. This will be the window of the fairy house.

clay-walls-intermediar-step-for-the-fairy-home

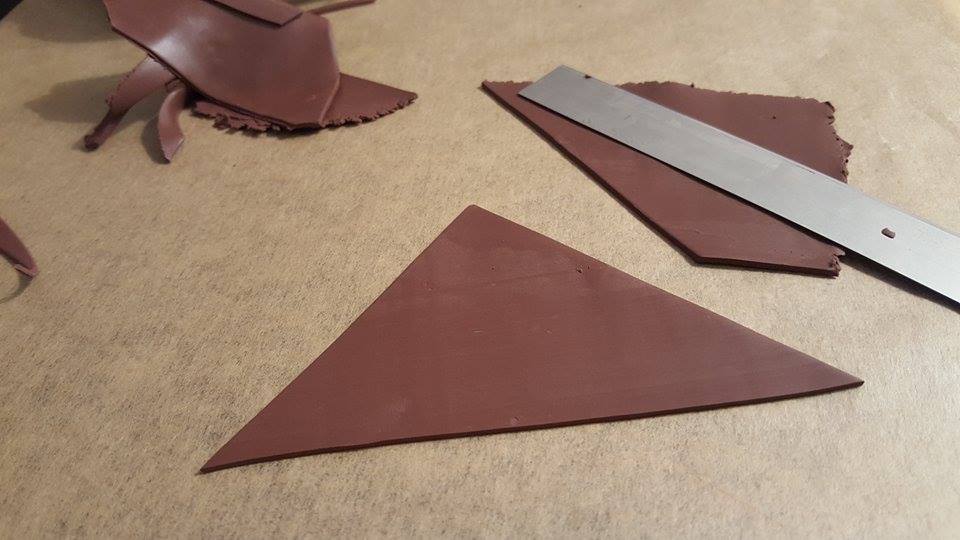
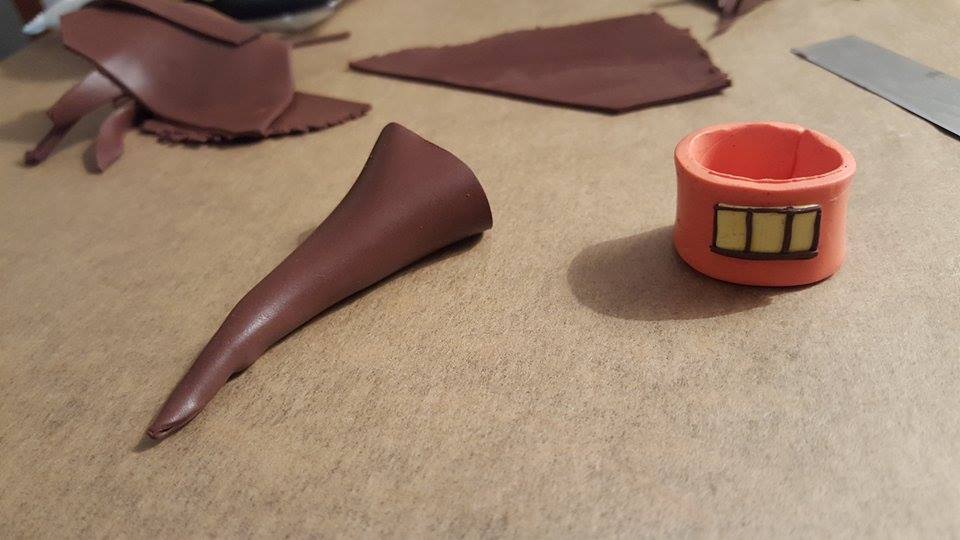
Make a thin strip with brown cay. Cut a triangle out of it. The higher you want to go the roof, the smaller should be the base. I wasn’t a  fun of geometry, but now it seems so easy!

how-to-cut-clay-for-making-a-roof

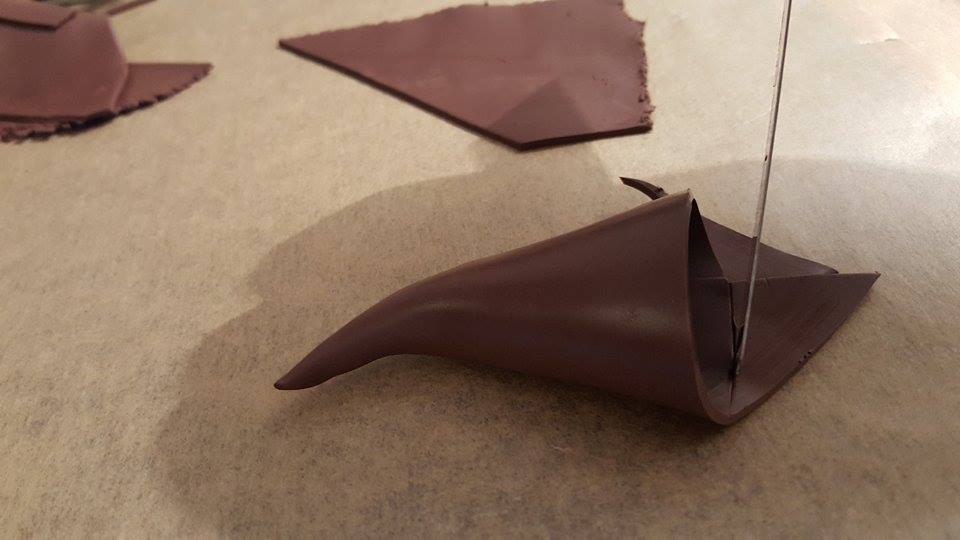
Then cut out the extra clay, the base should be a circle whit the same circumference as the house. You can measure the length of the orange piece with a thread and cut small pieces of your cone

diy-fimo-roof

For the next stem you have to unite the widths of the orange rectangle.

modelling-a-fairy-house-out-of-fimo

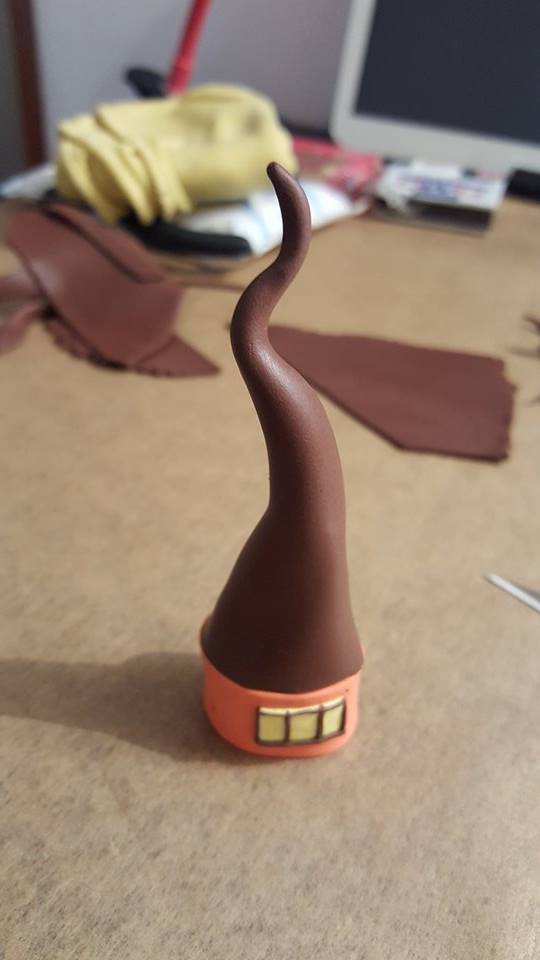
Yep, it started to look like a house!

fairy-house-clay

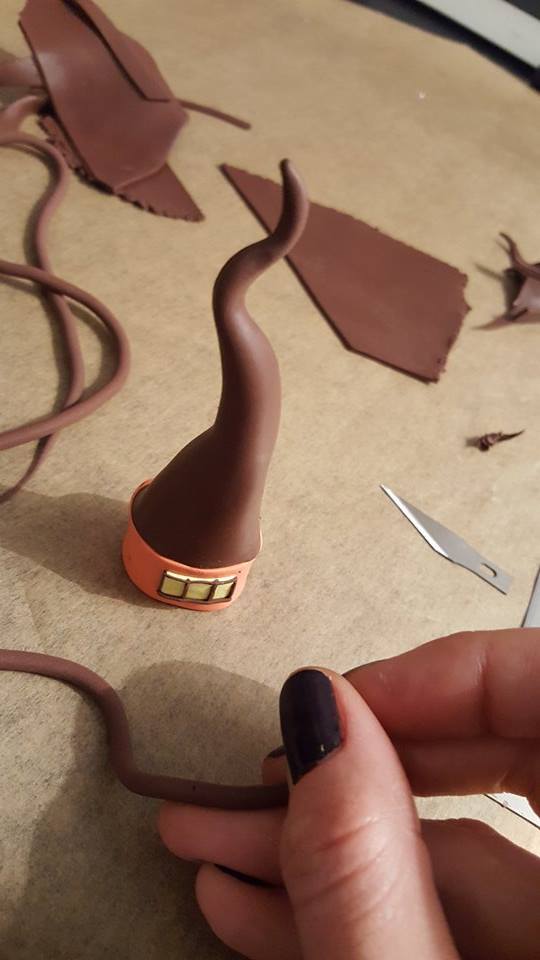
It’s time for the eaves. I used a clay extruder with the circle opening to make a brown thread and I covered the line that combines the two pieces of the fairy house: the walls and the roof.

diy-fairy-house

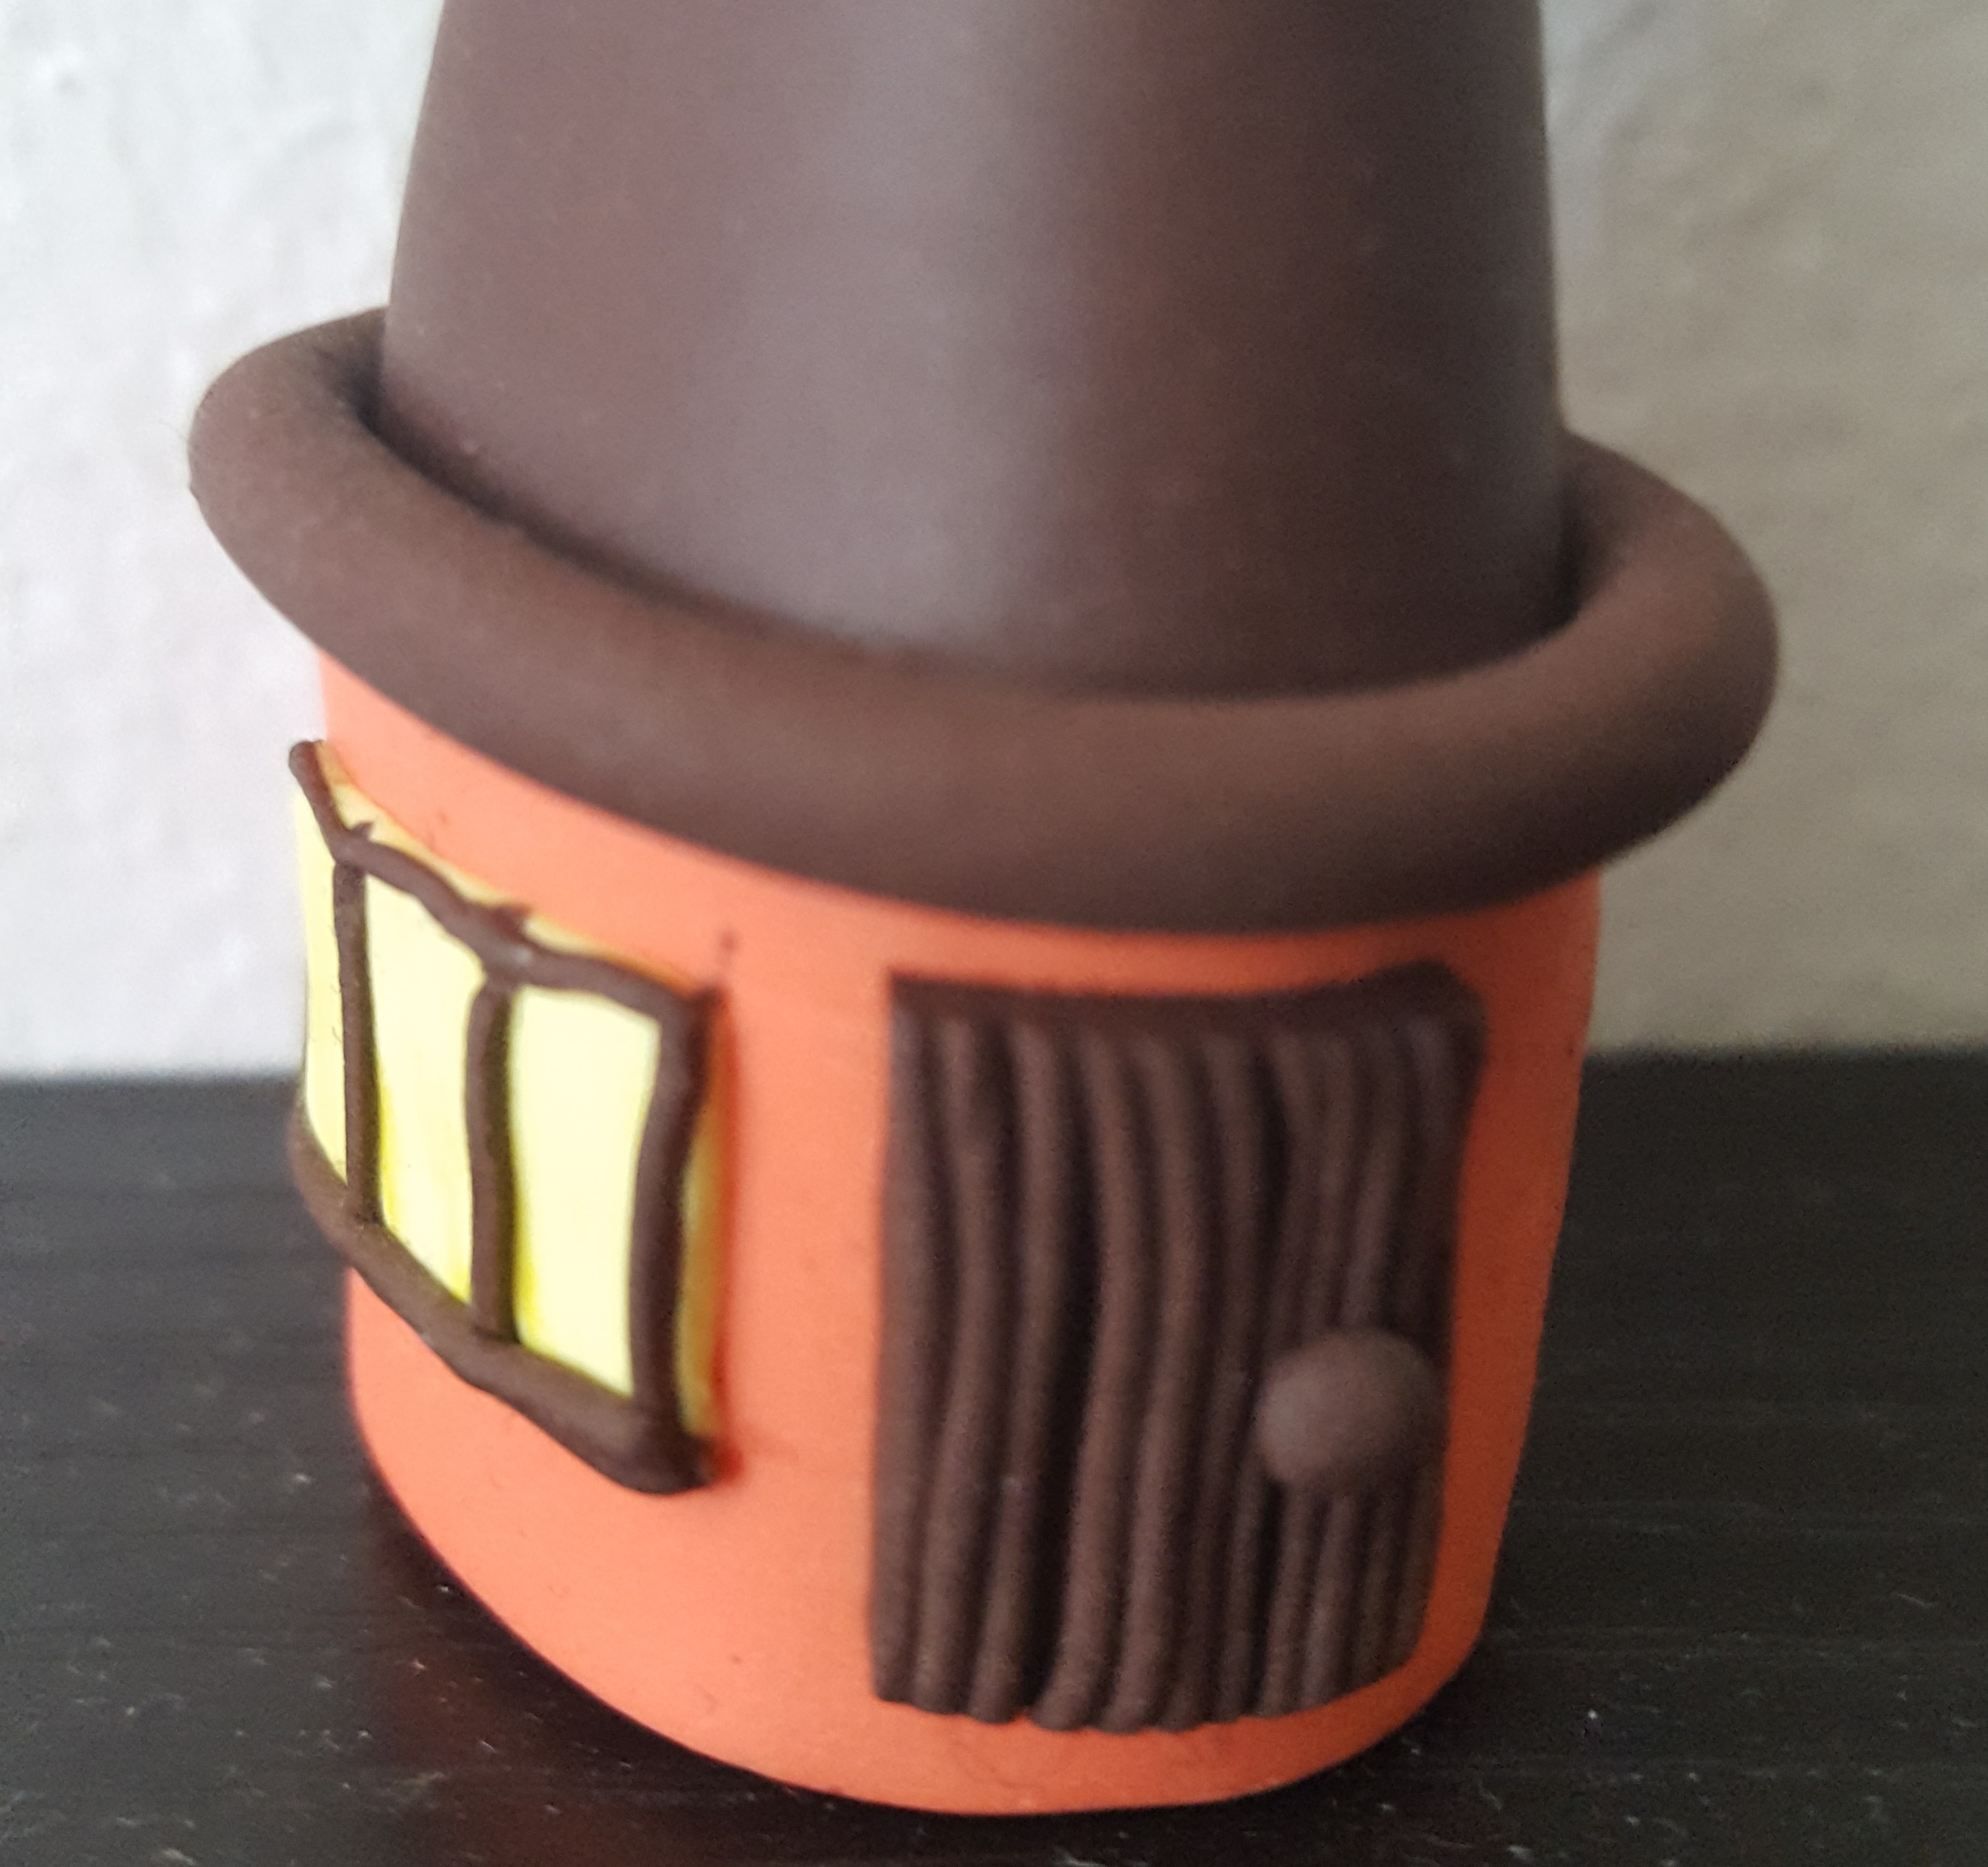
Fore more credibility you can also add the door.

clay-door-for-house

This is my polymer clay fairy house. I hope you enjoyed this tutorial! See you later for more free tutorials!

clay-fairy-house

You may consider using this photo to share on Pinterest.

polymer clay fairy house tutorial

See you later for more tutorials. You may consider following to follow my Pinterest page to get updates on free fimo diy tutorials..
######

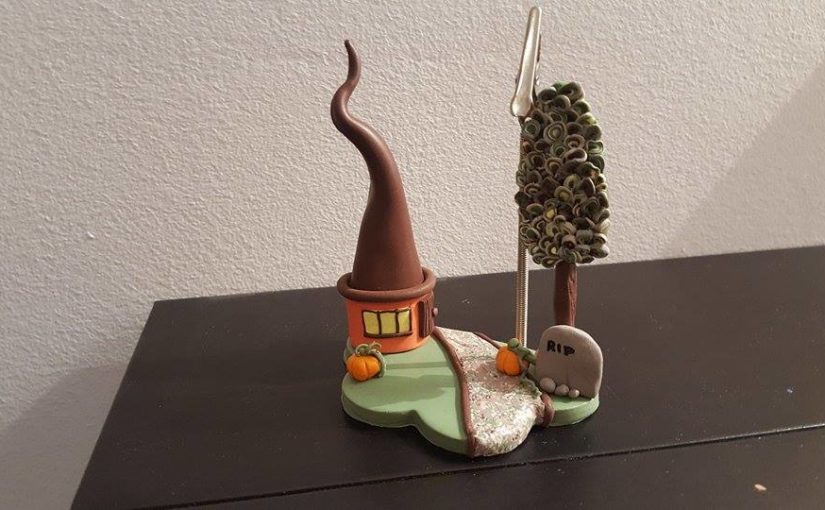
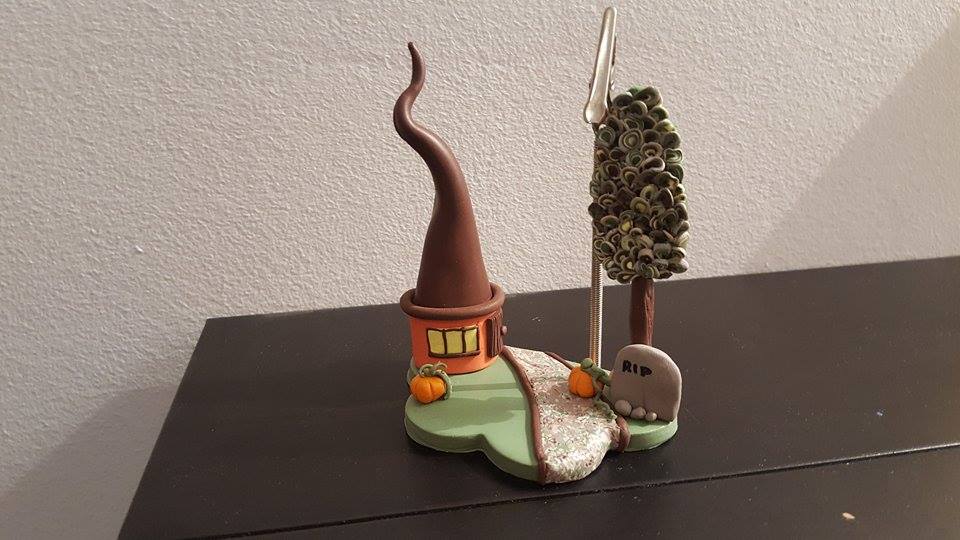
Polymer clay Halloween photo frame/ card holder

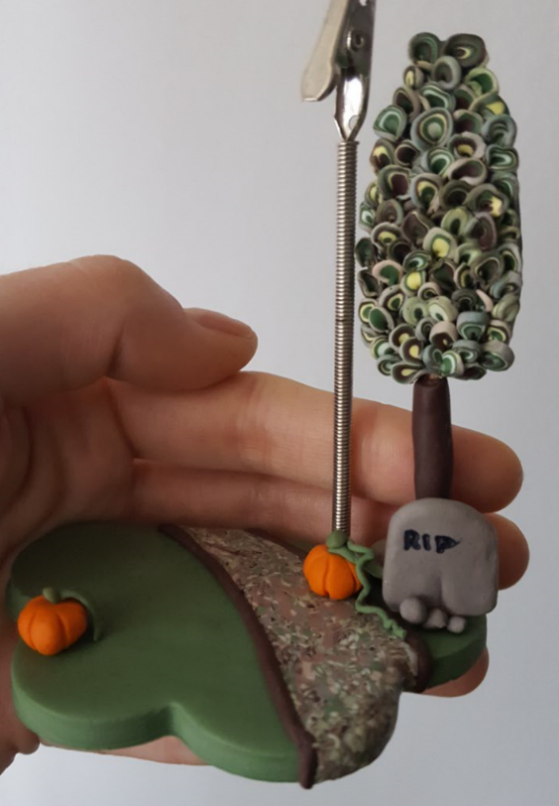
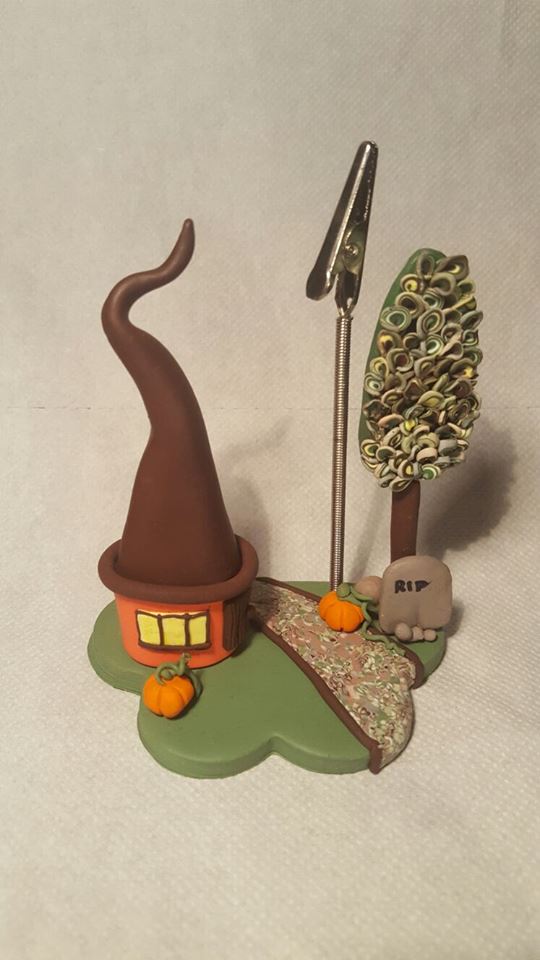
In anticipation of Halloween, I create a tutorial on how to make Polymer clay Halloween photo frame. This beautiful polymer clay landscape will be a perfect home decor and will replace your photo frames. Using polymer clay is the cheapest  way to decor your home for every occasion.
Let’s get started with our polymer clay landscape for Halloween project!

tutorial-on-how-to-create-a-clay-landscape-for-halloween

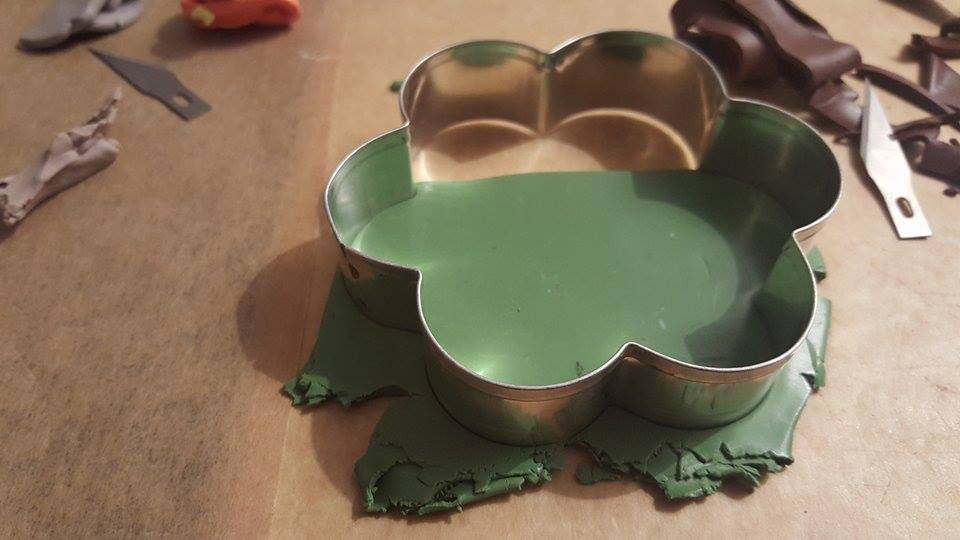
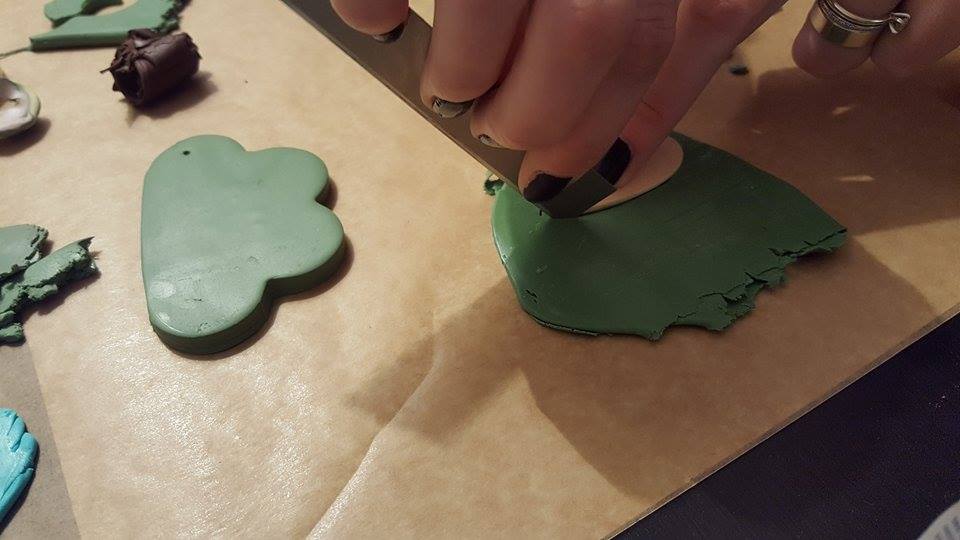
First you have to make a green thick strip and cut it and cut it as shown in the picture below. This will be the base for  our landscape.

diy-fimo-clay-landscape-base

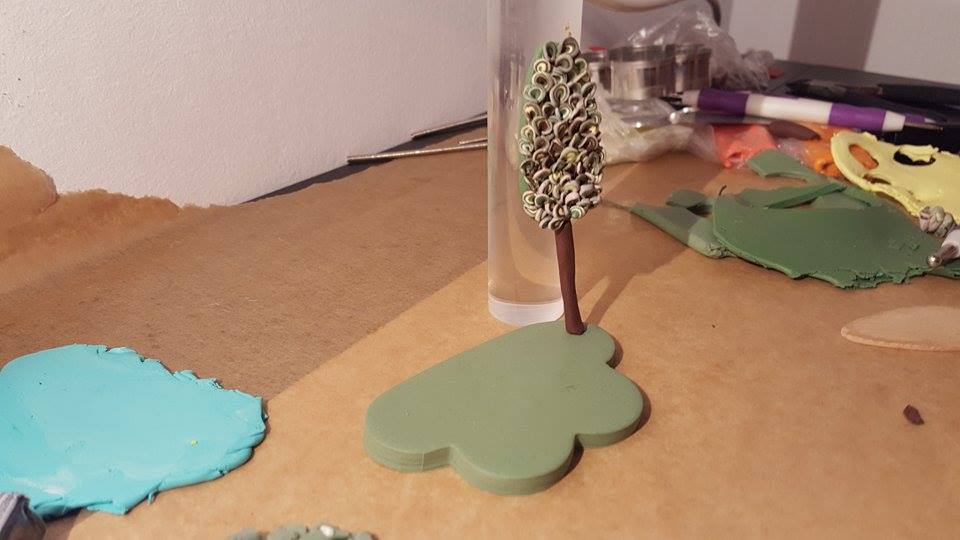
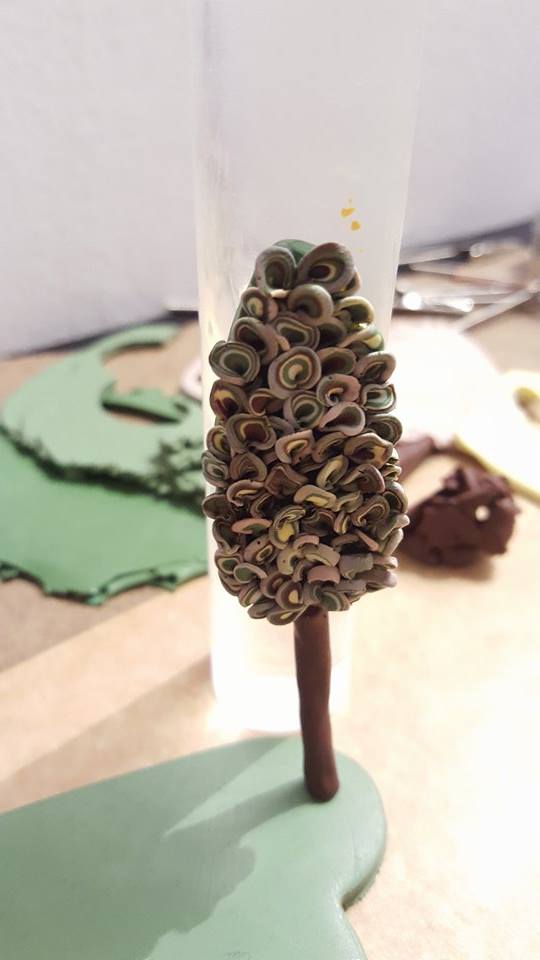
For the next step will have to add the tree as shown in the photo. Here is a tutorial on how to make a clay tree .

partial-landscape-clay-tree-with-autumn-leaves

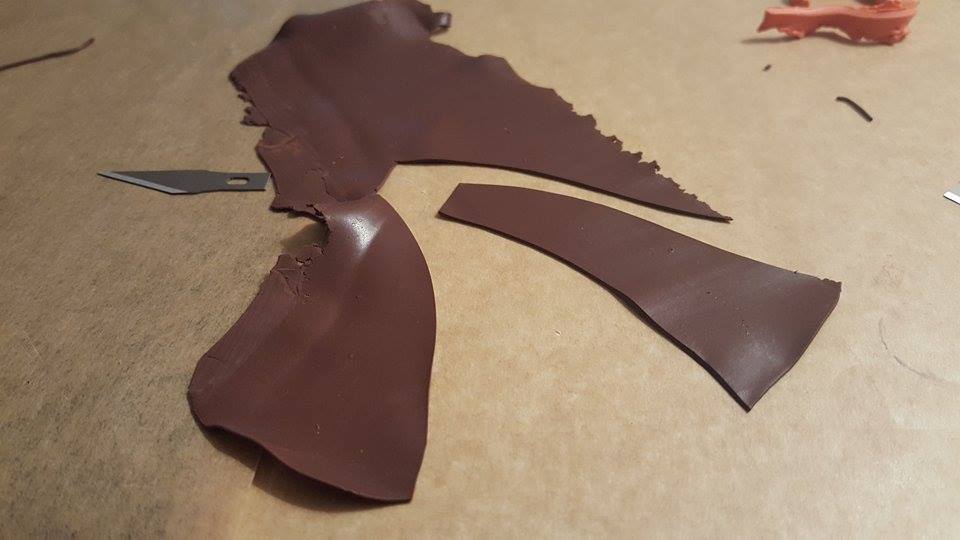
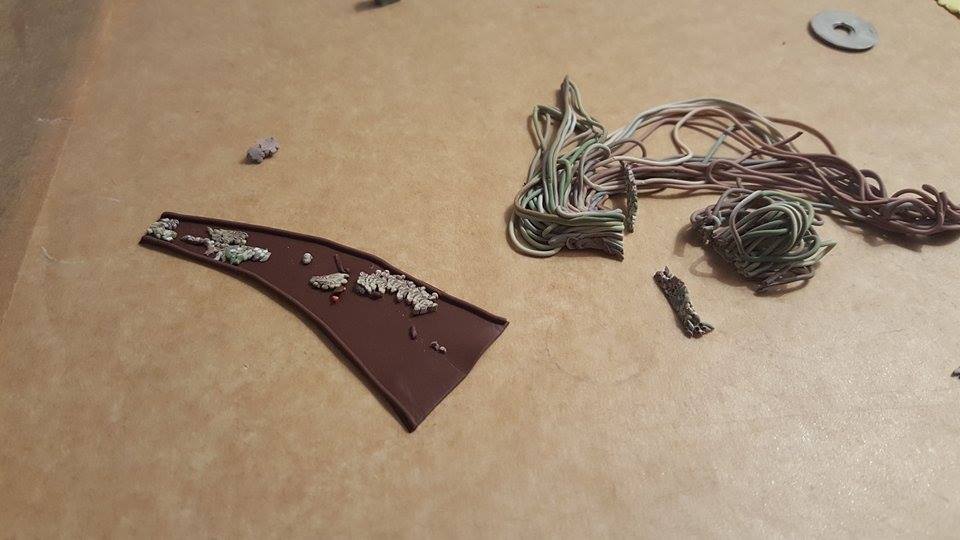
Now let’s make the road for our clay landscape. Cut a piece as shown in the photo. This is the base. Add to the margins one wire in the same brown color. I used a clay extruder to create the effect of gravel. I made tiny treads in different colors and I covered the base with small pices of them. Add the road to your green base

diy-clay-road

clay-road

Make two small pumpkins (click here for the tutorial) and one tombstone. Add them as shown in the photo. I used a pen to write RIP on the tombstone.

landscape-road-tree-pumpkins

For the final step on your polymer clay Halloween photo frame project you have to add the house. Here is a tutorial on how to make a fairy house. Pass through it and add the house to your Halloween clay project. I’m curious to see ho your project looks.


polymer clay Halloween photo frame

I hope you enjoyed this Polymer clay Halloween photo frame tutorial! See you later for more tutorials. You may consider following to follow my Pinterest page to get updates on free fimo diy tutorials..
######

Polymer clay tree tutorial


Today we’ll learn how to make a fimo tree. Hope you enjoy this polymer clay tree tutorial. It will help us on our next landscape projects.
clay-tree

We need some brown clay for the tree trunk and difference green and yellow clay for the leafs.

Let’s get started with our clay project 🙂

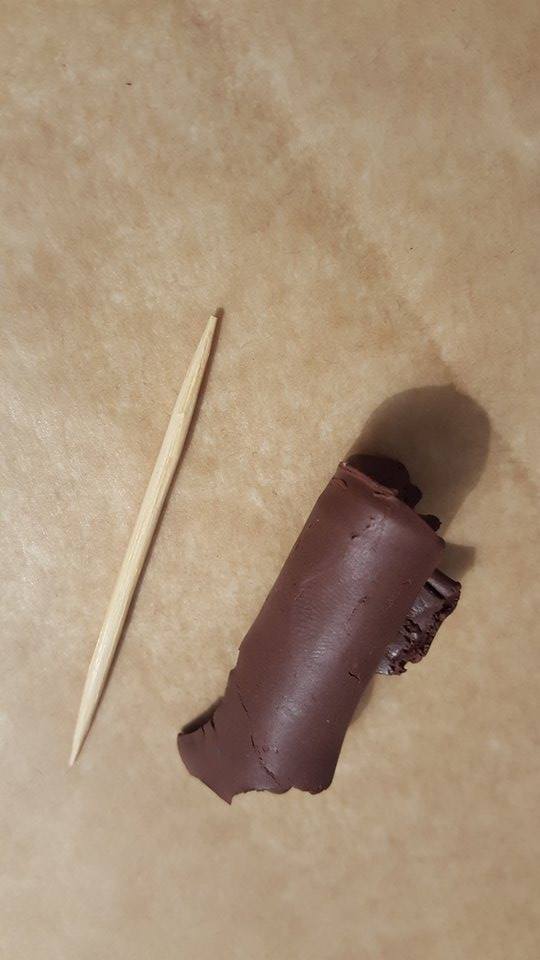
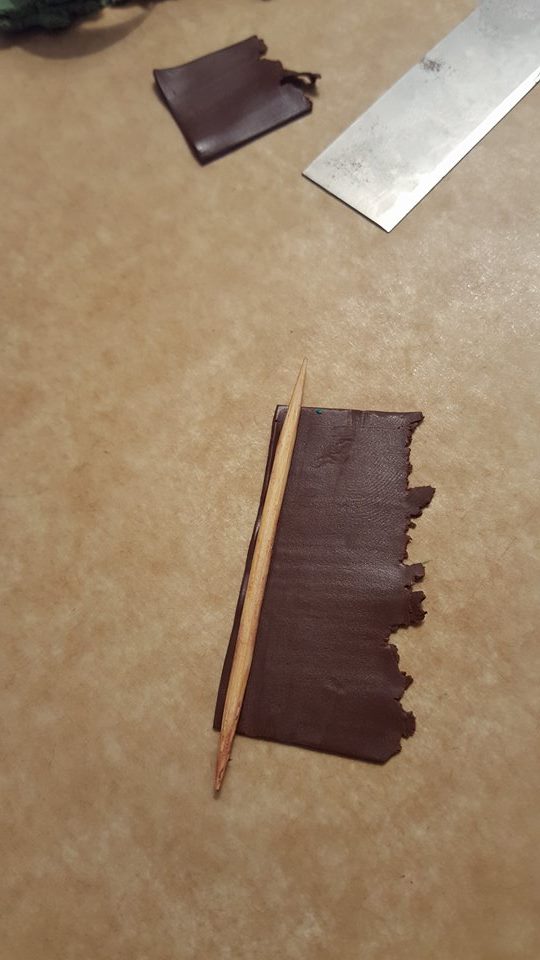
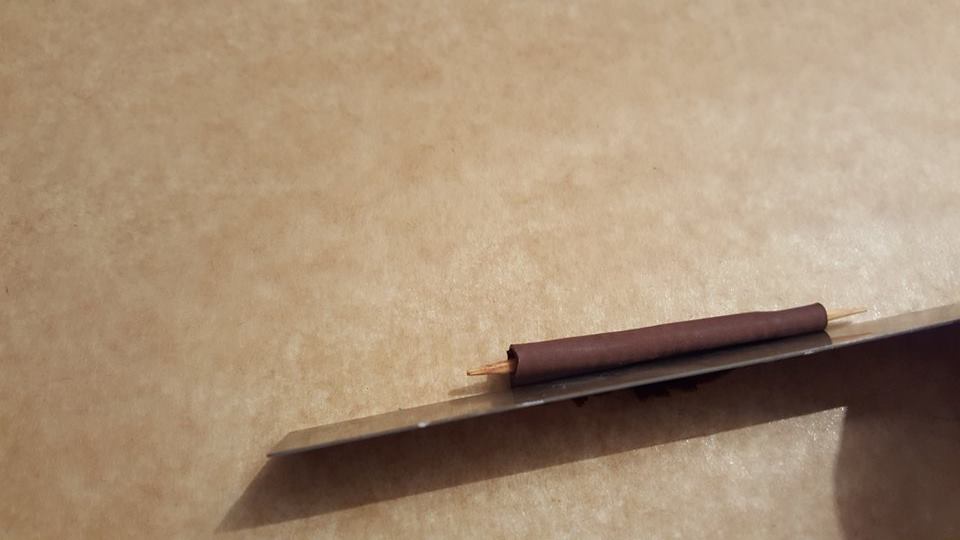
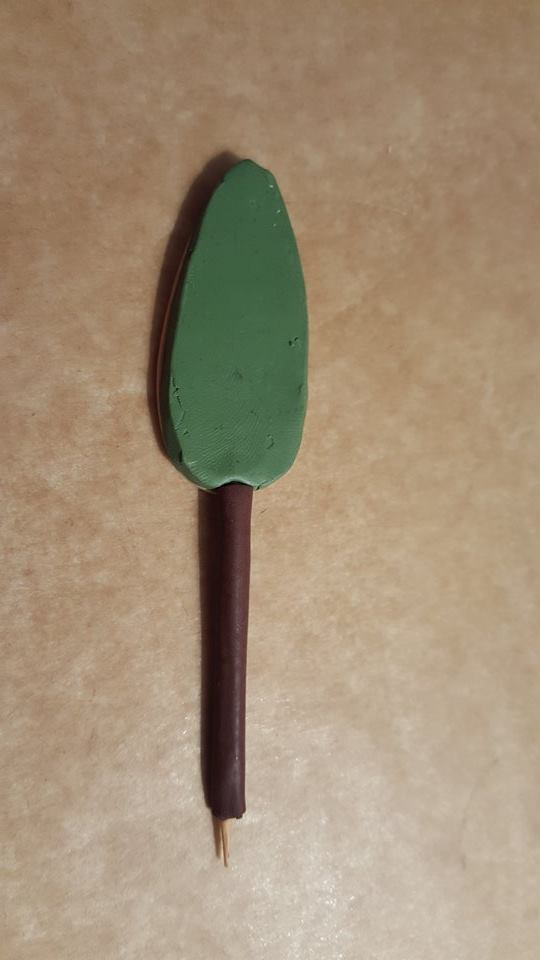
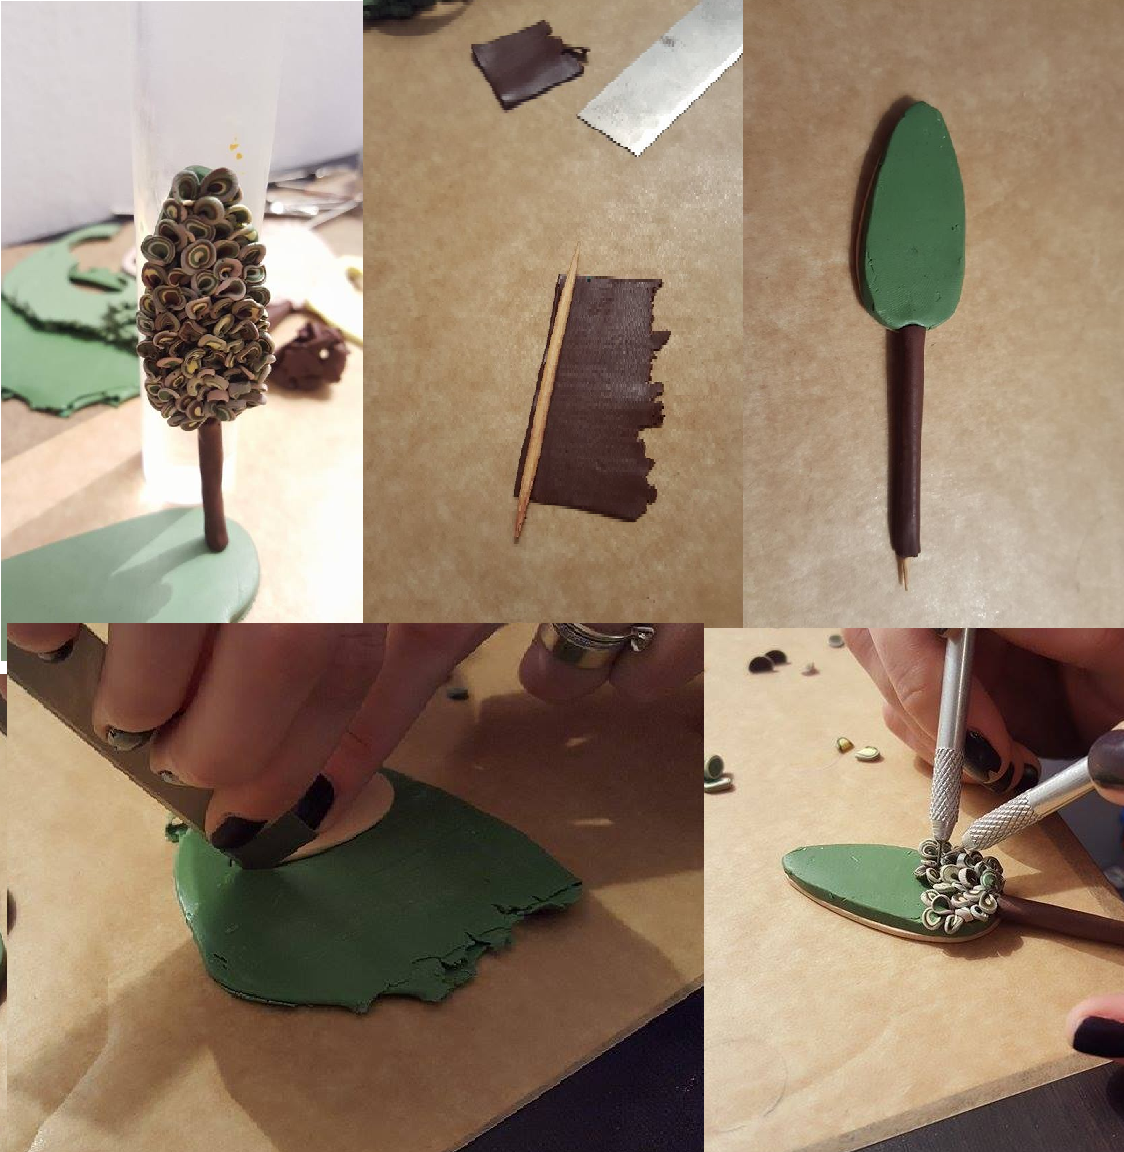
For the trunk we need a toothpick and the brown clay. We make a thin strip and we cover the toothpick. Please let the tips uncovered.

how-to-make-a-tree-out-of-clay

clay-tree-trunk

tree-trunk-made-out-of-clay

Make a green strip and cut on oval out of it. This clay piece will be the base for the leaves.

tree-crown

For the next step you’ll have to add it to the trunk. The tip of the toothpick will hep you do that 😉

fimo-easy-to-make-tree

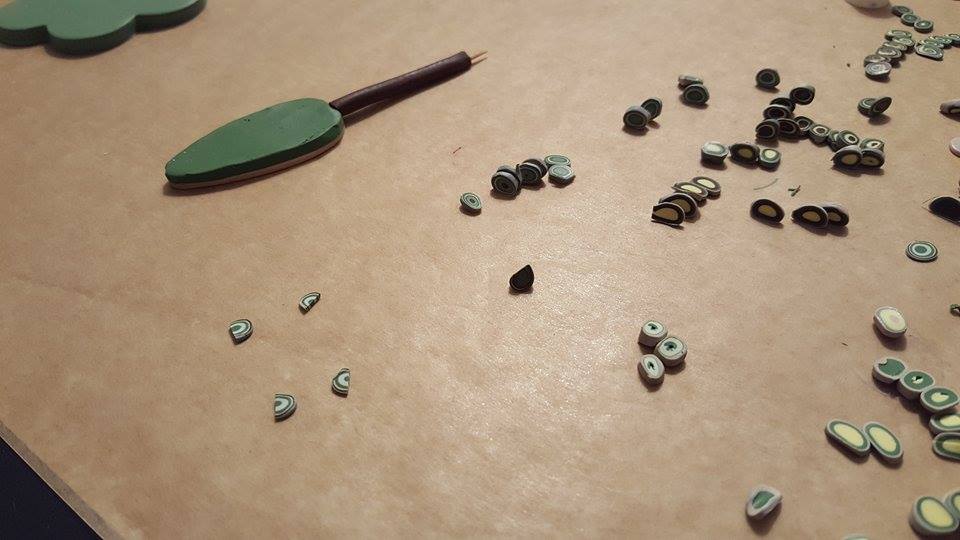
For the next step you’ll have to make tiny clay drops.

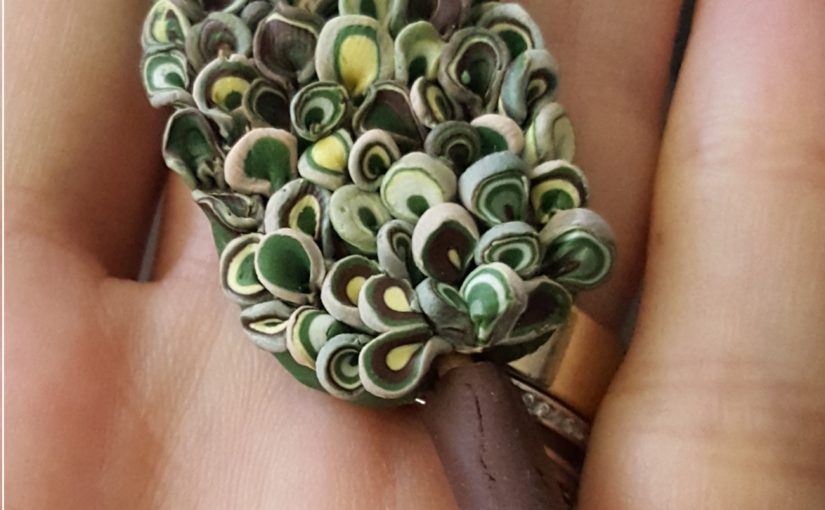
I used a clay extruder to combine green with yellow for autumn effect but you can use only green.

the-clay-tree-with-its-leavs

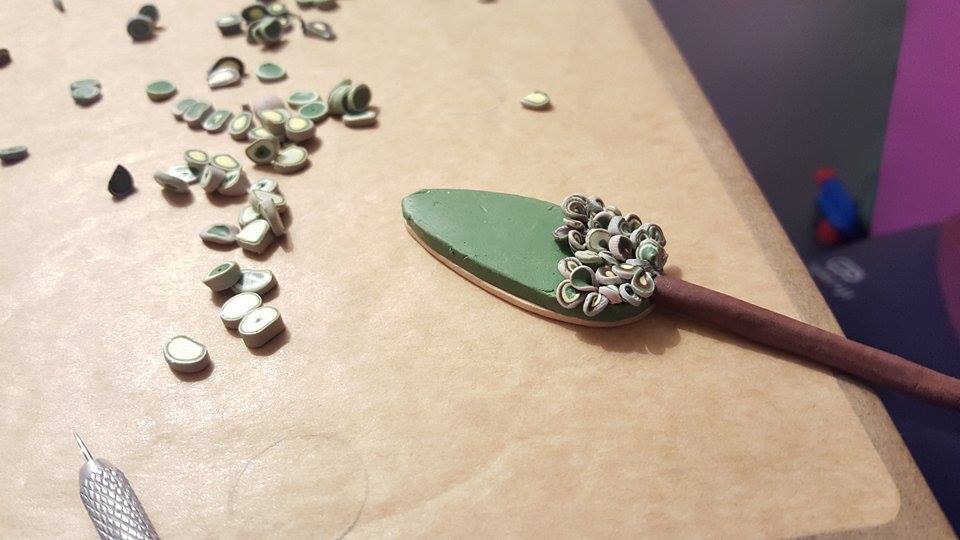
For the last step in this polymer clay tree tutorial you have to use a tool with sharp tip or a toothpick to add the leaves to the tree.


dyi-fimo-tree

Congrats! This is your first fimo tree to use it with your later projects.

Click here to see mine: a Halloween landscape photo frame.

What do you think about this polymer clay tree tutorial? Will you try it?

See you later for more tutorials. You may consider following to follow my Pinterest page to get updates on free fimo diy tutorials..

fimo/ polymer clay tree tutorial.
######

The 10 polymer clay jewelry list

This polymer clay jewelry list is a top I created for the days when you want something that’s simply stunning. I’m like a hamster that continuously collect, in my case ideas. Today I will share with you the list of jewelry that I would love to have.

I keep seeing everywhere all of those model’s best looks.  I adore those simple jewelry which complete outfit. This article is for those easiest-to-use jewelry that will take away the difficult situation.

Just be creative, jewelry are made to mix and match !

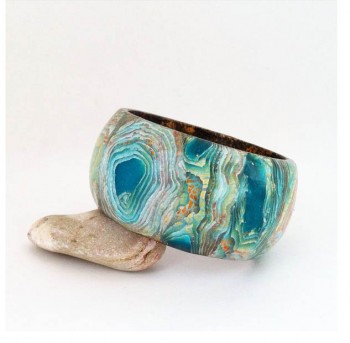
  • no 1 in the polymer clay jewelry list is a polymer clay bracelet by Tatiana Parshikova

polymer clay jewelry list

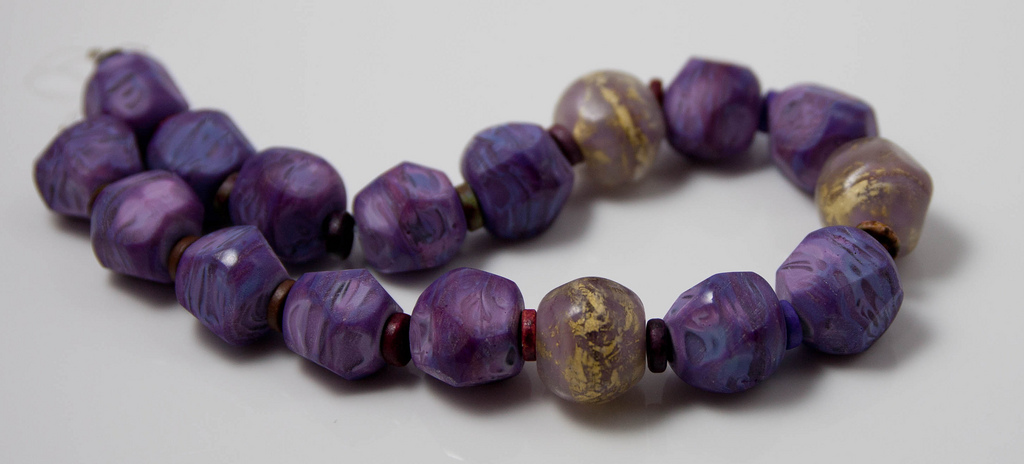
  • no 2 – fimo/polymer clay  bead necklace by Nemravka

polymer clay jewelry list

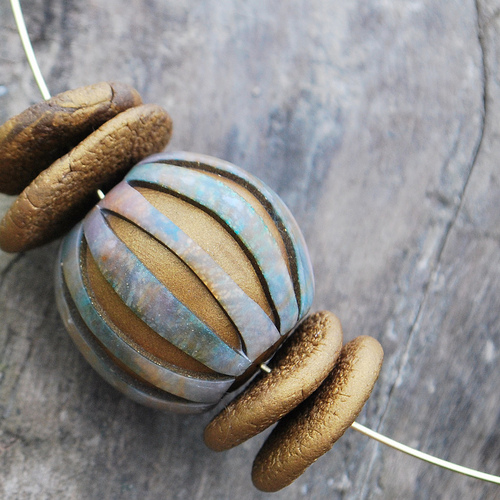
  • no 3 – fimo/ polymer clay necklace by Flame Force Five

polymer clay jewelry list

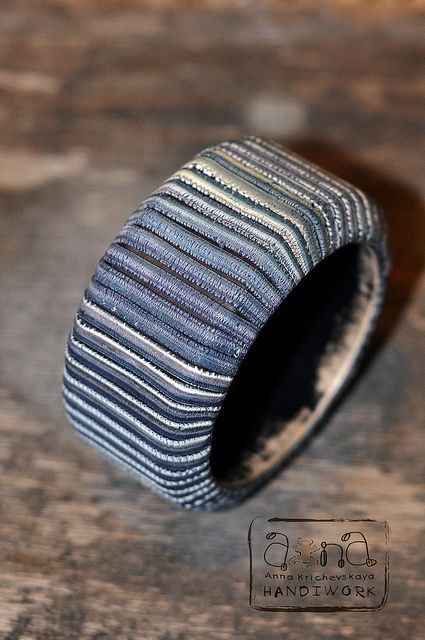
  • no 4 – fimo/polymer clay bracelet by Anna Krichevskaya

polymer clay jewelry list

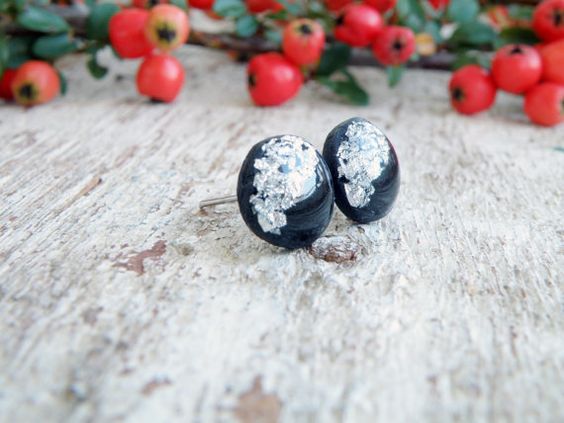
  • no 5 – fimo/polymer clay silver leaf earrings (you can find more ideas here)

polymer clay jewelry list

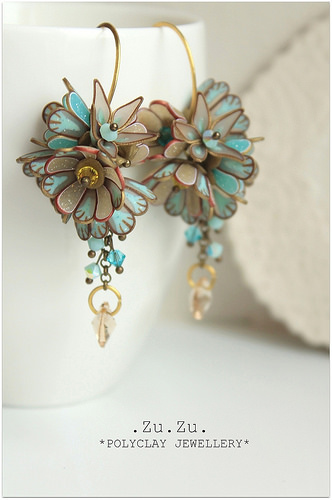
  • no 6 – fimo/polymer clay earrings by Zuzana Liptáková

polymer clay jewelry list

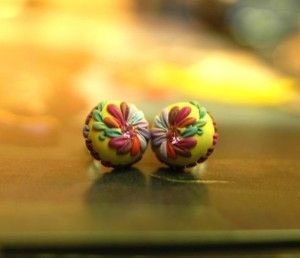
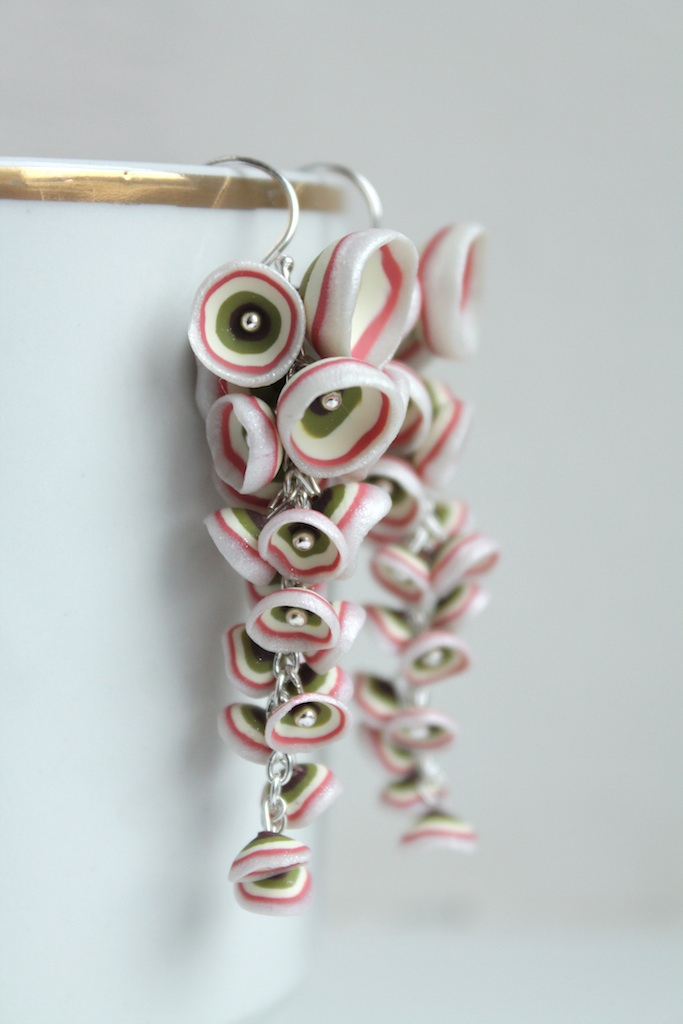
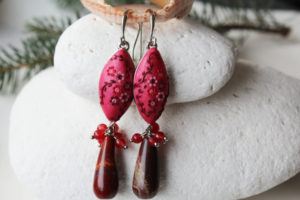
  • no 7 – fimo/polymer clay foral earrings (you can find more ideas here)

polymer clay jewelry list

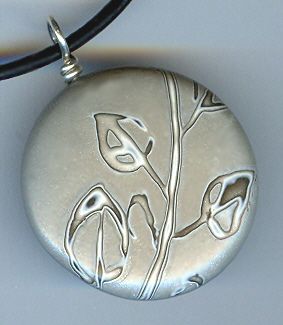
  • no 8 – fimo/polymer clay pendant by Rebecca Geoffrey

polymer clay jewelry list

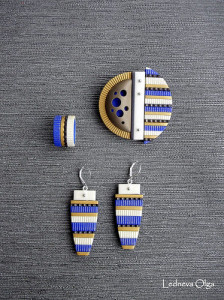
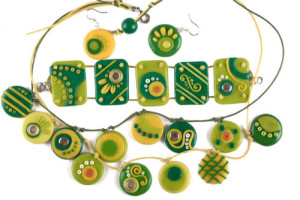
  • no 9 – fimo/polymer clay striped set (you can find more ideas here)

polymer clay jewelry list

  • no 10 in the polymer clay jewelry list – fimo/polymer clay earrings by Zuzana Liptáková

polymer clay jewelry list

What do you think about my list? Do you have one?

Thanks for visiting and don’t forget to follow my Pinterest page to get new ideas and updates on free fimo diy tutorials.
######

FIMO Pokemon – present ideas for Pokemon Go fans

Pokemon Go is one of the most successful mobile games in history. For the ones that don’t know yet what’s about this catchy game: Pokemon Go, encourages users to go with the phone in their hands to find this creatures called Pokemon.I thought we all have this Pokemon kind of friends, so let’s make them a nice and unique present: FIMO Pokemon! Below you can find some ideas. Which one will you choose?

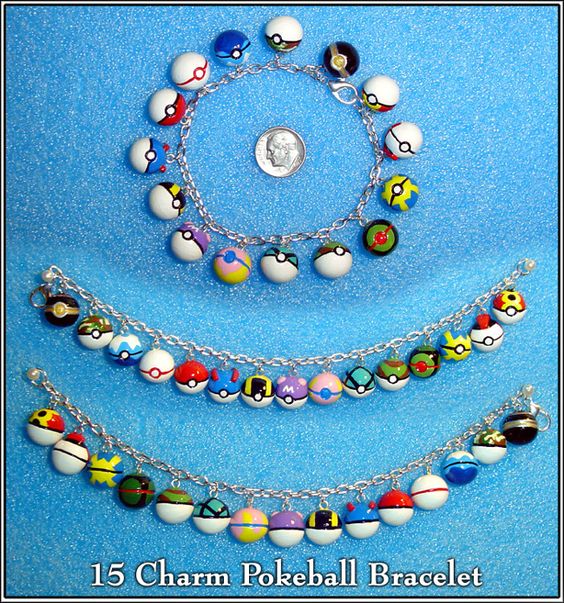
  1. FIMO Pokemon – 15 polymer clay charm Pokeball Bracelet, based on the items from the Pokemon Series – artist YellerCrakka – FIMO Pokemon present

203128dffc4977493e8b40687cb7c6e4

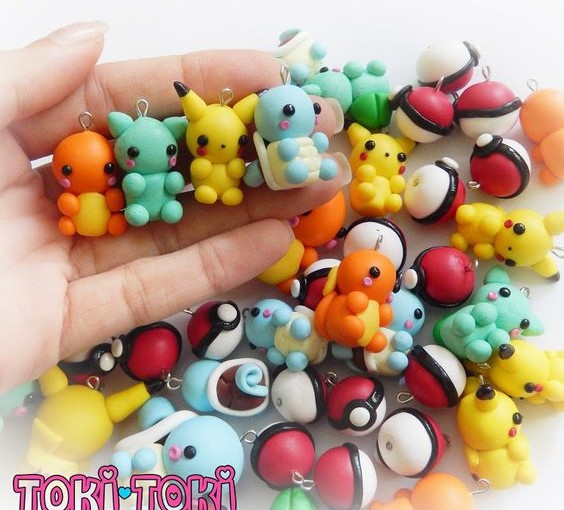
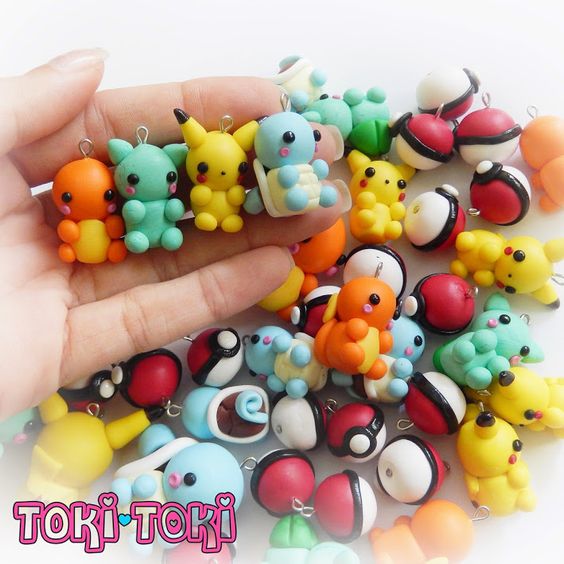
2. Pokemon polymer clay Charms by TokiToki CK

FIMO Pokemon - polymer clay - handmade - diy

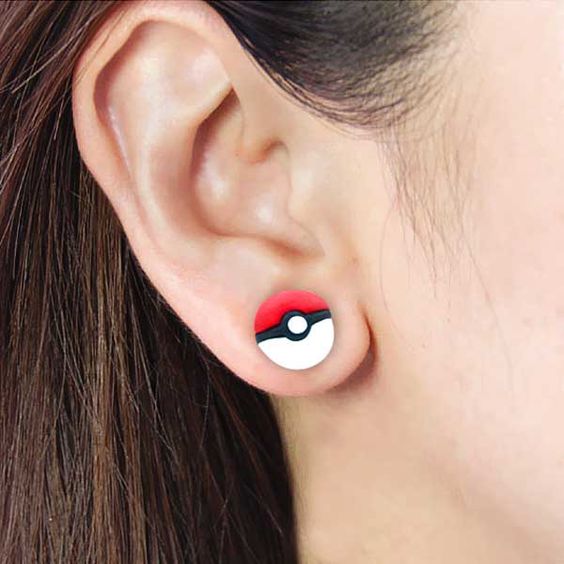
3. Polymer clay studs by GEEKYGET

FIMO Pokemon - polymer clay - handmade - diy

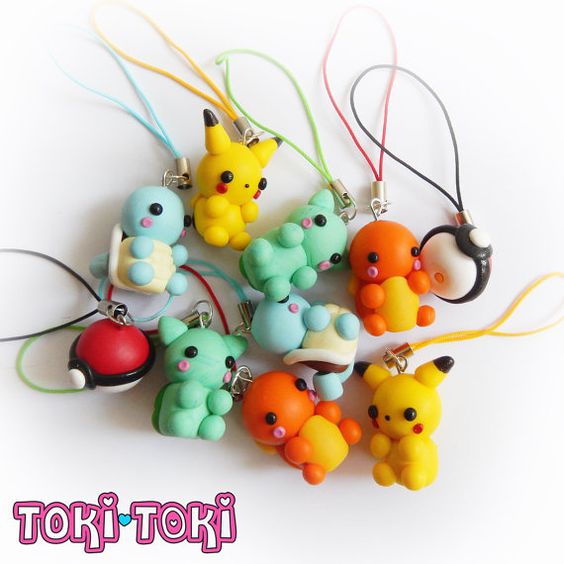
4. FIMO Pokemon – Pokemon Charms, Pikachu, Bulbasaur, Charmander, Squirtle, Pokeball, Polymer Clay Pokemon, Pokemon Keychain, Nintendo Charms, Geek Gamer Gift – artist MadeByTokiToki

FIMO Pokemon - polymer clay - handmade - diy

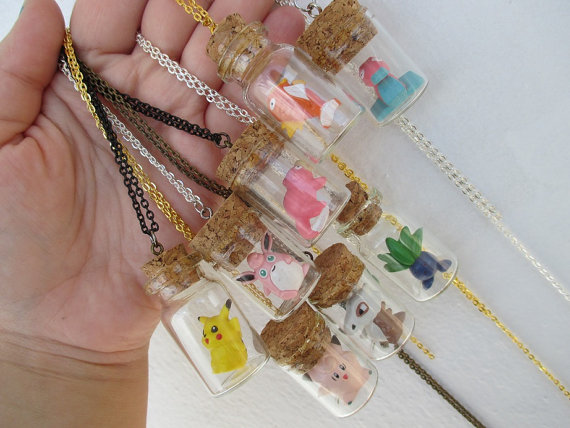
5. Pokemon polymer clay necklaces – Toys in a Bottle by GlitzCouture

FIMO Pokemon - polymer clay - handmade - diy

What do you think about this polymer clay Pokemon presents? Aren’t they lovely?

Thanks for visiting and don’t forget to follow my Pinterest page to get new ideas and updates on free fimo diy tutorials.

######

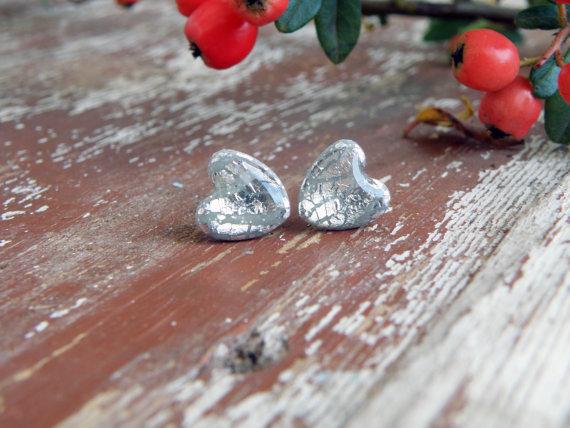
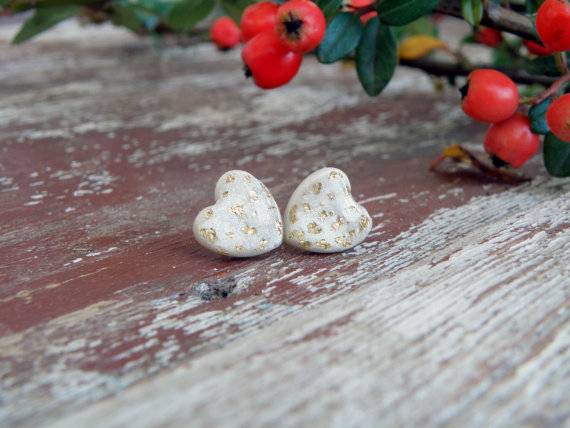
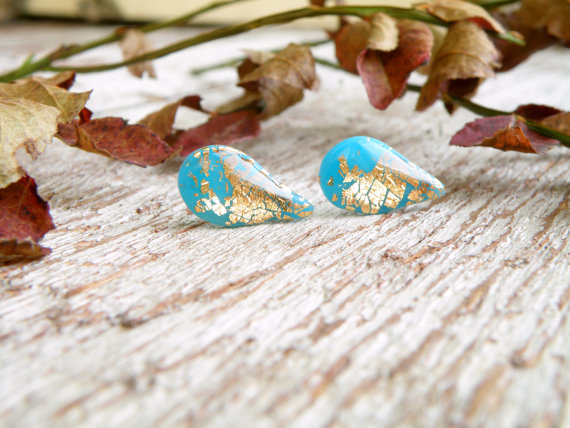
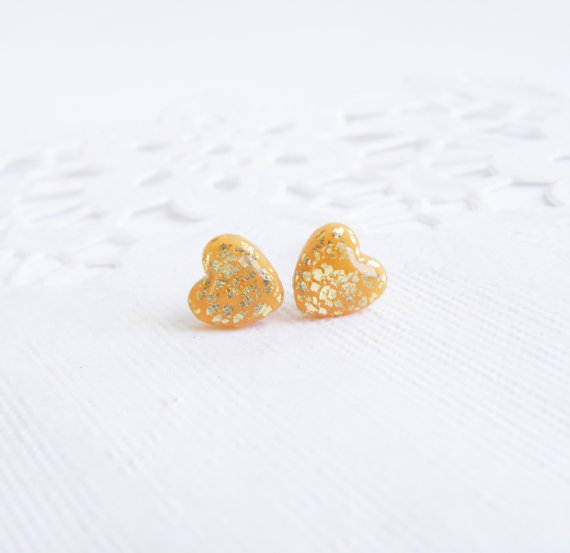
Polymer clay gold leaf stud earrings

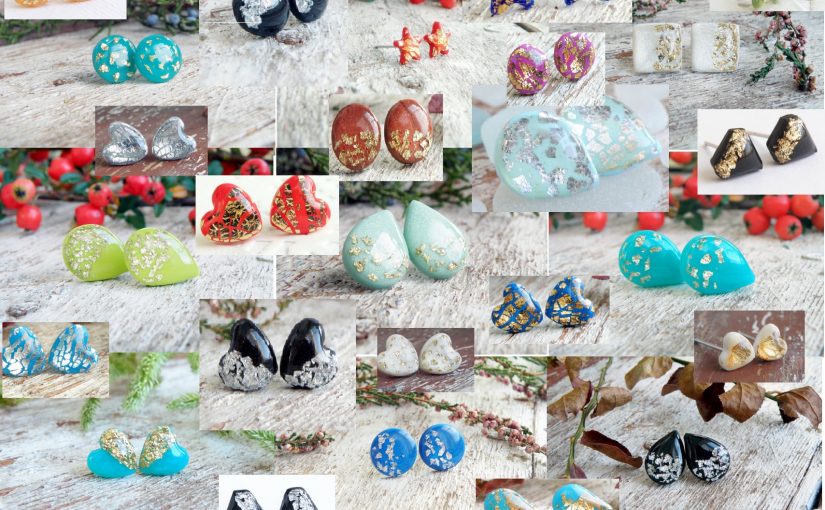
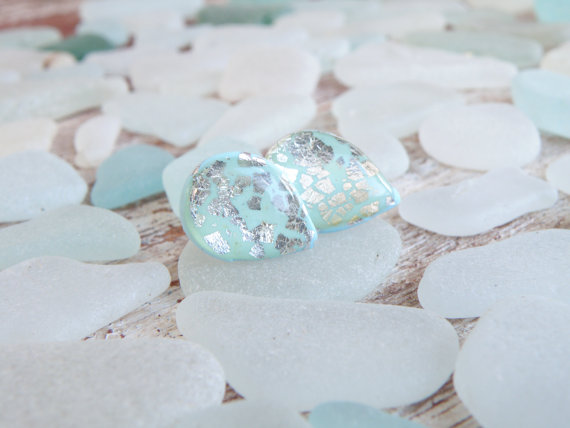
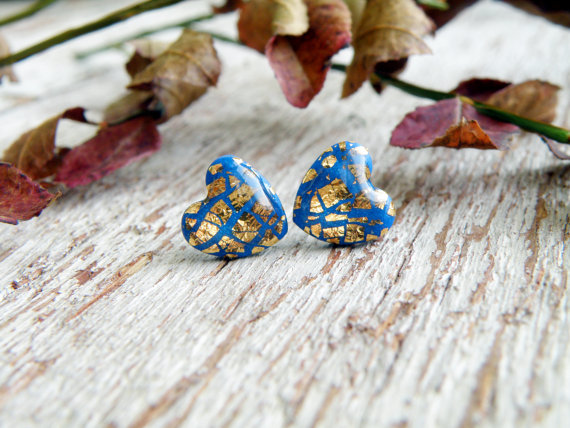
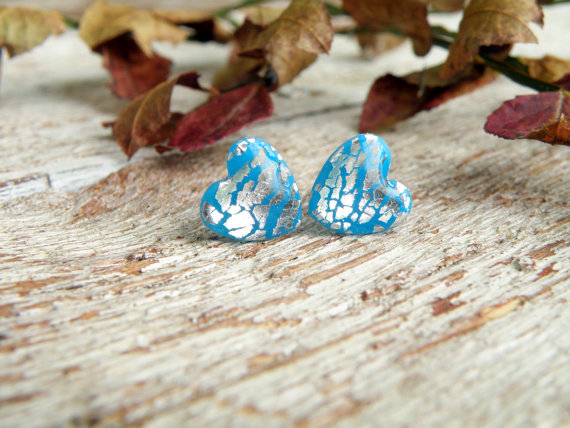
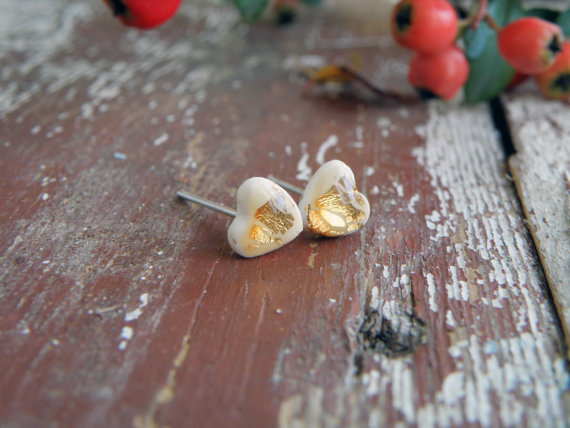
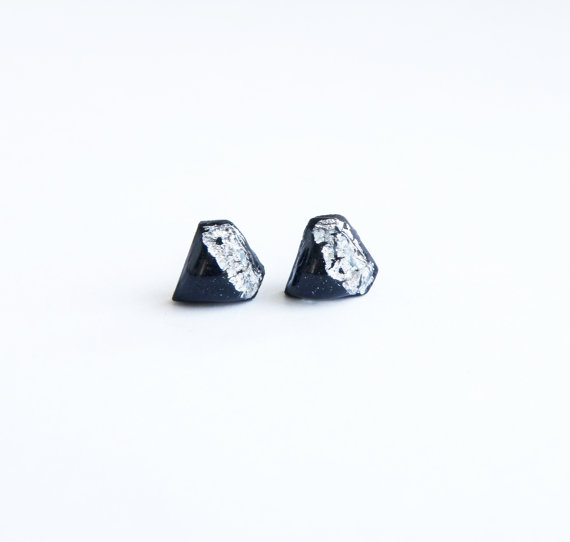
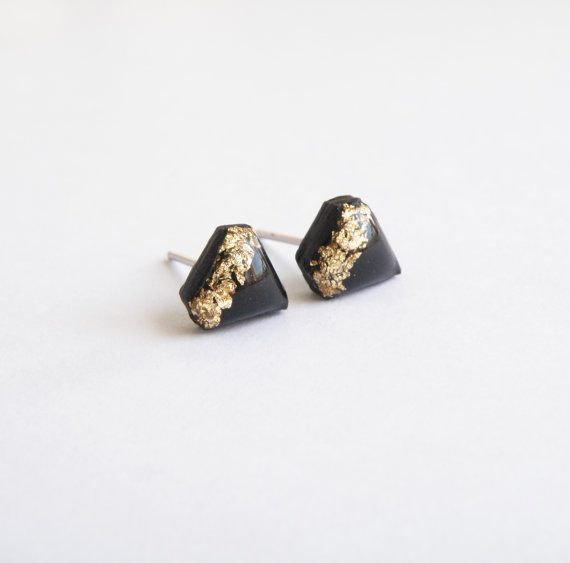
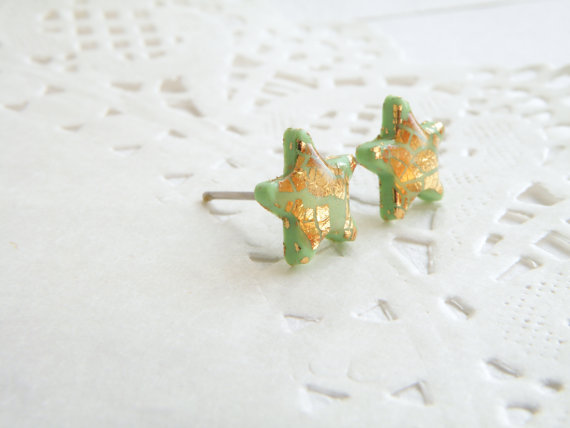
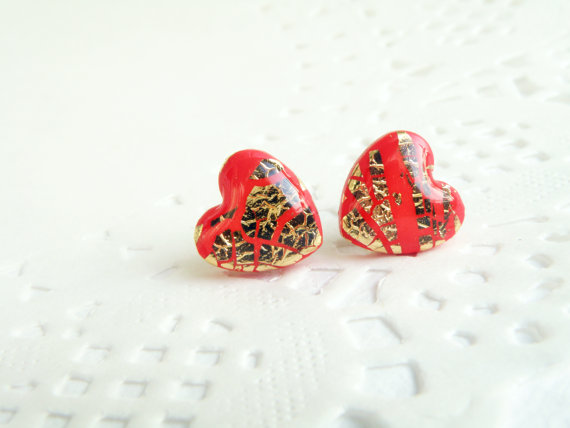
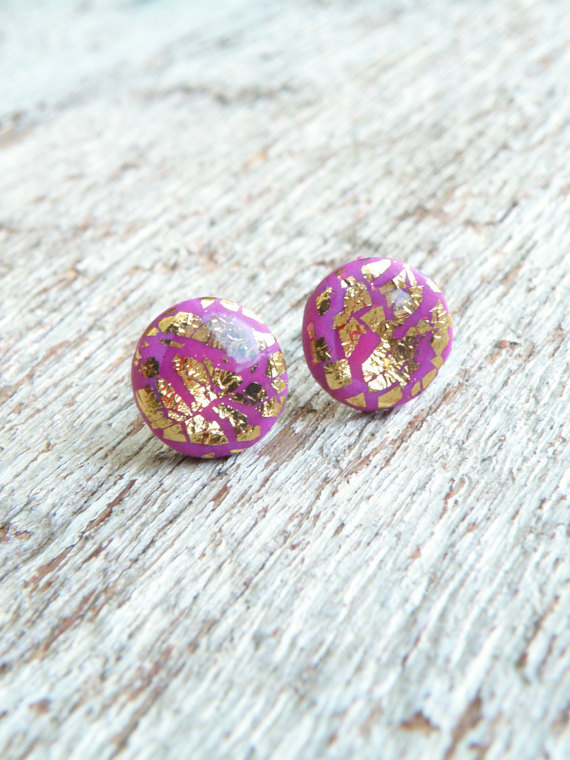
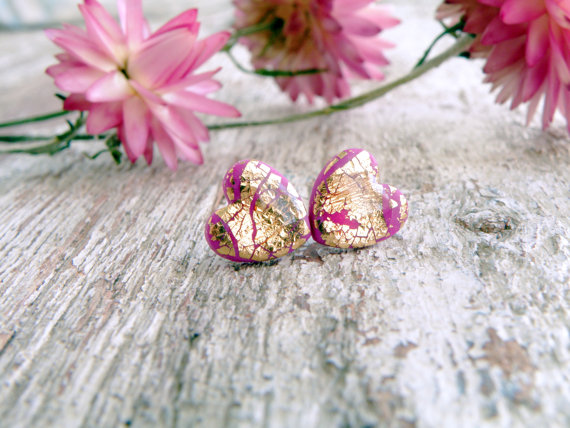
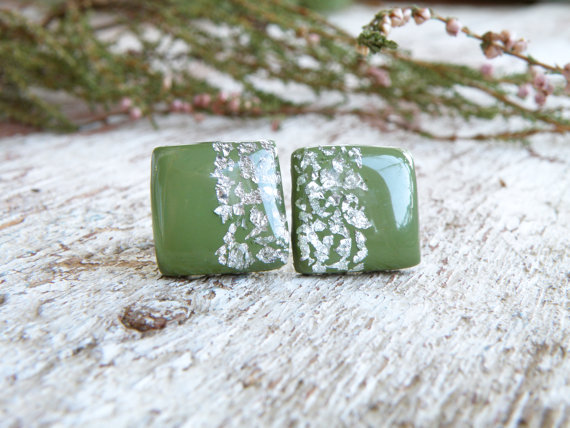
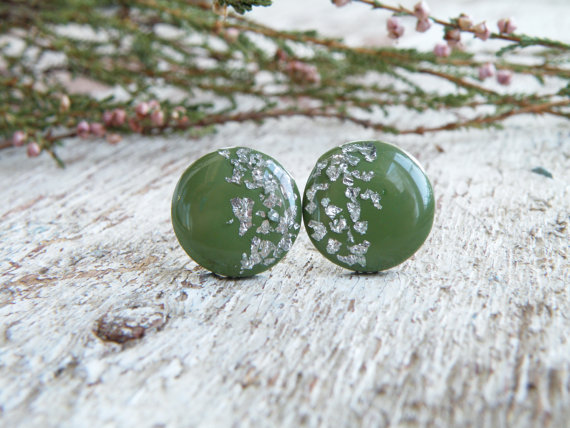
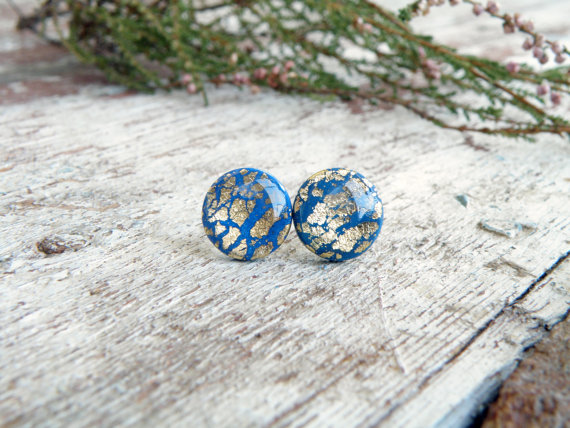
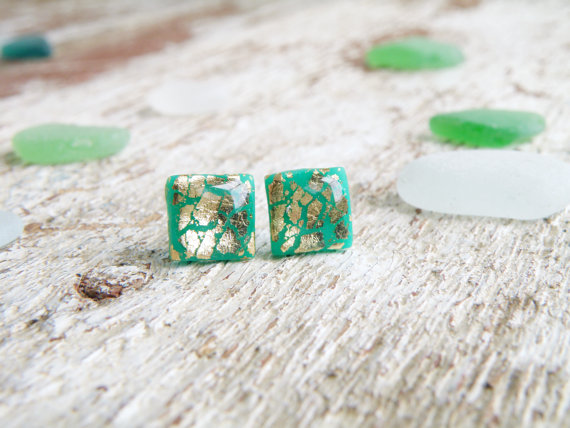
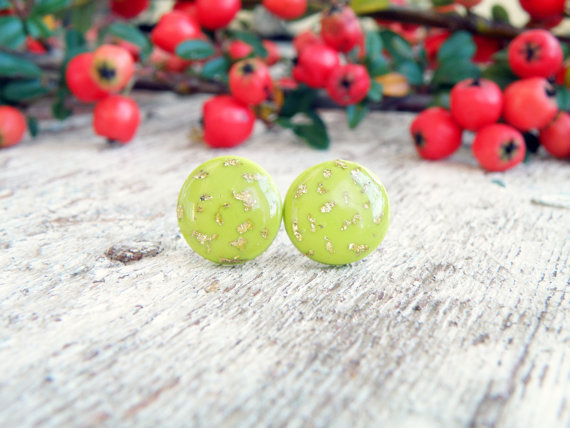
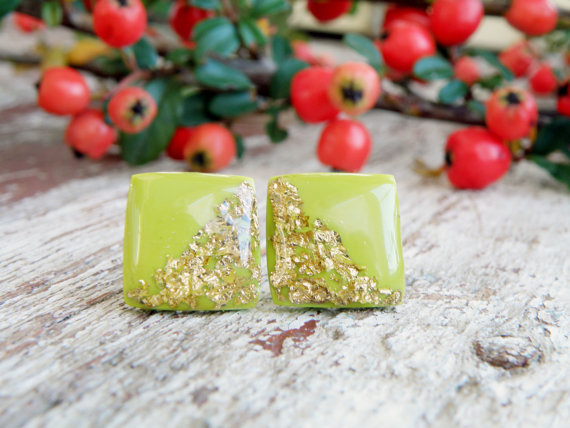
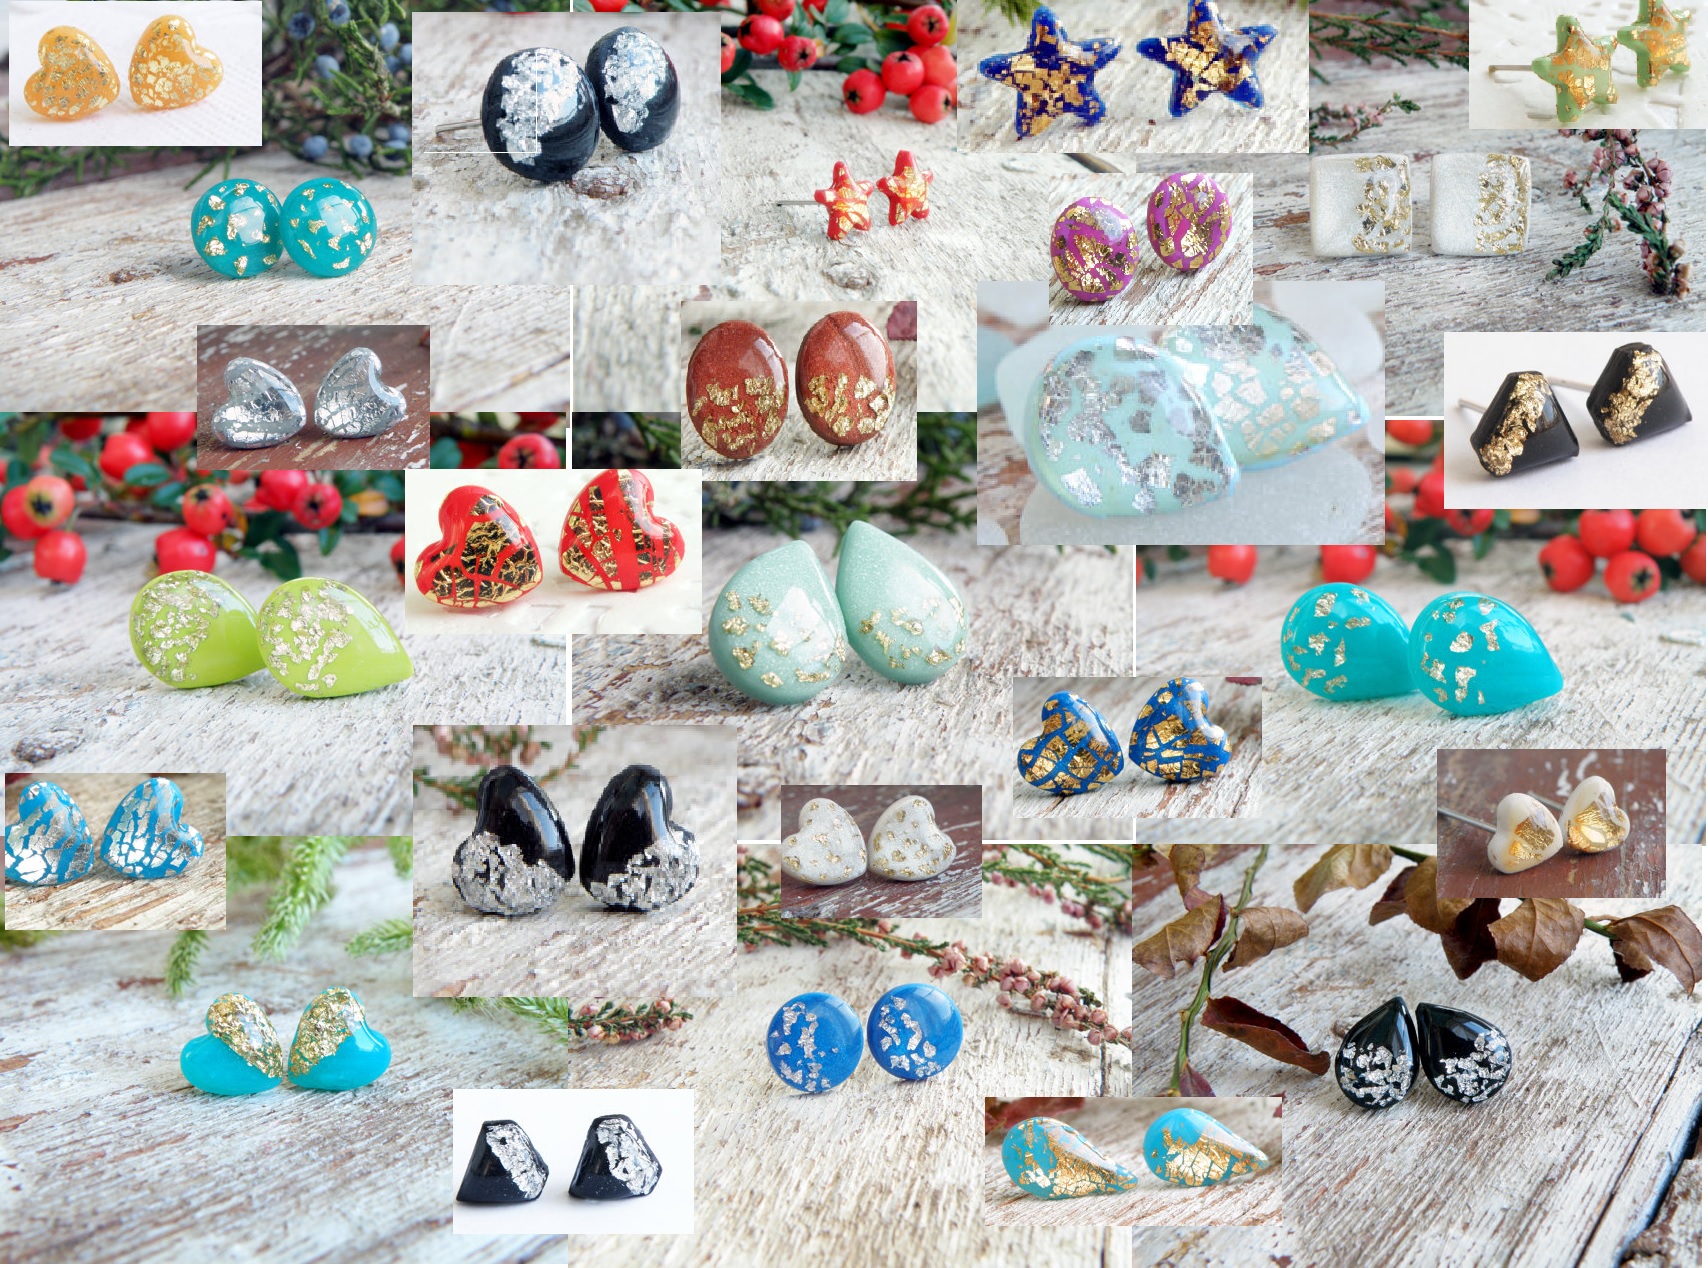
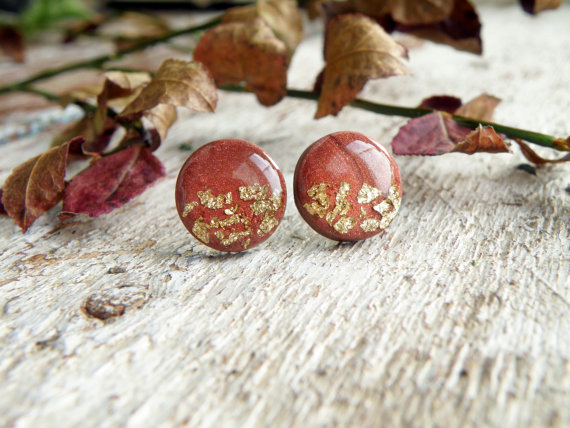
Polymer clay is a very versatile medium with endless possibilities. I want to present you some polymer clay gold leaf stud earrings and some silver leaf stud earrings and you to decide which one do you like most.

The best way to improve you jewelry aspect is with gold leaf. This metallic look on polymer clay will attract attention as a magnet!

If you don’t like earrings that dangle, you’ll be happy to see Eternity31‘s large selection of small earrings.

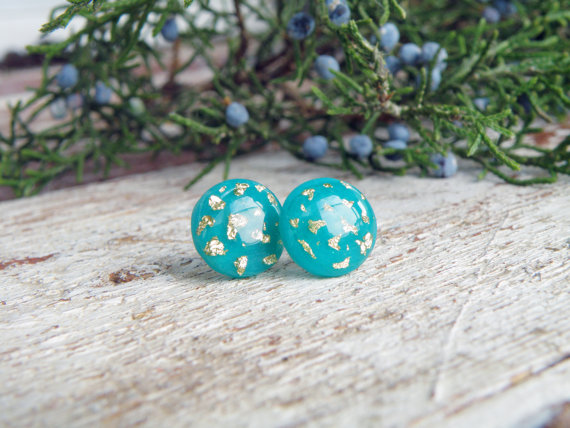
light blue fimo/polymer clay gold leaf stud earrings

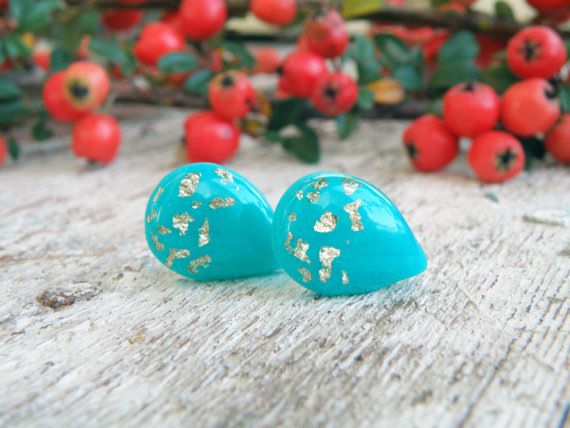
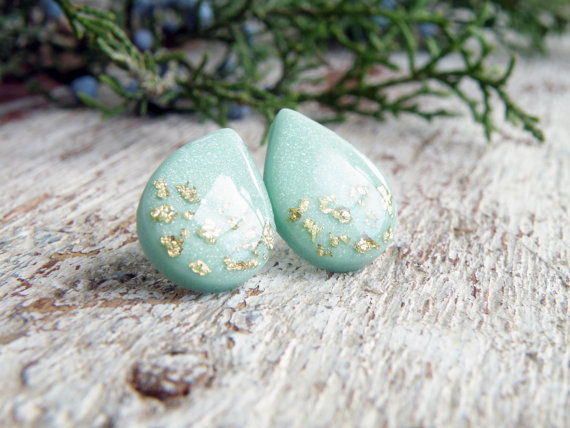
light blue fimo/polymer clay gold leaf drop stud earrings

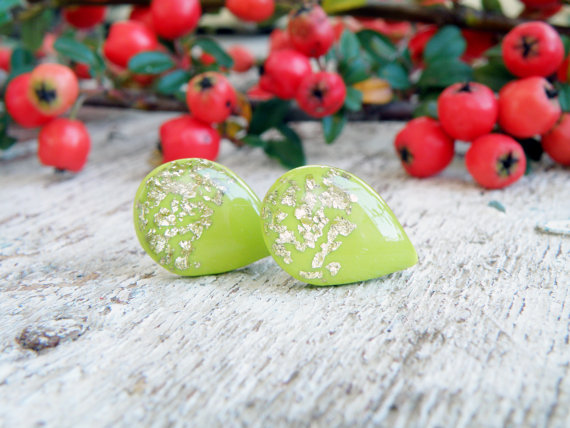
light green fimo/polymer clay gold leaf drop stud earrings

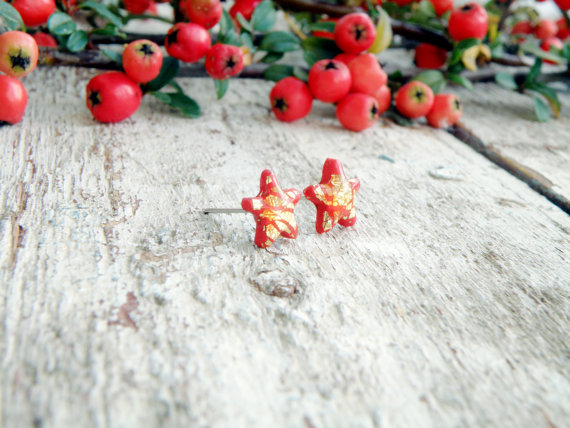
red fimo/polymer clay gold leaf star stud earrings

light blue fimo/polymer clay gold leaf drop stud earrings

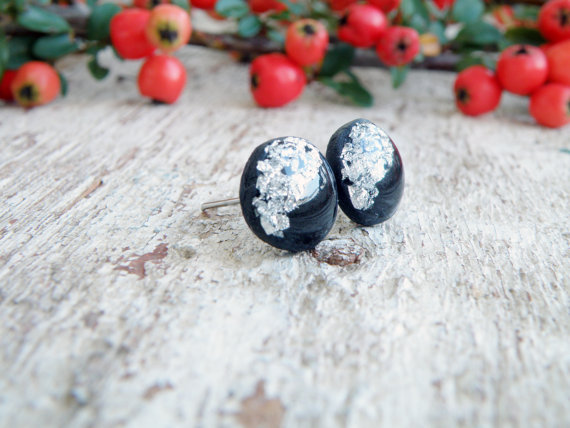
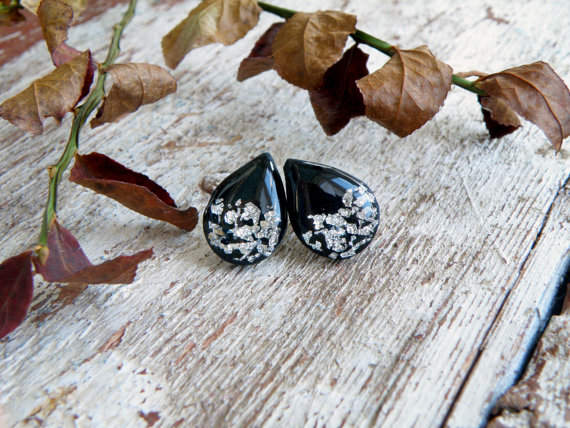
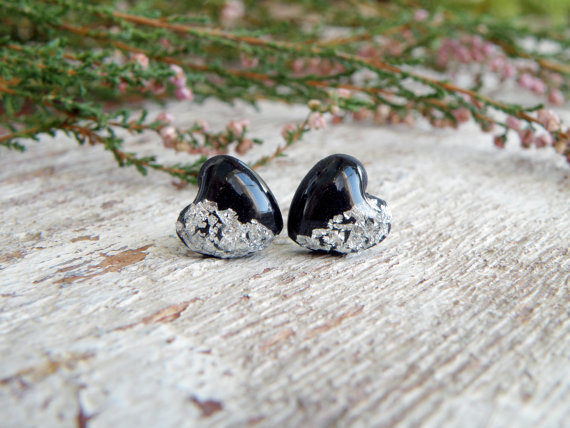
fimo/polymer clay silver leaf black stud earrings

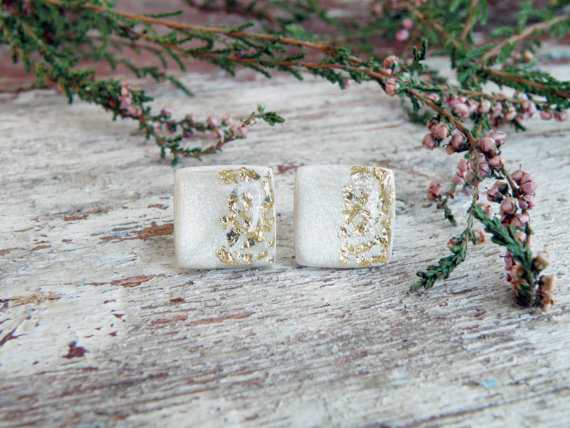
fimo/polymer clay gold leaf beige stud earrings

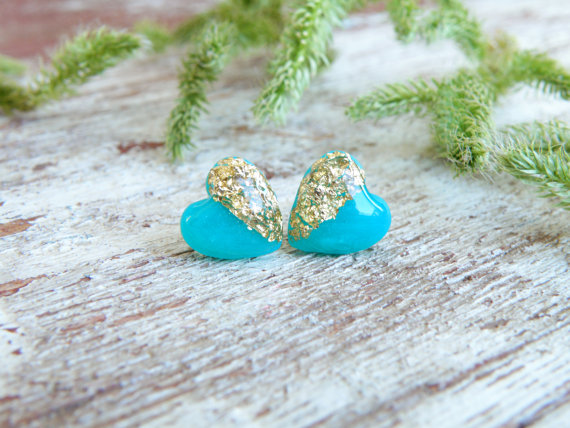
fimo/polymer clay gold leaf light blue heart small stud earrings

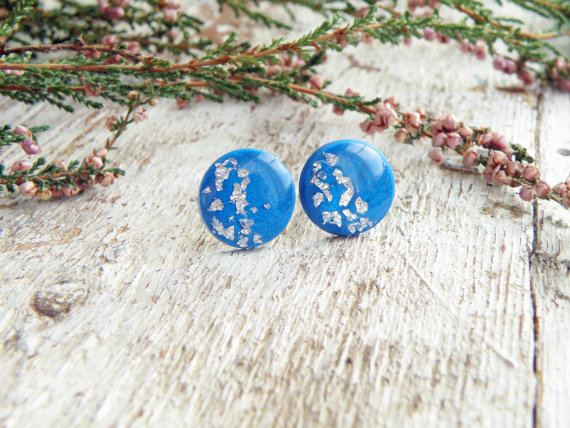
fimo/polymer clay silver leaf stud earrings

fimo/polymer clay silver leaf stud earrings

fimo/polymer clay silver leaf stud earrings

fimo/polymer clay silver leaf stud earrings

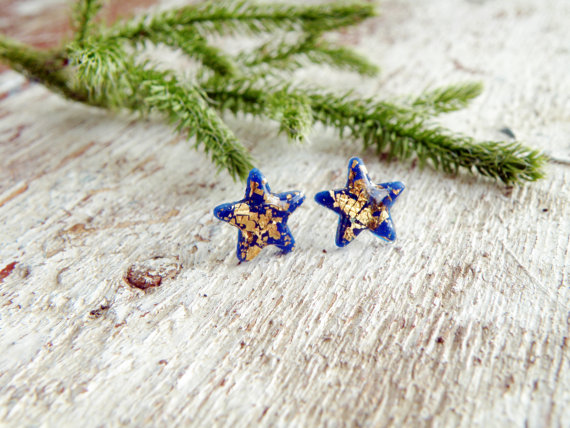
fimo/polymer clay gold leaf blue star stud earrings

fimo/polymer clay gold leaf stud earrings

fimo/polymer clay gold leaf stud earrings

fimo/polymer clay gold leaf stud earrings

fimo/polymer clay gold leaf stud earrings

fimo/polymer clay gold leaf stud earrings

fimo/polymer clay gold leaf stud earrings

fimo/polymer clay gold leaf stud earrings

fimo/polymer clay gold leaf stud earrings

fimo/polymer clay silver leaf stud earrings

fimo/polymer clay gold leaf stud earrings

fimo/polymer clay gold leaf star stud earrings

fimo/polymer clay gold leaf red heart stud earrings

fimo/polymer clay gold leaf stud earrings

fimo/polymer clay gold leaf stud earrings

fimo/polymer clay silver leaf stud earrings

fimo/polymer clay silver leaf stud earrings

fimo/polymer clay gold leaf stud earrings

fimo/polymer clay gold leaf stud earrings

Fimo/polymer clay and gold leaf stud earrings

Fimo/ polymer clay gold leaf stud earrings


What do you think about this fimo/polymer clay gold leaf stud earrings? Which you prefer? Polymer clay gold leaf stud earrings or polymer clay silver leaf stud earrings

Thanks for visiting and don’t forget to follow my Pinterest page to get new ideas and updates on free fimo diy tutorials.

For sharing on Pinterest you may also like the next photo:


######