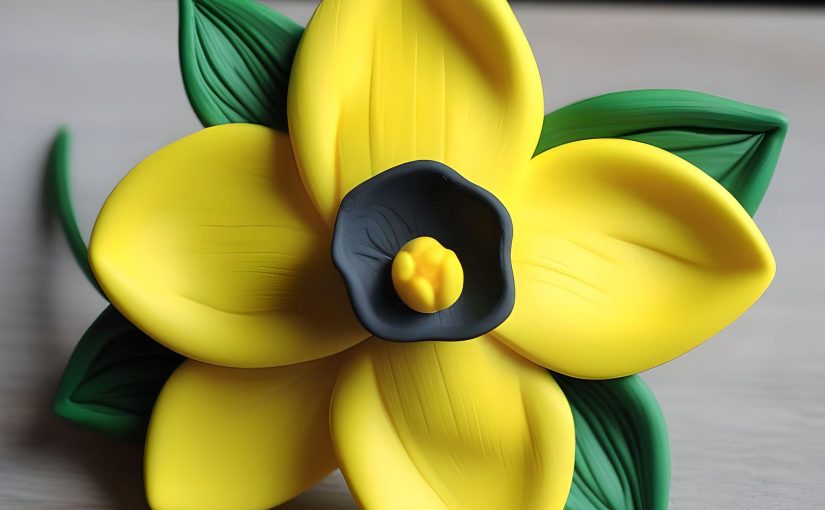
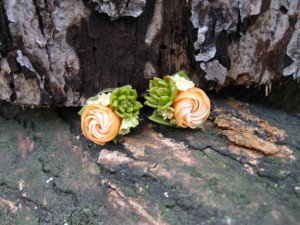
Polymer Clay Flower Beads: Step-by-Step Guide to Beautiful Blossoms
Creating polymer clay flower beads is a fantastic way to bring your creative ideas to life! These unique, handcrafted beads are perfect for jewelry, décor, or adding a whimsical touch to any project. This tutorial will guide you through the process of making these beautiful flower beads, so let’s get started and bloom with creativity!
Table of Contents:
- Tools and Materials
- Preparing Your Clay
- Crafting Petals and Leaves
- Assembling the Flower
- Adding Finishing Touches
- Baking and Finishing
- Tips for Perfect Polymer Clay Flowers
Tools and Materials
To make your polymer clay flower beads, you’ll need:
- Polymer Clay (colors of your choice for petals, leaves, and centers)
- Clay Cutting Tools: Blade, knife, or needle tool
- Needle or Pin for making holes in the bead
- Roller or pasta machine to condition the clay
- Toothpicks for shaping
- Baking Tray for curing
Make sure you have a clean, non-stick surface to work on, such as a glass or silicone mat.
Preparing Your Clay
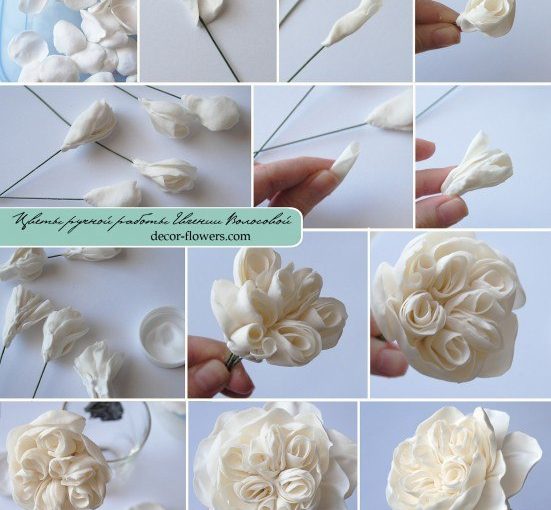
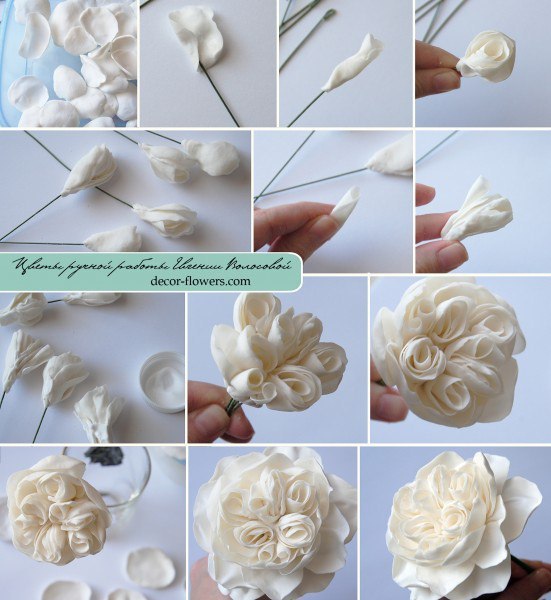
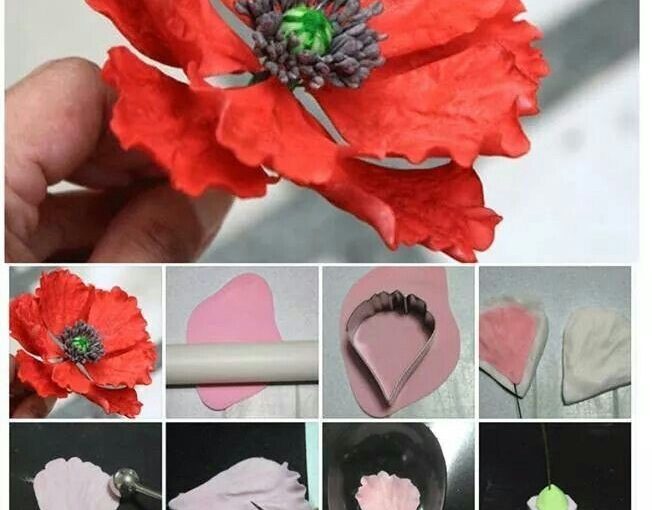
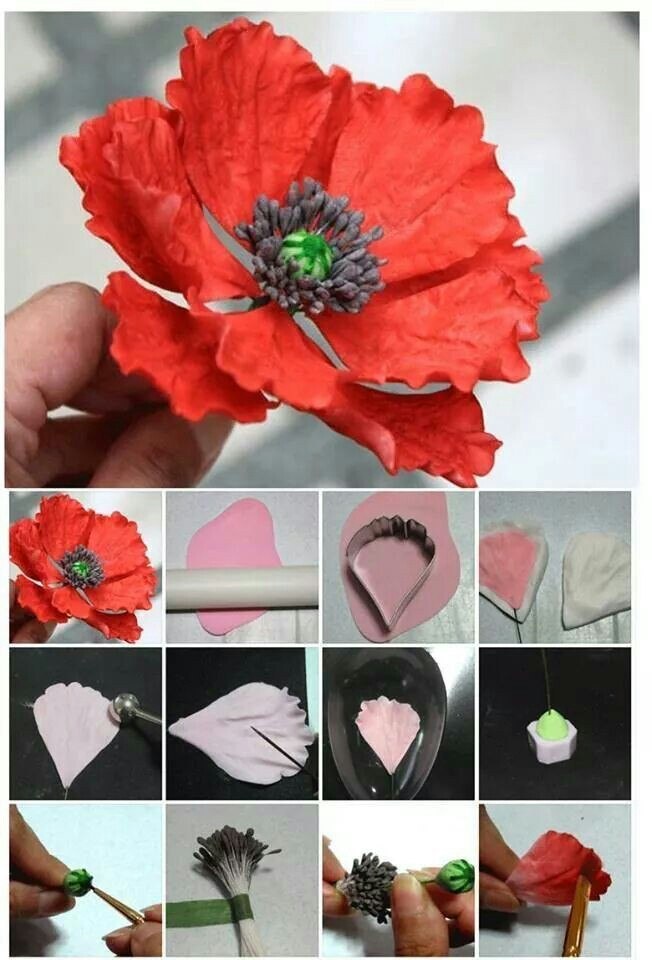
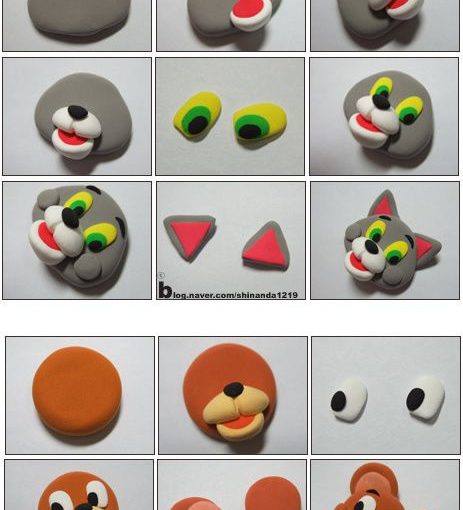
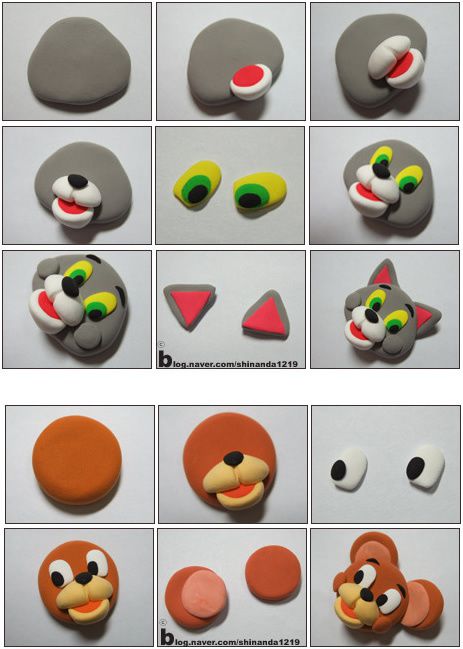
- Create Petal Shapes: Roll out your petal-colored clay into a thin sheet. Use a blade to cut small oval shapes for petals. You can make them in varying sizes for a natural, layered look.
- Shape the Petals: Gently press each petal’s edges with a toothpick to give it a curved, natural shape. Thin out the edges slightly for a delicate, realistic petal effect.
- Make Leaves: Roll out green clay and cut small leaf shapes. Use your cutting tool or a needle to add vein details to each leaf.
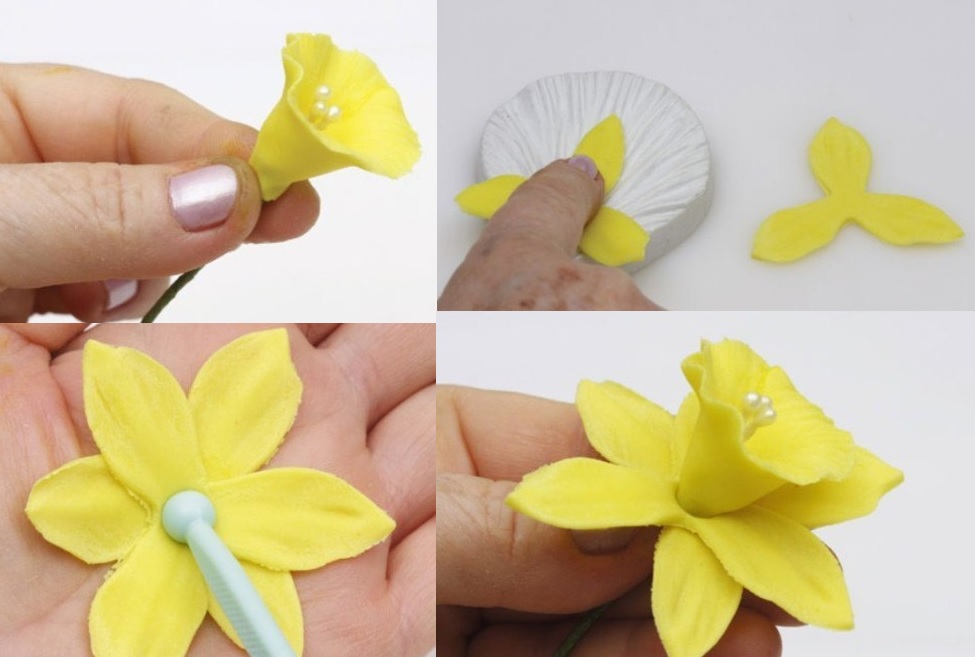
Assembling the Flower
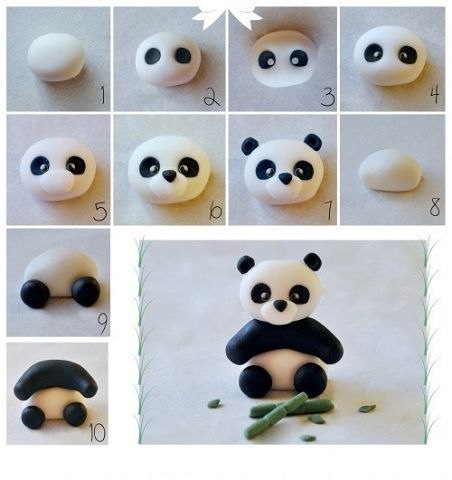
- Form the Center Bead: Take a small ball of clay for the flower’s center. This will act as the core of your flower bead, so it should be about the size you want your finished bead to be.
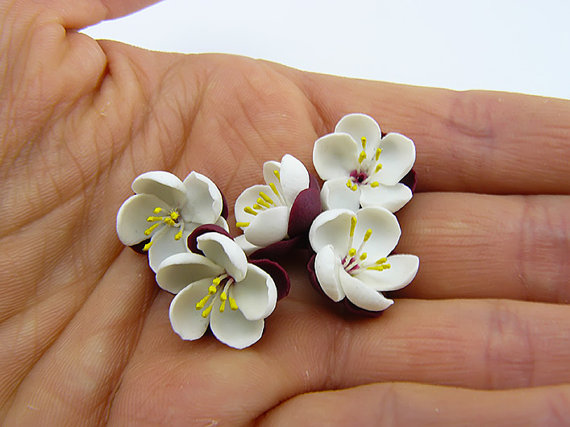
- Attach Petals: Press each petal around the center, layering them slightly over each other. Adjust the petal placement as you go to create a symmetrical, balanced flower. Add smaller petals in the middle for a fuller look.
- Add Leaves: Once your petals are arranged, place the leaves around the bottom of the flower. Press them gently to ensure they’re attached.
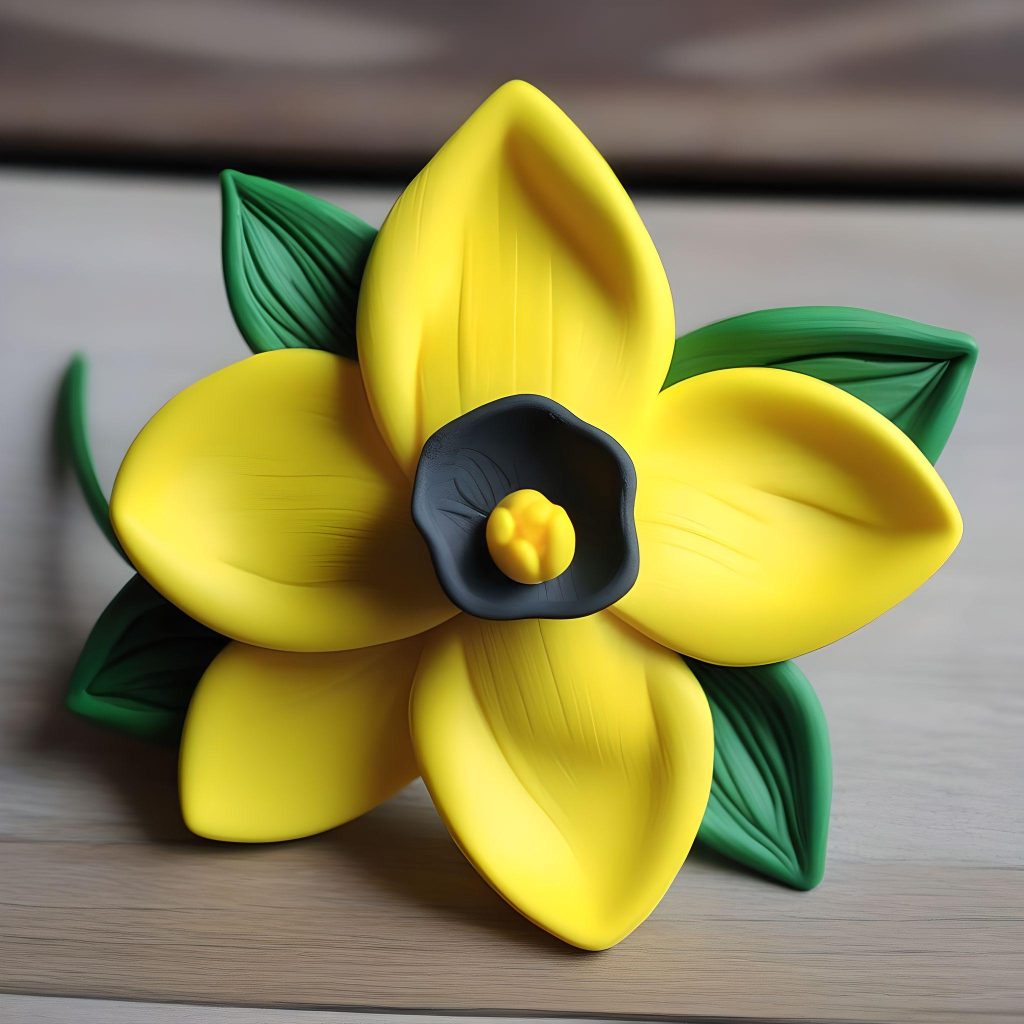
Adding Finishing Touches
- Texturize: Use a toothpick to add texture to the center and petals, creating a more detailed look. Gently press patterns into the clay to mimic a flower’s natural texture.
- Make the Bead Hole: Insert a needle or pin through the bead’s center. Make sure the hole is large enough for your string or wire if you plan to use the bead in jewelry.

Baking and Finishing
- Preheat the Oven: Set your oven to the recommended temperature for your brand of polymer clay (usually around 265°F or 130°C).
- Bake: Place your flower beads on a baking tray lined with parchment paper. Bake according to the clay package instructions, typically for 15-30 minutes.
- Cool and Finish: Once cooled, you can add a coat of glaze for a glossy finish. Use a small brush to apply the glaze and let it dry completely.
Tips for Perfect Polymer Clay Flowers
- Experiment with Blends: Try marbling two clay colors for petals to add depth.
- Texturize with Tools: Use different household items, like toothbrushes, to create interesting textures.
- Add Paint: Use acrylic paint to highlight details on petals and leaves for more realistic effects.
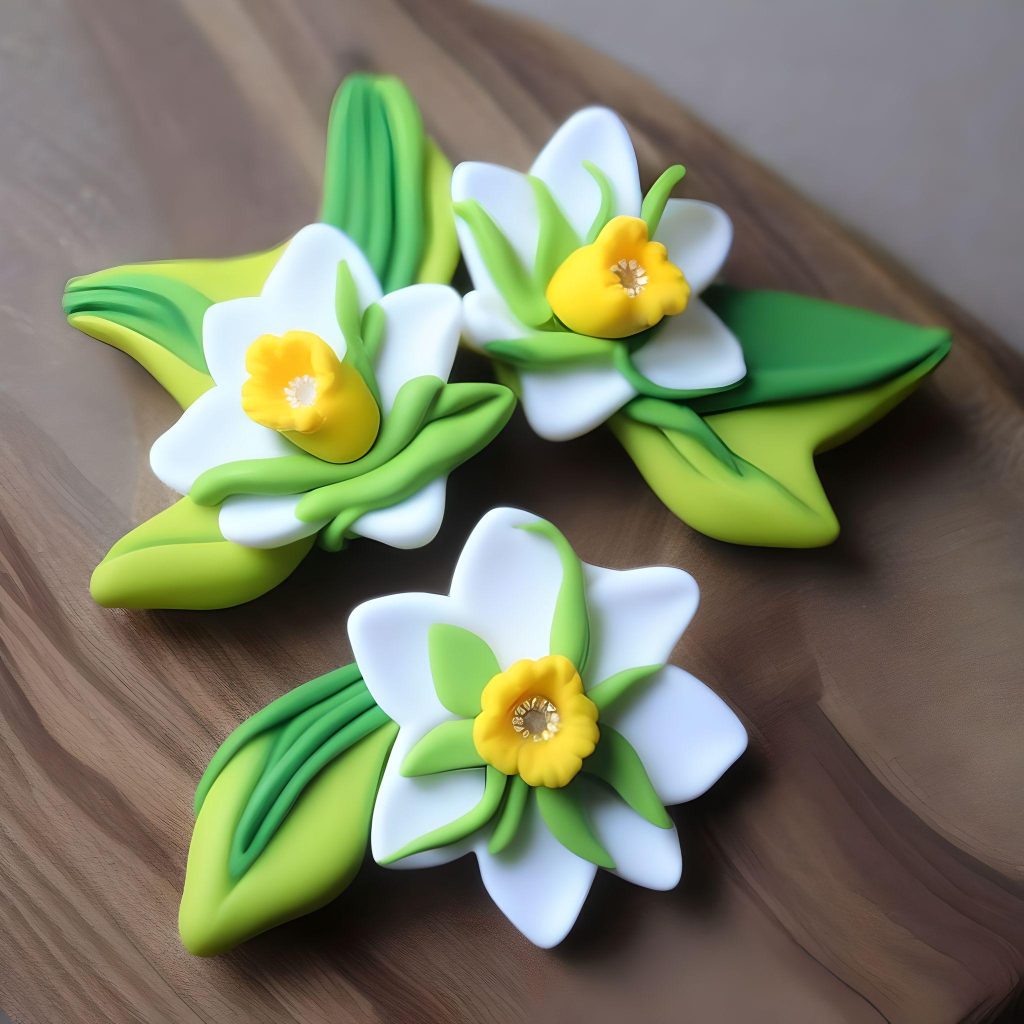
- Try Different Flowers: Experiment with roses, peonies, and lilies to broaden your flower-making skills.
Creating polymer clay flower beads is a rewarding craft that opens up endless creative possibilities. With a few tools, vibrant colors, and a touch of patience, you can create intricate, beautiful beads for your next jewelry piece or décor item
Ready to start? Check out other tutorials on fimodiy.com to further enhance your skills and inspire your next polymer clay project. And if you’re looking for more ideas, be sure to explore our polymer clay earring designs and polymer clay flower cane tutorials.