Thanksgiving Polymer Clay Crafts: Cozy DIY Decor and Gift Ideas for the Holiday
Thanksgiving is a time for gathering with loved ones, reflecting on gratitude, and adding personal, handmade touches to our celebrations. This year, why not try Thanksgiving polymer clay crafts to bring warmth and charm to your home? These easy, festive projects make it simple to create heartfelt gifts for family and friends or add unique decor to your holiday table. In this article, we’ll share fun Thanksgiving-themed polymer clay crafts that are perfect for both beginners and experienced crafters!
Thanksgiving-Inspired Polymer Clay Decor
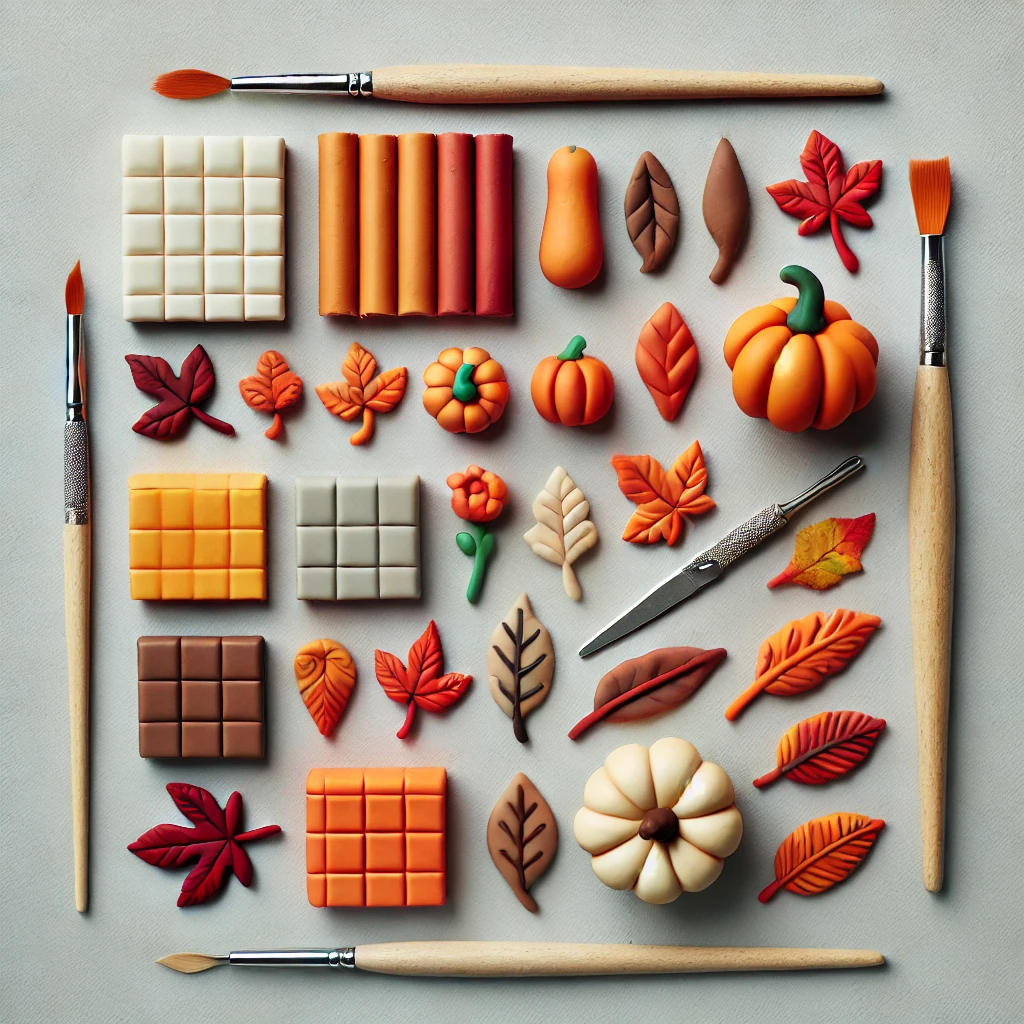
These Thanksgiving polymer clay crafts are simple yet eye-catching and add a festive touch to your Thanksgiving table or around your home. Here are a few ideas to start with:
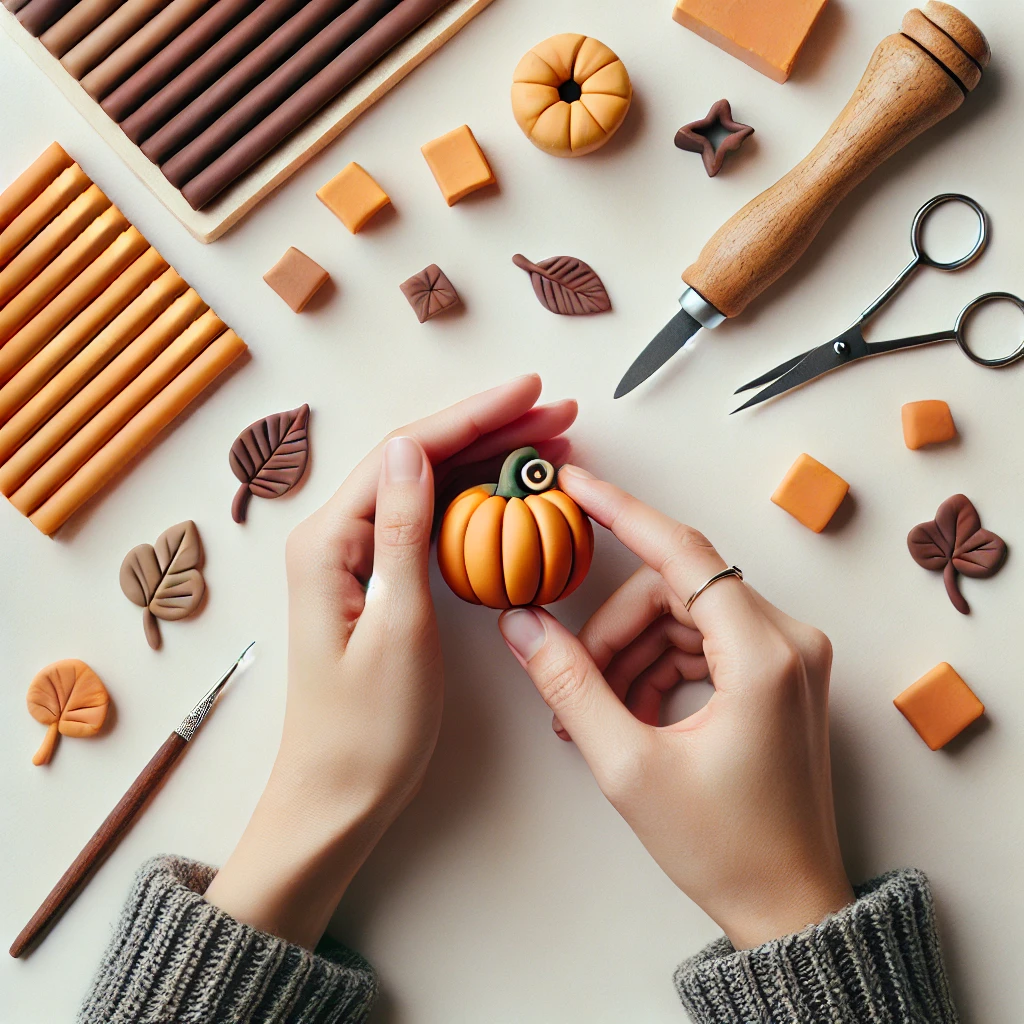
Miniature Pumpkins
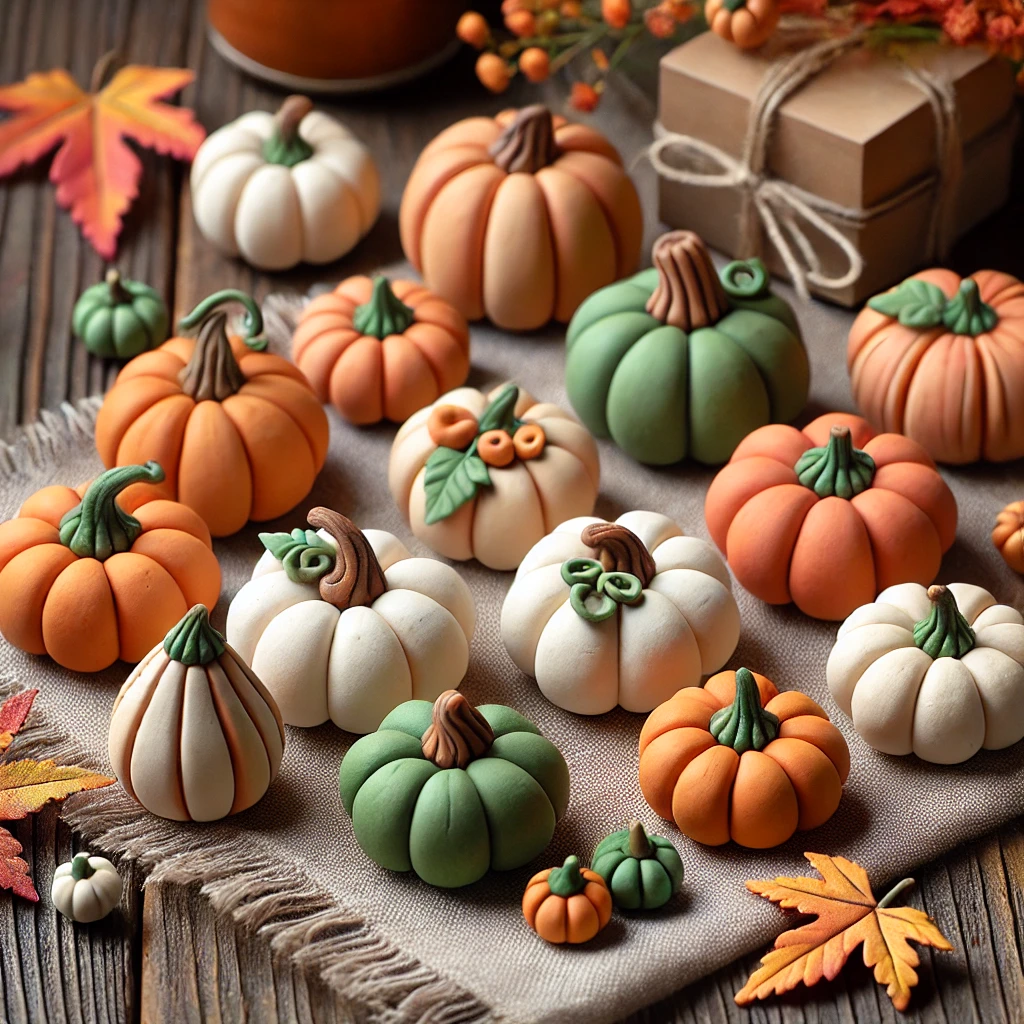
Pumpkins are an essential part of Thanksgiving decor, and making your own mini pumpkins out of polymer clay is a fun and easy way to bring fall indoors. These small pumpkins work well as place card holders, scattered decorations, or as part of a table centerpiece.
Instructions: Start by making a ball of orange clay and gently flatten it to create a pumpkin shape. Next, use a toothpick or small tool to add vertical lines as grooves. Add a tiny brown or green stem on top, and bake following the package instructions. For more fall decorating ideas, see the Better Homes & Gardens Fall Decor Guide.
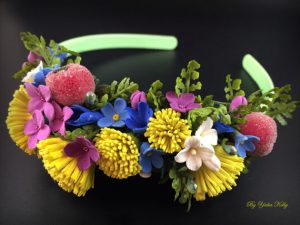
Autumn Leaf Accents
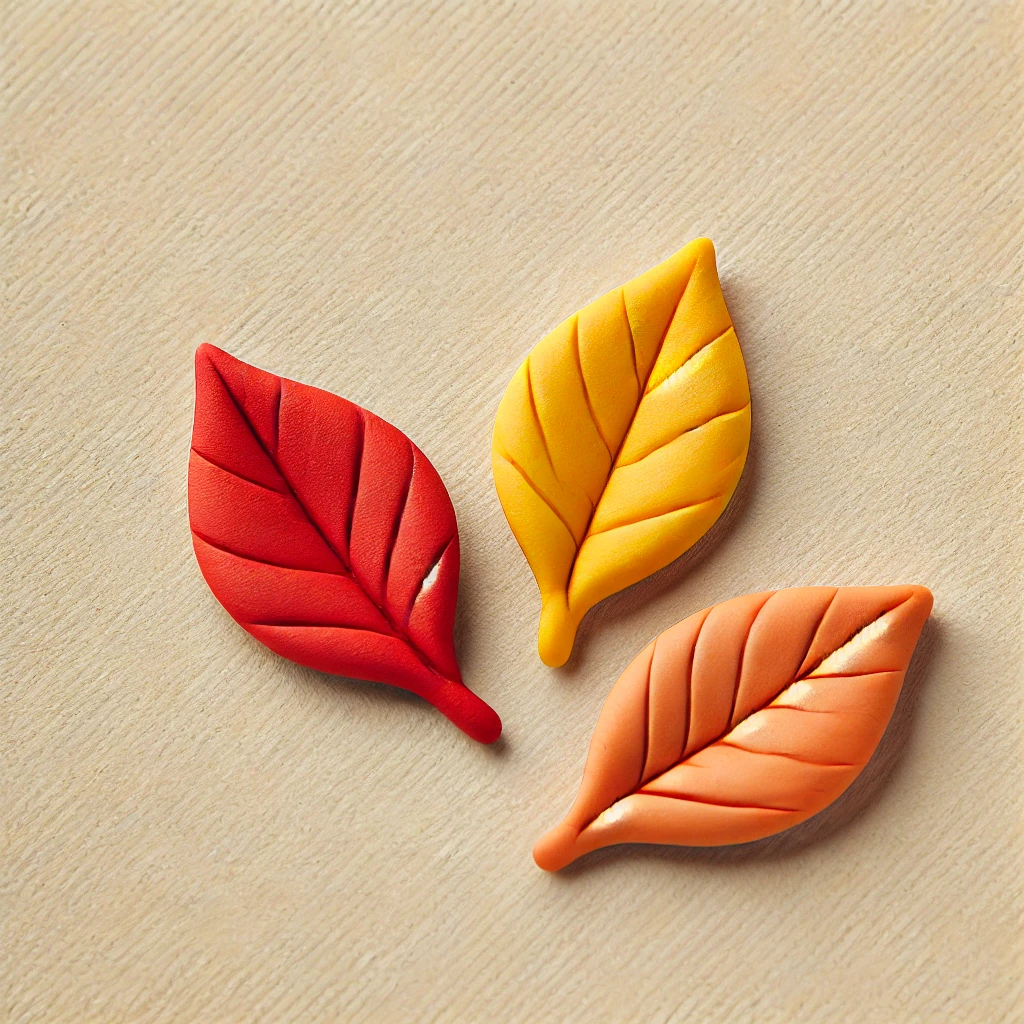
Autumn leaves are a classic symbol of Thanksgiving. Making clay leaves in warm fall colors like red, orange, and yellow is an easy Thanksgiving polymer clay craft that brings the season indoors. You can use them as napkin rings, place cards, or garlands.
Instructions: Start by rolling out your clay, then use a leaf-shaped cutter or shape the leaves by hand. Use a toothpick to add veins. After shaping, these leaves can be tied onto napkin rings or strung as garlands. For more seasonal craft ideas, check out Martha Stewart’s Fall Crafts.
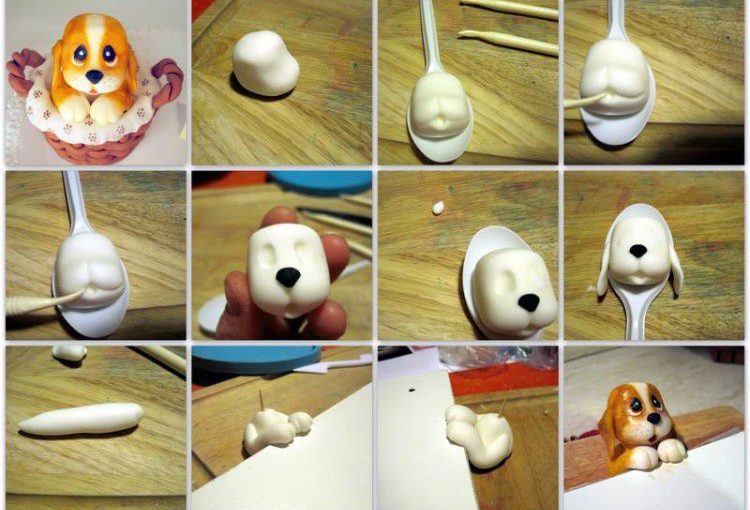
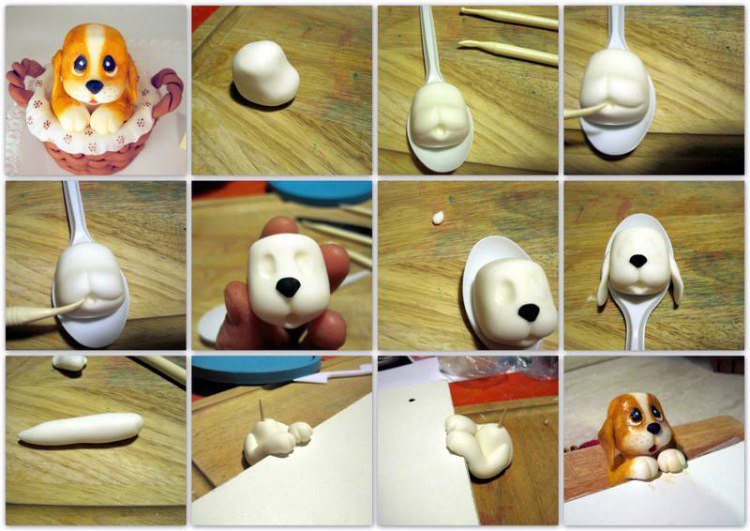
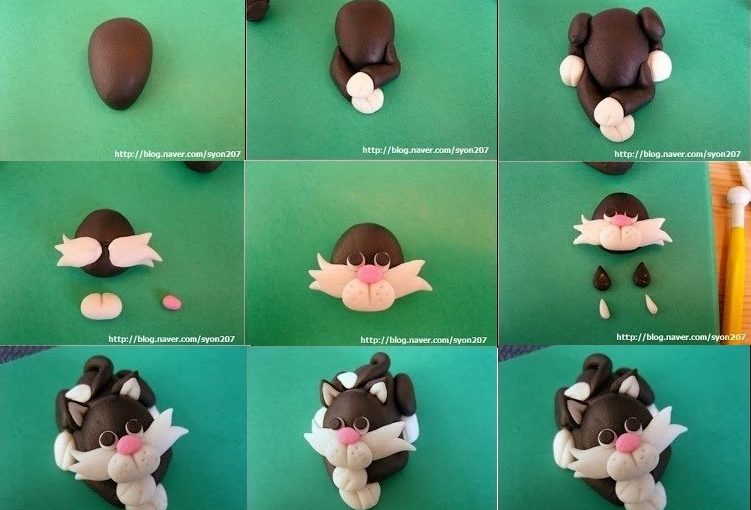
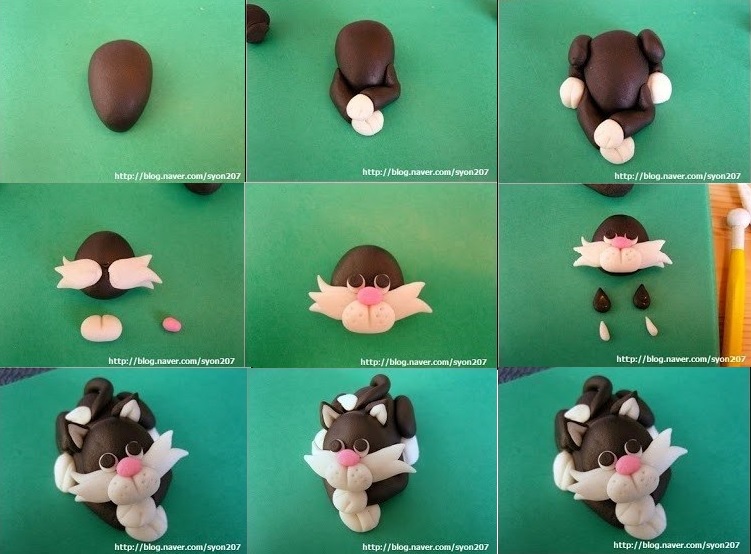
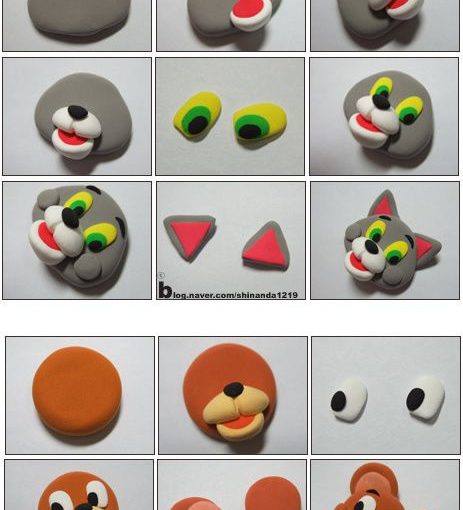
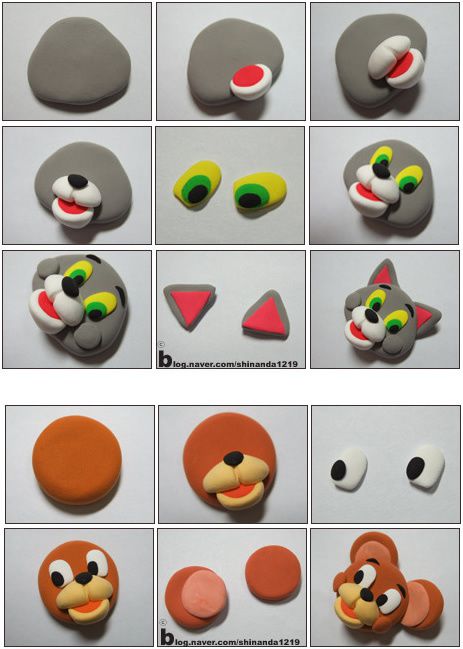
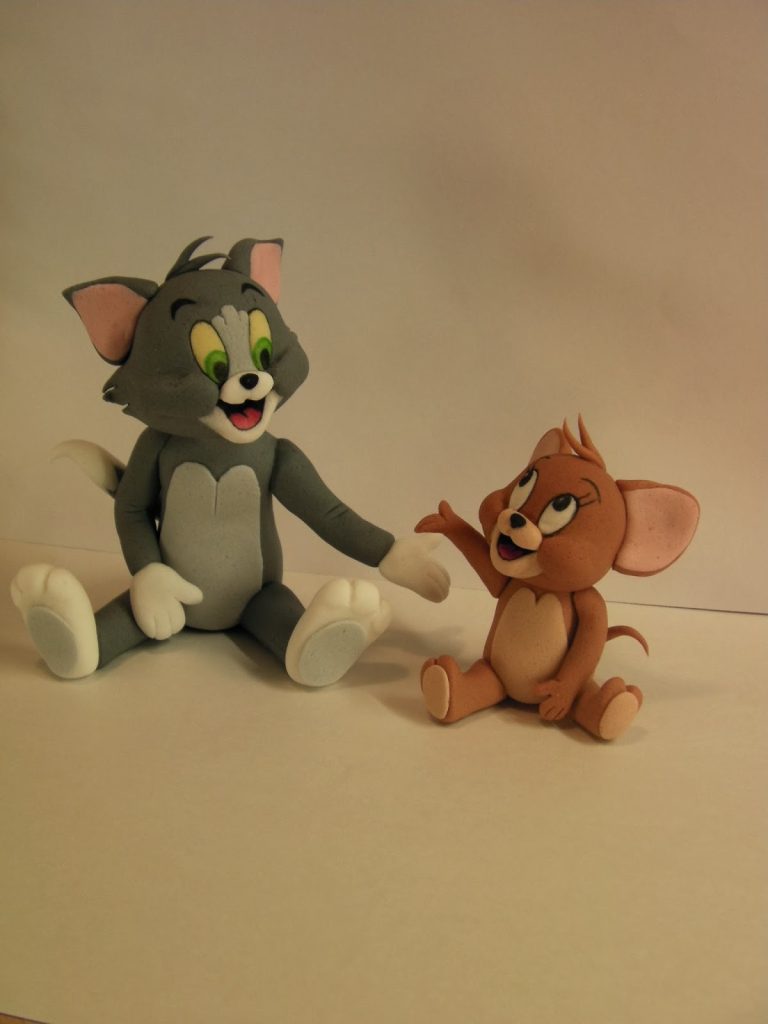
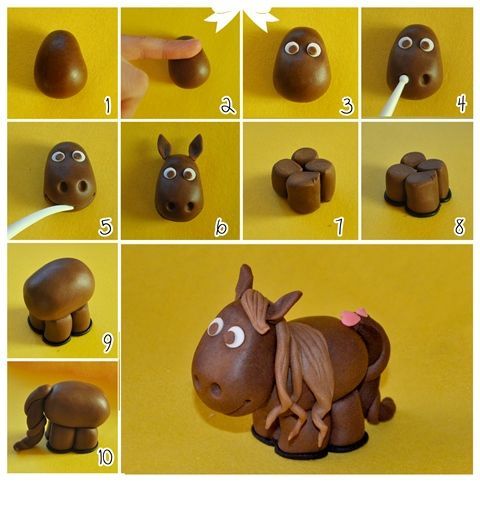
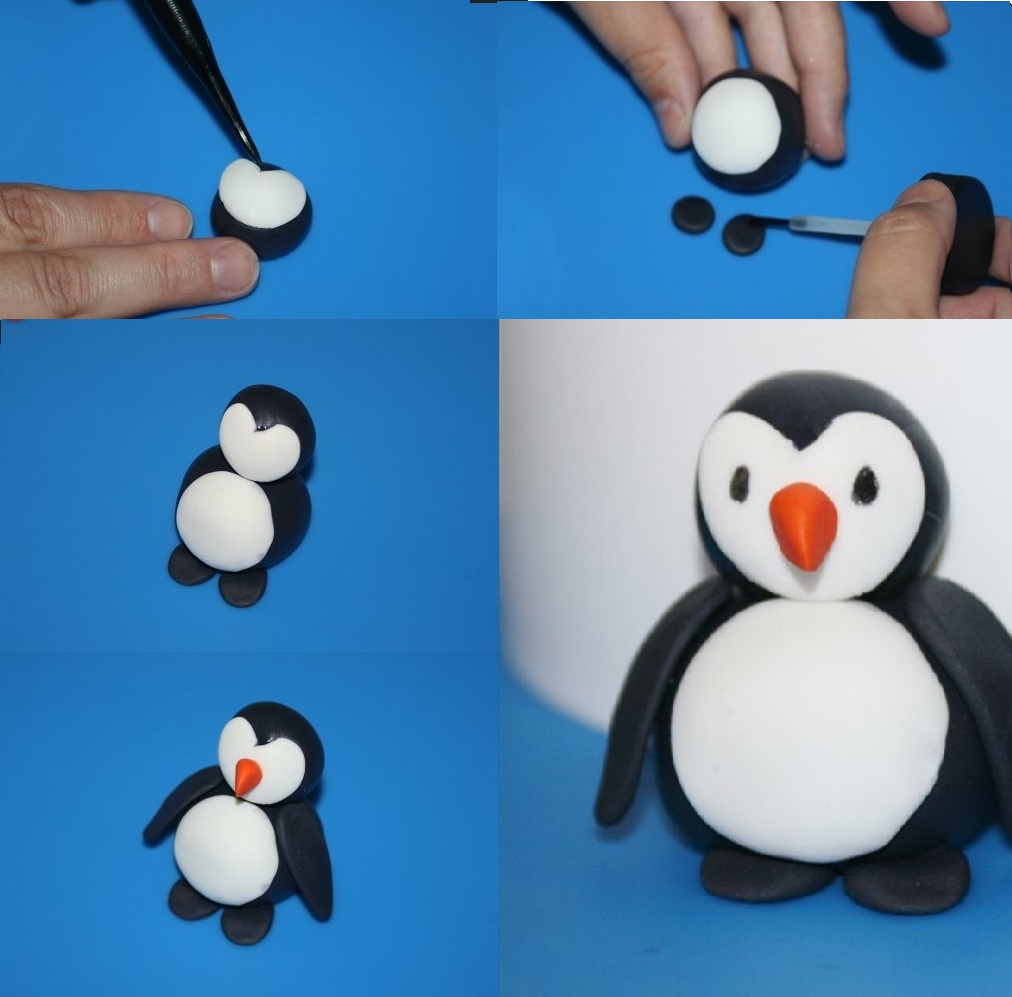
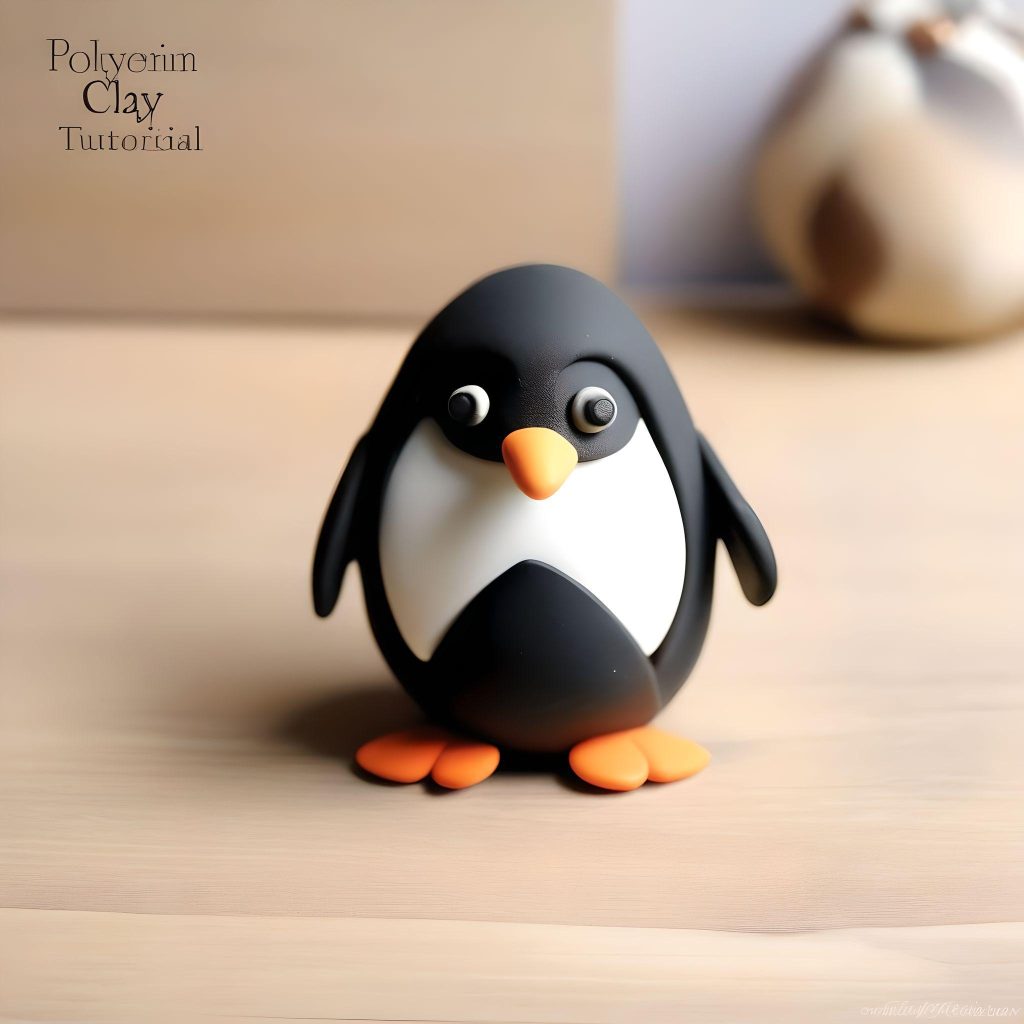
Adorable Turkey Figurines
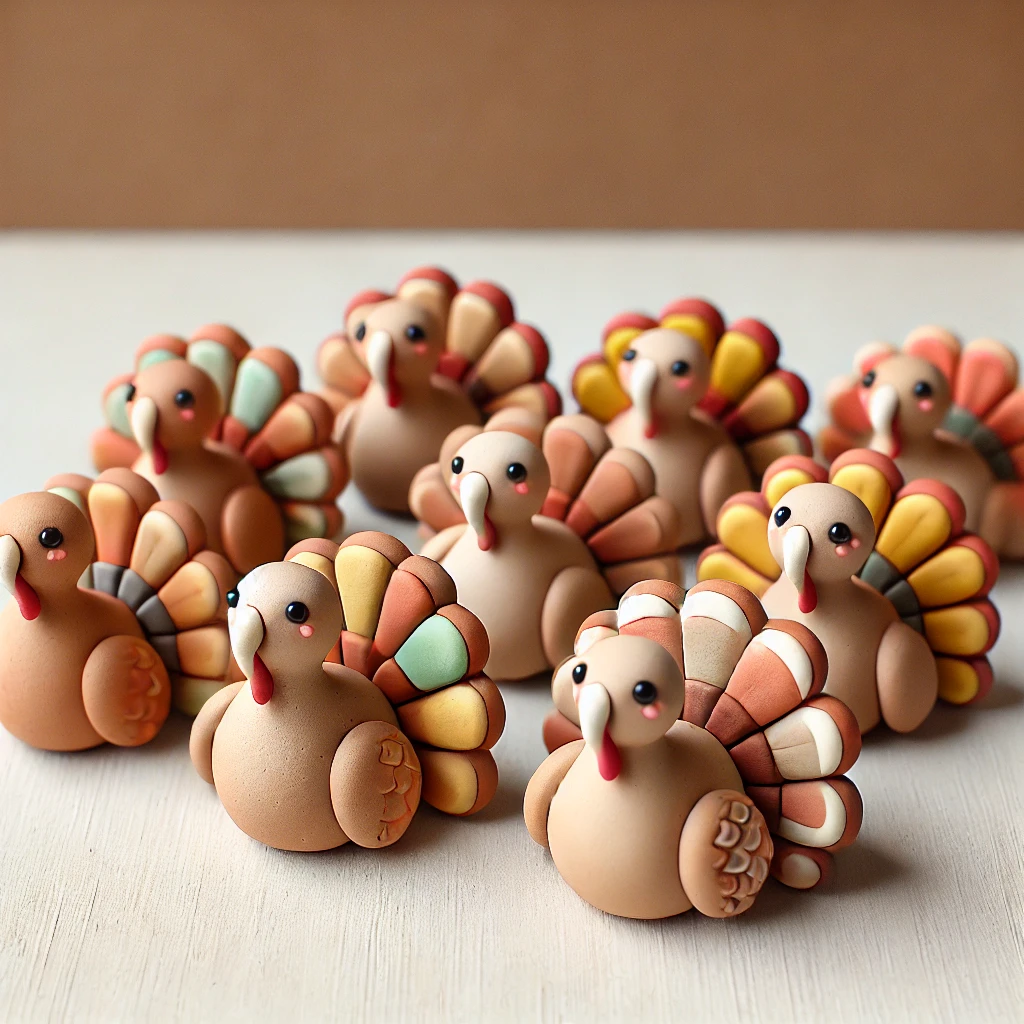
These cute turkey figurines are a fun Thanksgiving polymer clay craft that adds character to your decor. Display them on your table or give them as holiday mementos to guests.
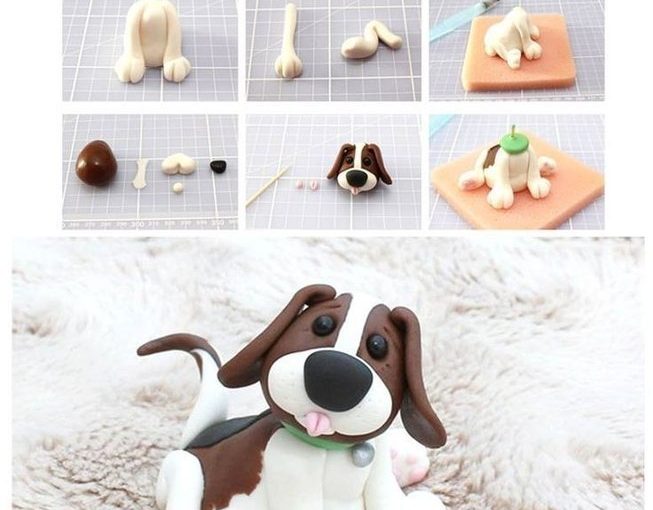
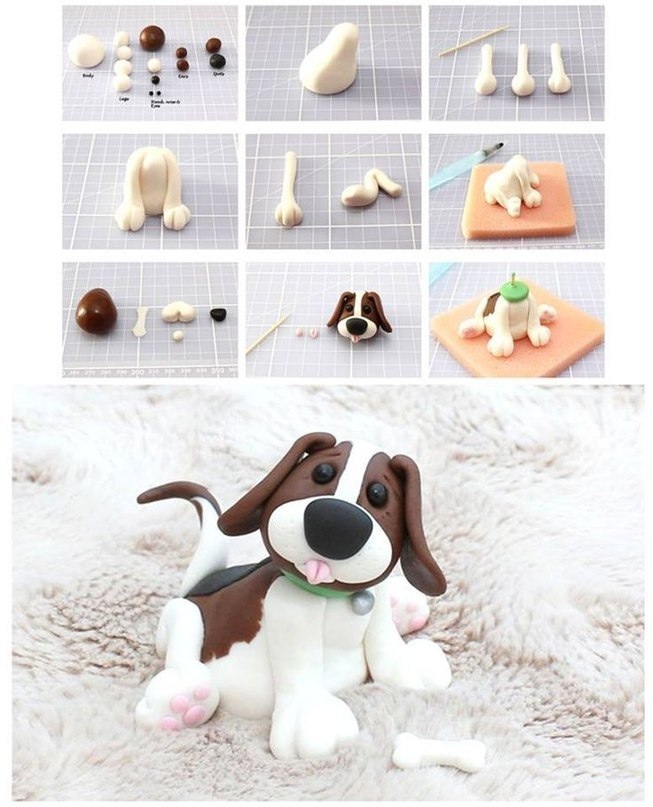
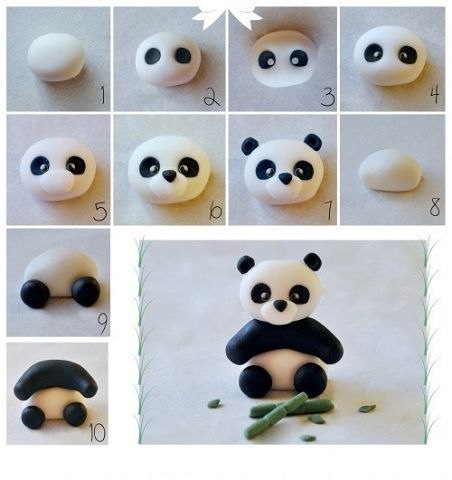
Instructions: Use a ball of brown clay for the turkey’s body, with smaller pieces for the head, feathers, and details like eyes and a beak. Add colorful clay for feathers or tail details. Bake and glaze as needed for a glossy look. For more tips on clay figures, check out the Polymer Clay Bunny Tutorial on fimodiy.com.
Handmade Thanksgiving Gift Ideas with Polymer Clay
Making small gifts is a great way to show gratitude, and these Thanksgiving polymer clay crafts make memorable keepsakes for loved ones.
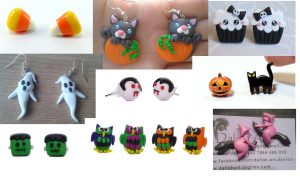
Festive Jewelry
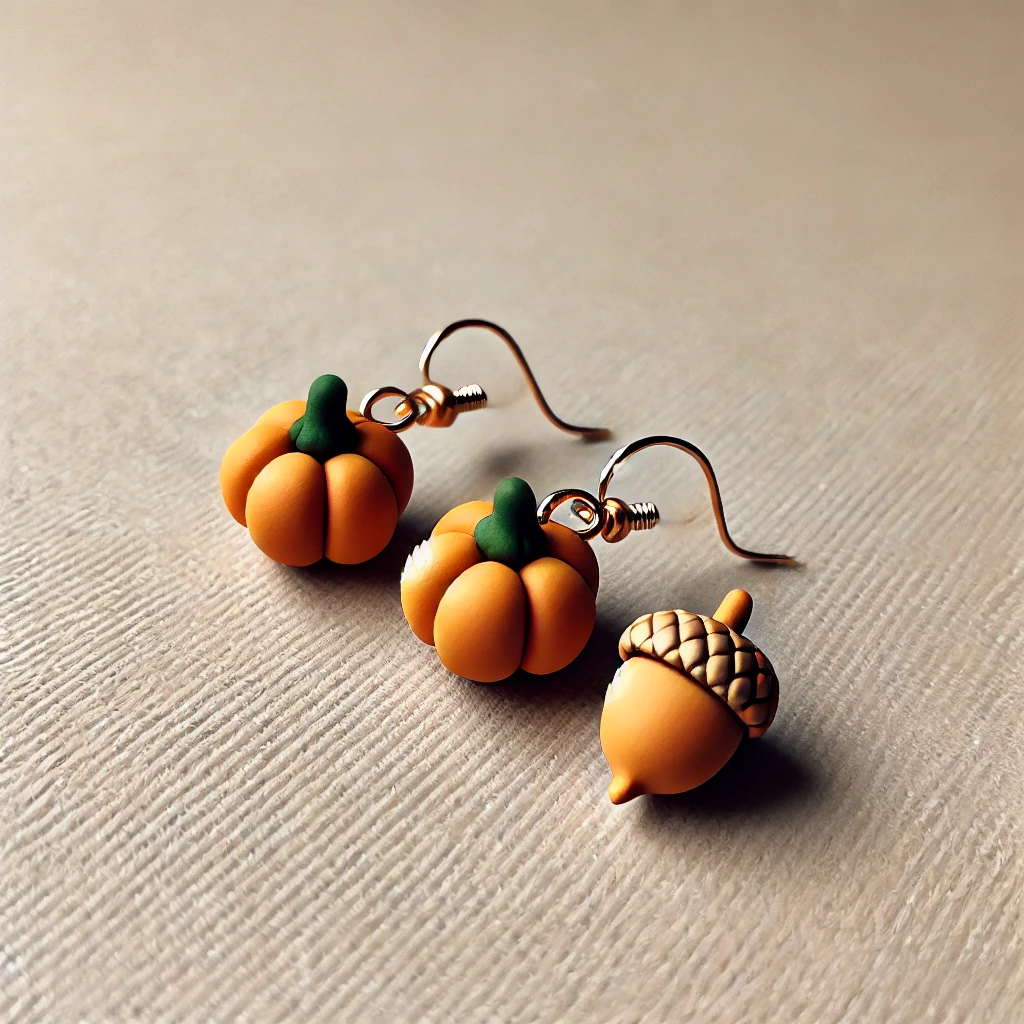
Thanksgiving-themed jewelry, like pumpkin earrings or acorn charms, makes a thoughtful and wearable gift. These polymer clay pieces are easy to make but add a personal touch.
Instructions: First, make small clay pumpkins, acorns, or leaves and attach them to earring posts or charm holders. Use tiny tools to add grooves or lines for extra detail. For more jewelry ideas, see Craftsy’s Polymer Clay Jewelry Guide.
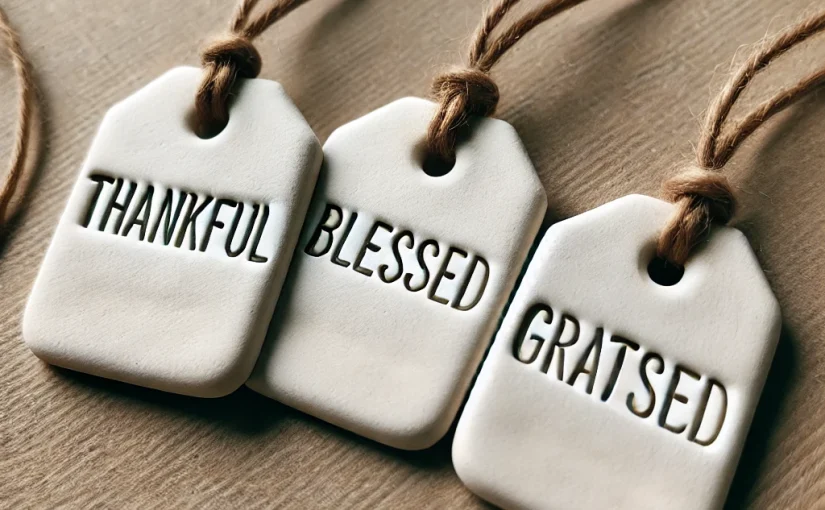
Personalized Gift Tags

Stamped clay gift tags with Thanksgiving words like “Thankful” or “Grateful” add a unique, handmade element to any gift.
Instructions: Roll out clay, cut into small rectangles or tag shapes, and use letter stamps to add personalized messages. Punch a hole for stringing and bake following the clay’s instructions. These tags make lovely finishing touches for gifts. For additional gift wrapping ideas, explore Country Living’s Handmade Gift Tags.
Tips for Perfect Polymer Clay Projects
Make your Thanksgiving polymer clay crafts even better with these helpful tips:
- Choosing Colors: Thanksgiving decor usually uses warm, rich colors. Choose shades like burnt orange, deep reds, and golden yellows.
- Adding Texture: Texture adds depth and realism to your clay creations. Use tools like toothpicks, needles, or even household items like forks to add grooves and details.
- Baking and Sealing: Follow the clay’s baking instructions, and for a polished finish, apply a thin layer of gloss after baking. Glossy or matte sealants can make your pieces look professional.
Embracing Creativity and Gratitude with Handmade Art
Thanksgiving is a time to reflect on what we’re grateful for, and creating something with your hands is a great way to express this sentiment. As you craft, think of the joy these small touches bring to your family’s gathering or the happiness your handmade gifts will bring to a loved one. Crafting gives you time to relax and focus on the season’s message of gratitude.
Conclusion
With these Thanksgiving polymer clay crafts, you can bring a festive and creative touch to your holiday decor and gifts. Whether you’re crafting for your home or for loved ones, each piece adds warmth and a personal touch to the season. Enjoy these projects, and happy Thanksgiving crafting!