Polymer Clay Jewelry: Stunning Designs and Techniques

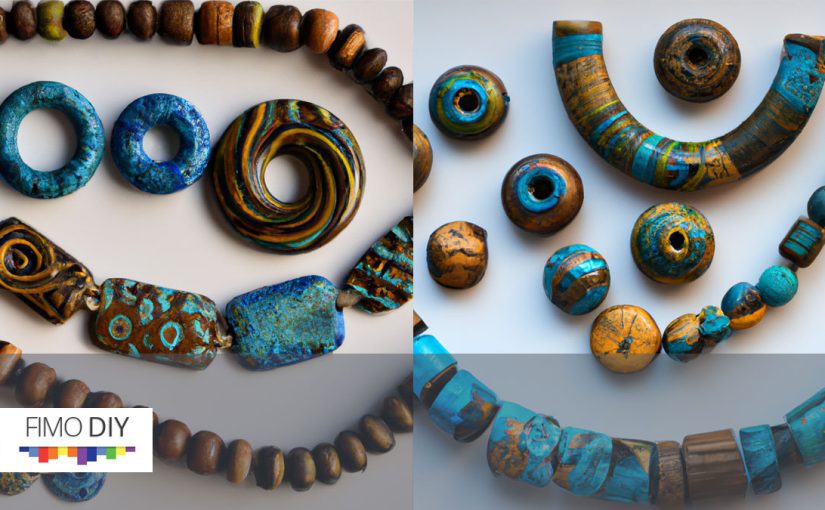
Polymer clay jewelry has gained immense popularity in the crafting world due to its versatility, vibrant colors, and endless design possibilities. Whether you’re a beginner or an experienced artist, working with polymer clay offers a chance to create unique and stunning jewelry pieces that reflect your personal style. In this article, we will explore the world of polymer clay jewelry, discussing various designs and techniques that will elevate your creations to new heights.

Polymer Clay Jewelry: Stunning Designs and Techniques

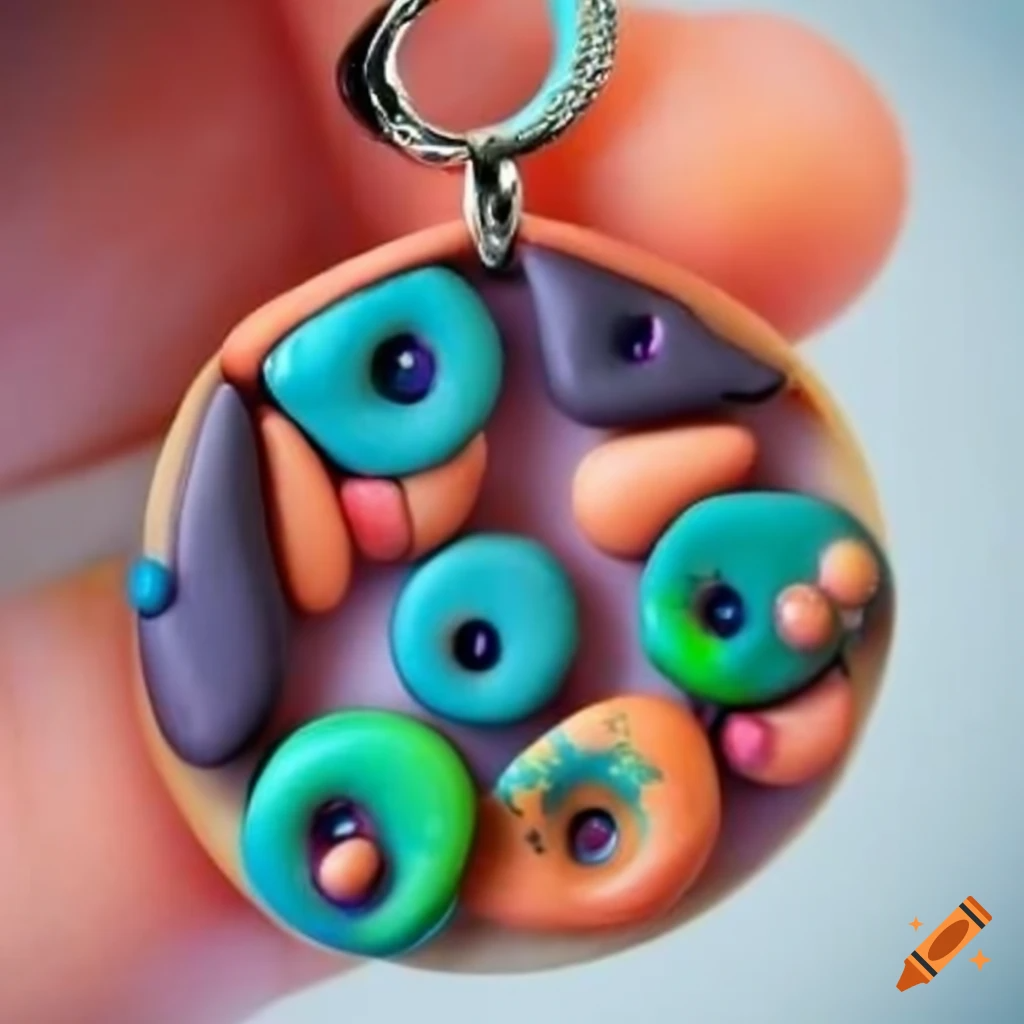
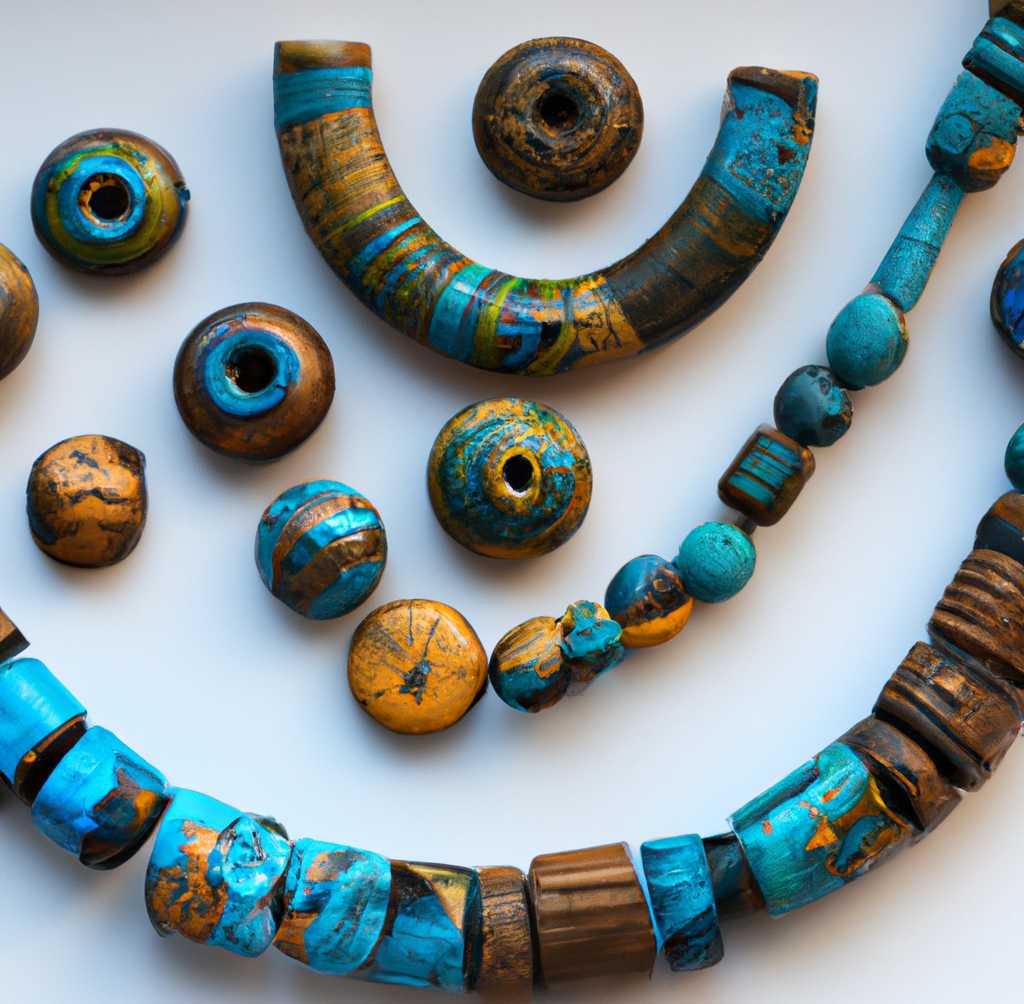
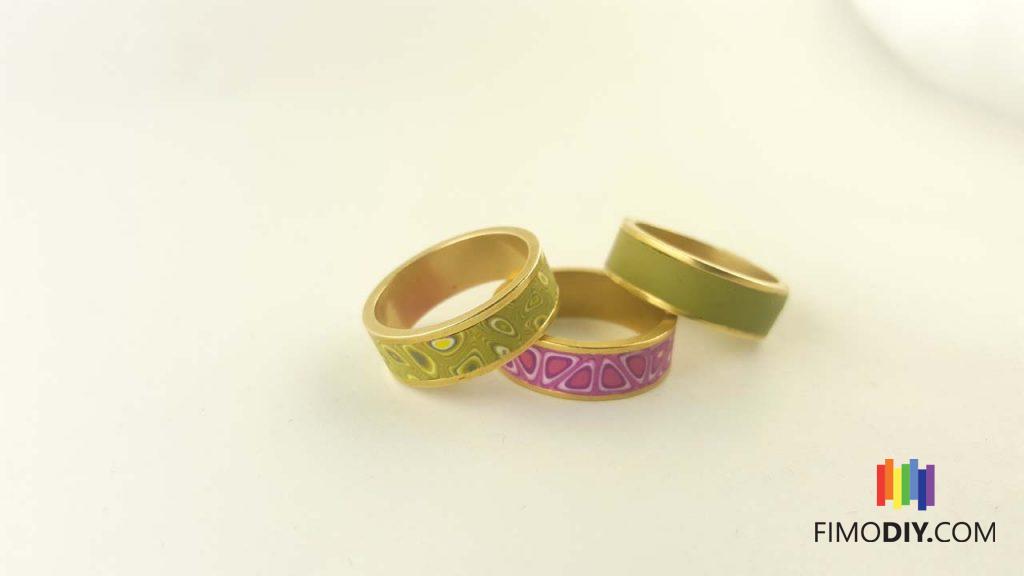
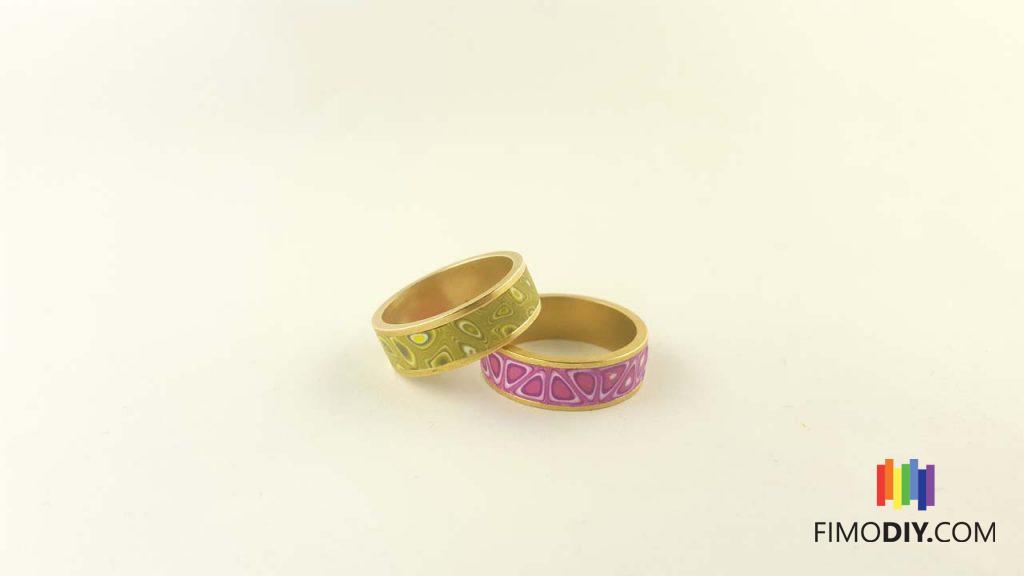
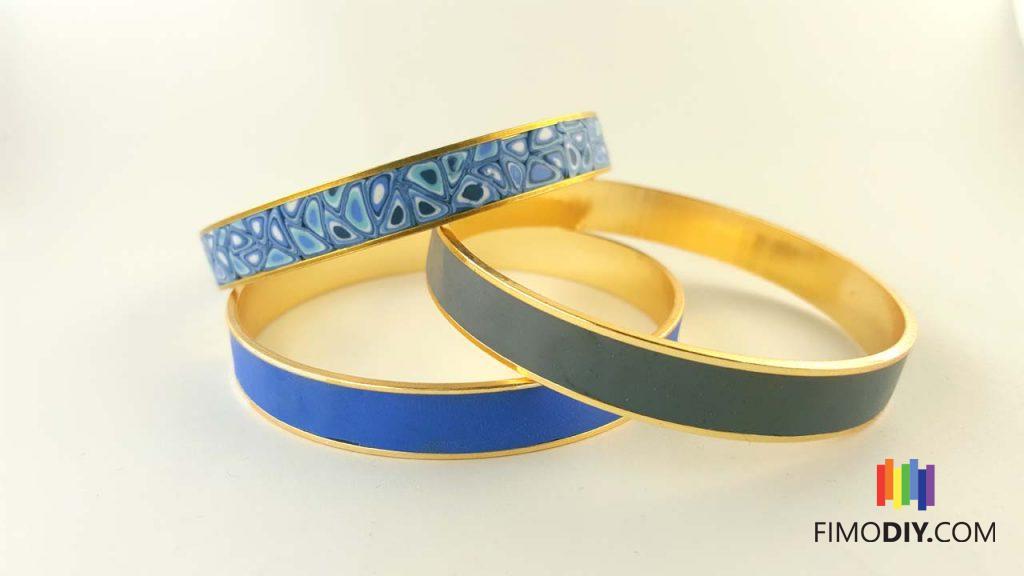
One of the most captivating aspects of polymer clay jewelry is the ability to achieve intricate and detailed designs. By using a combination of shaping, sculpting, and layering techniques, you can create stunning pendants, earrings, bracelets, and more. Experiment with different tools, such as blades, texture sheets, and molds, to add depth and texture to your clay pieces.

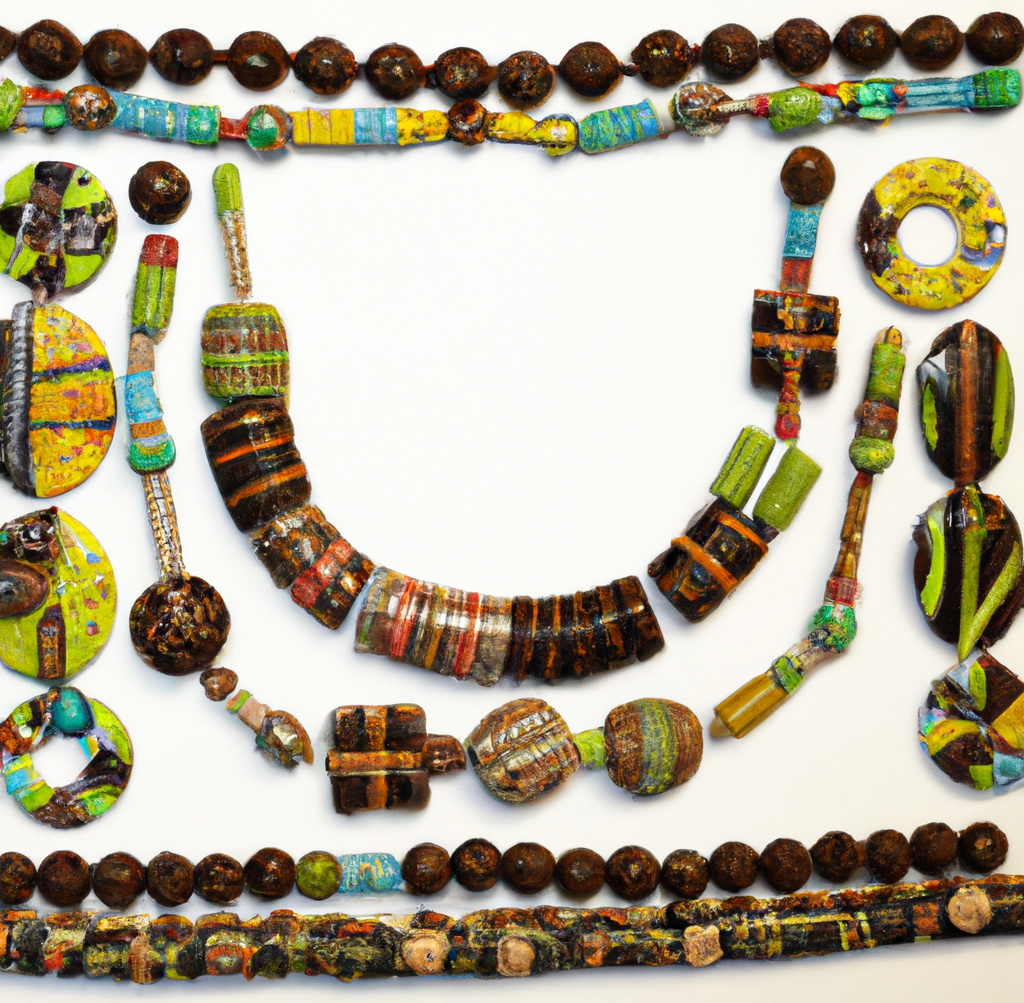
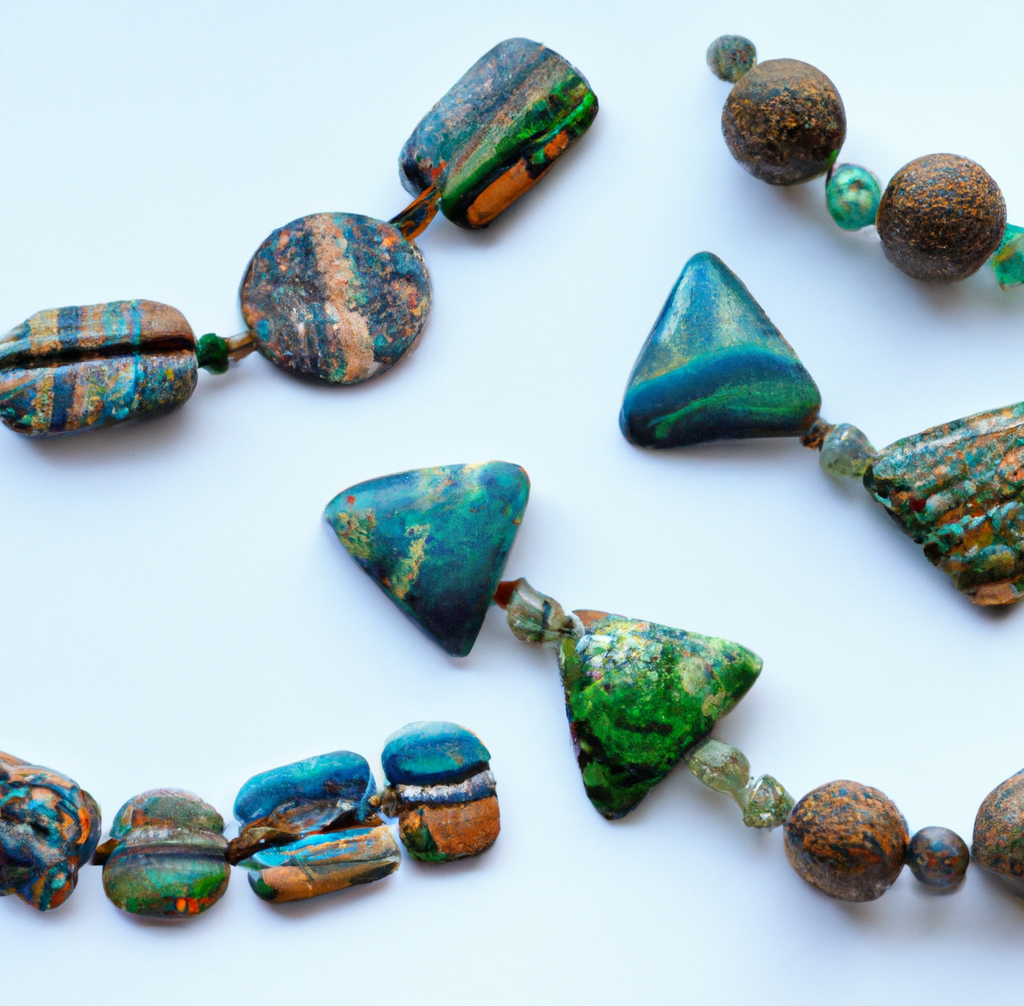
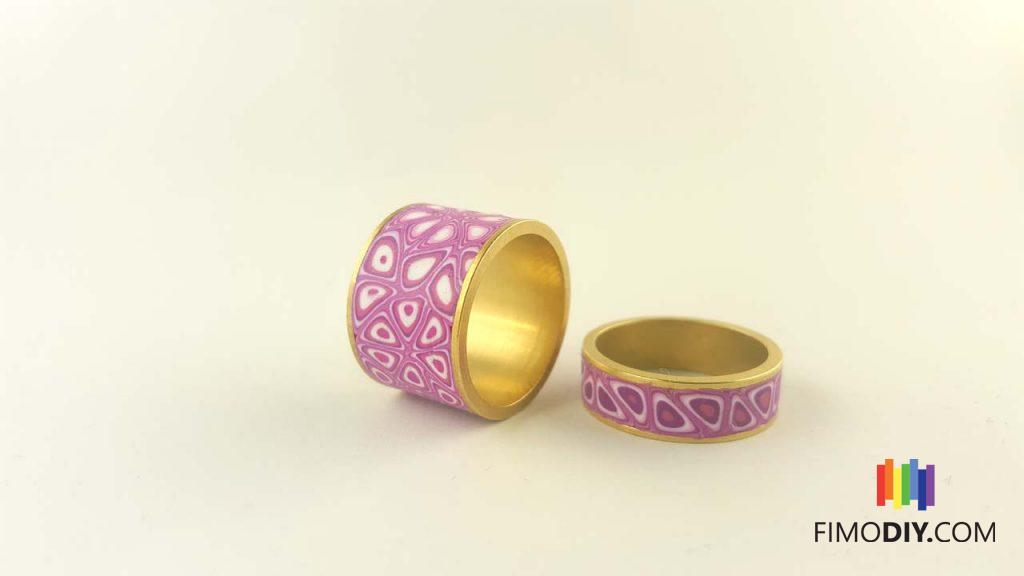
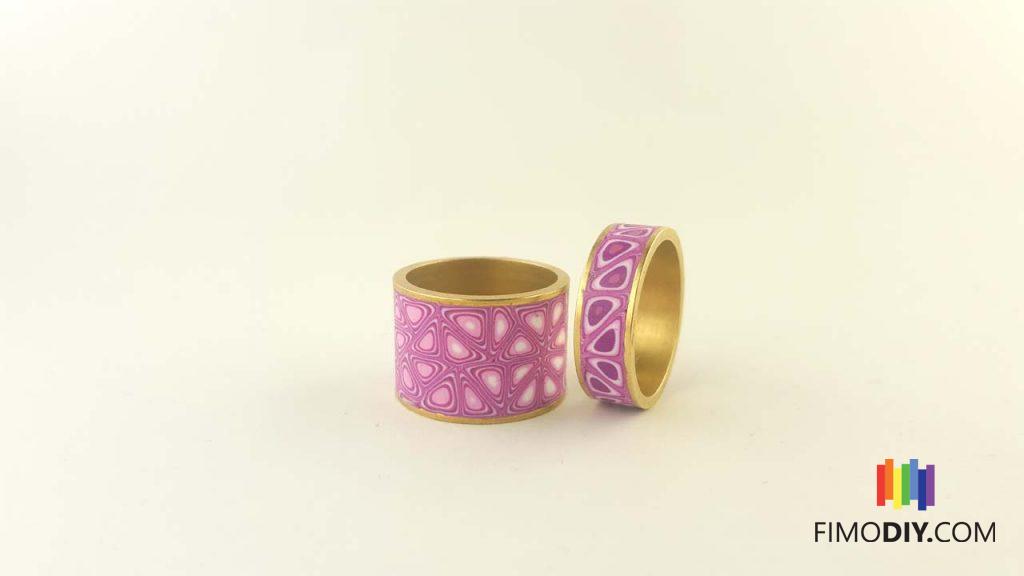
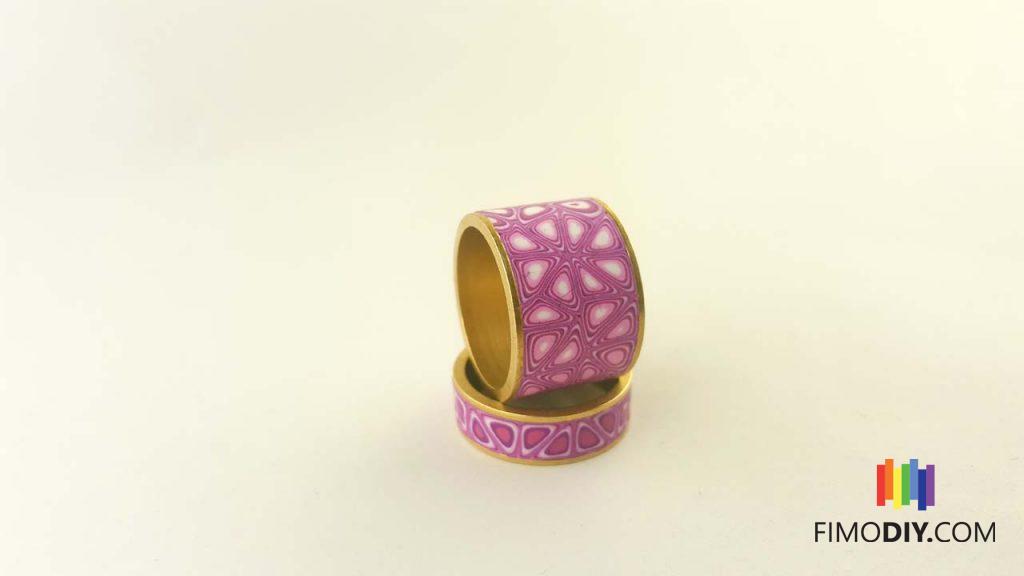
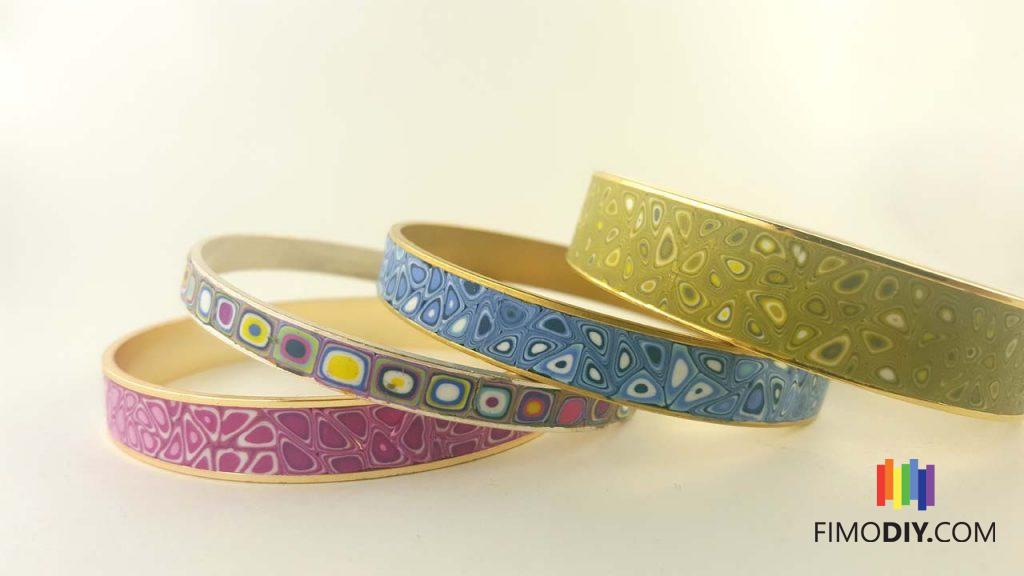
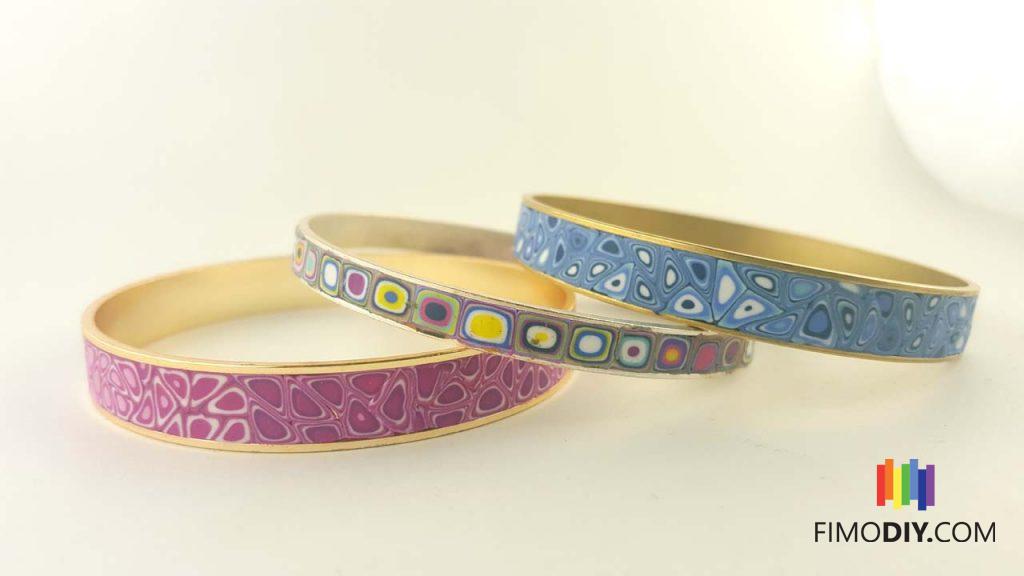
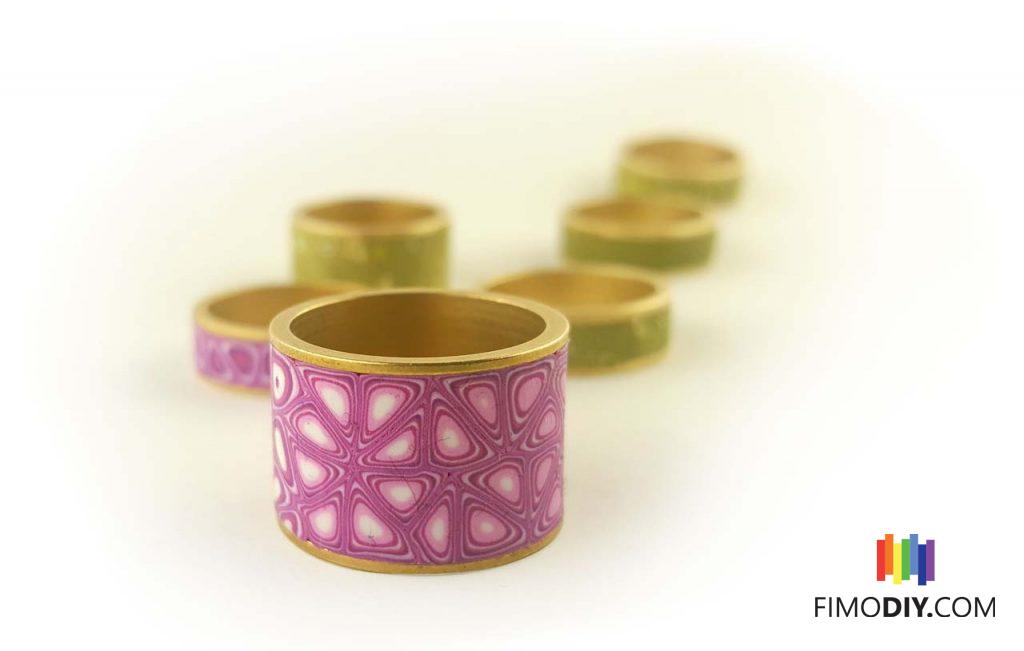
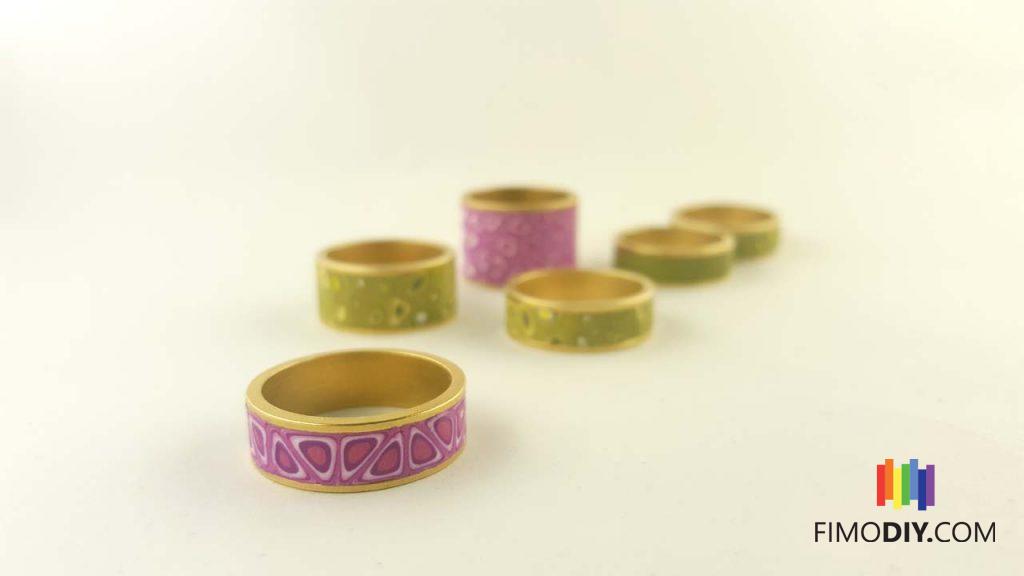
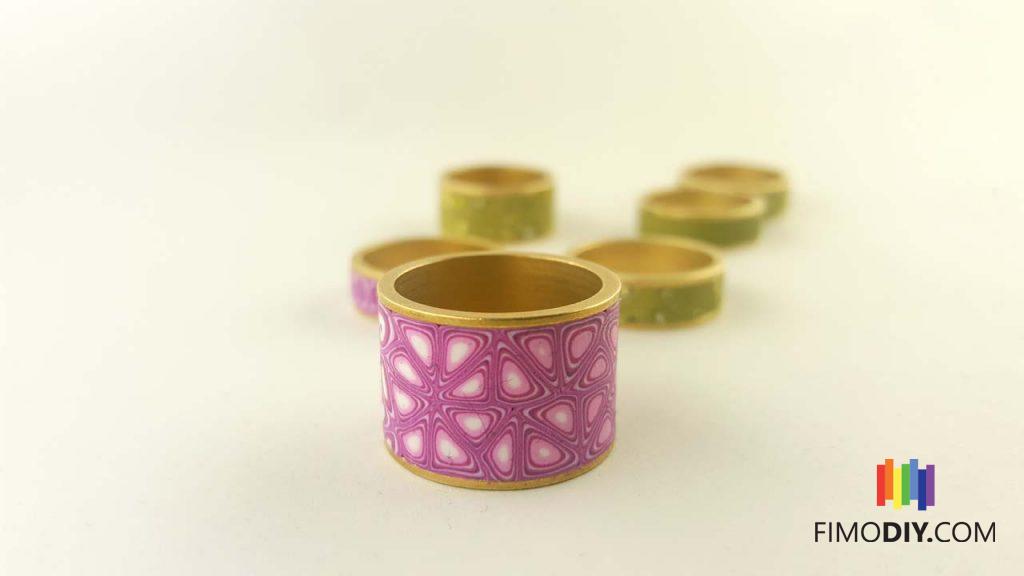
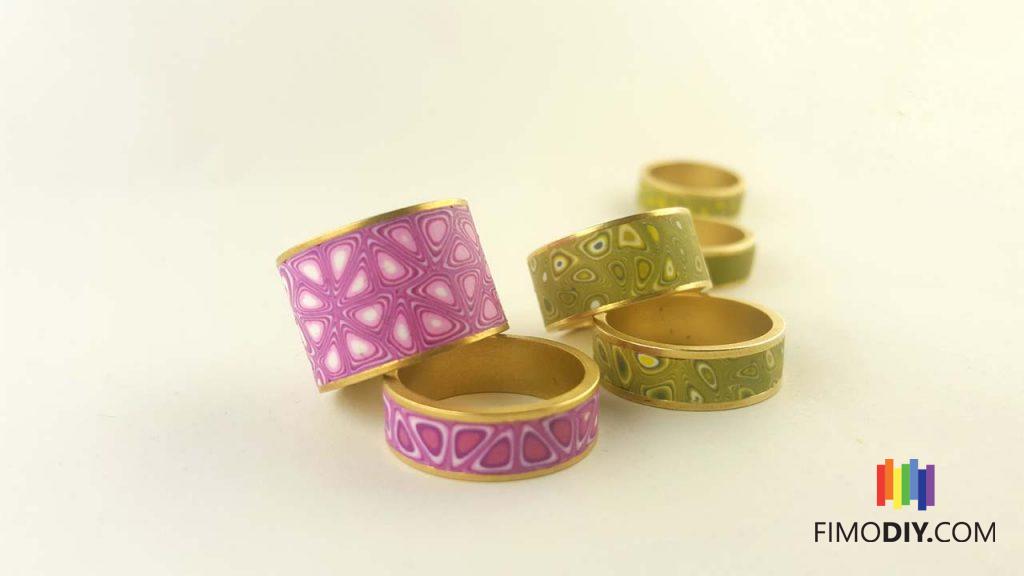
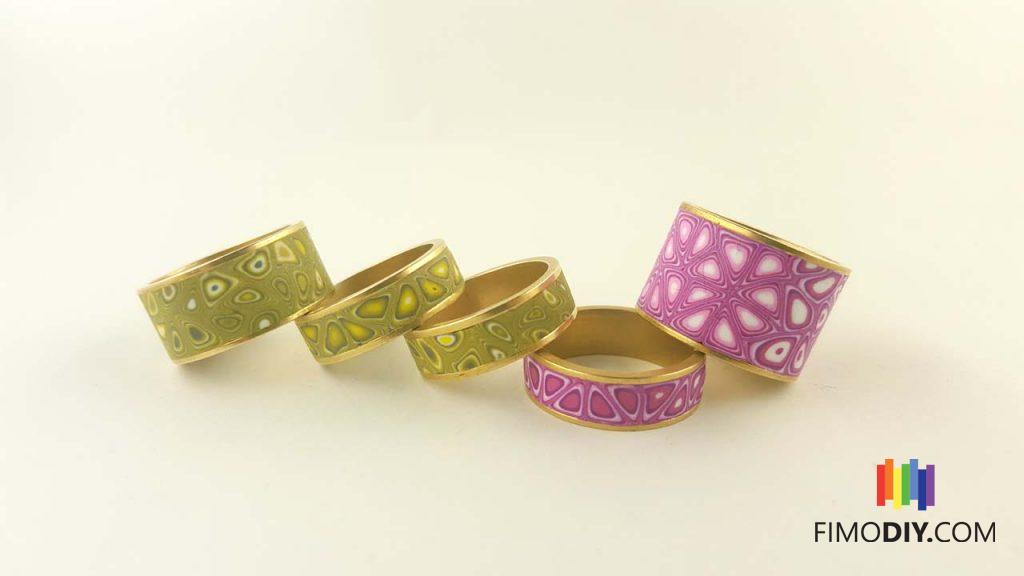
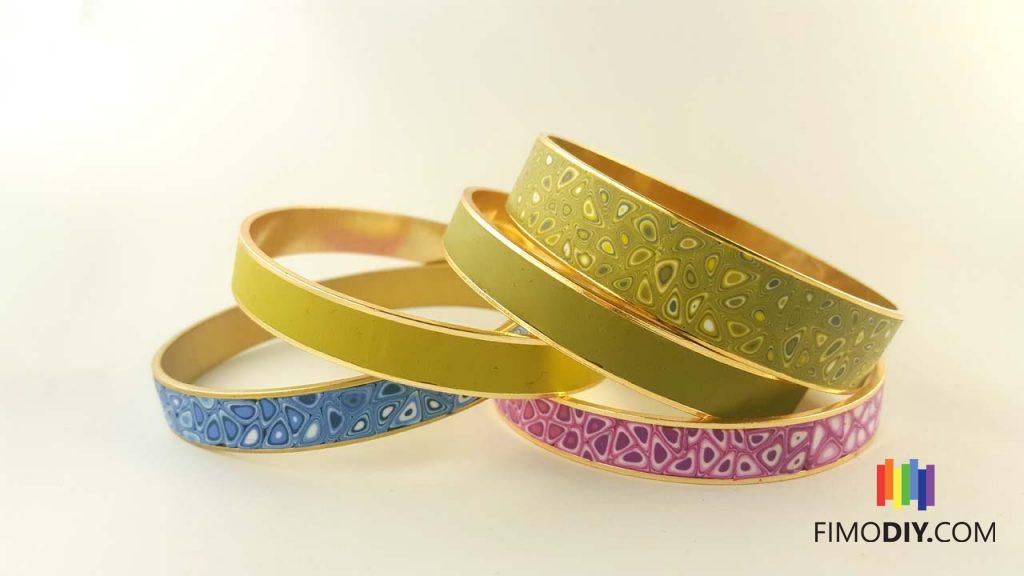
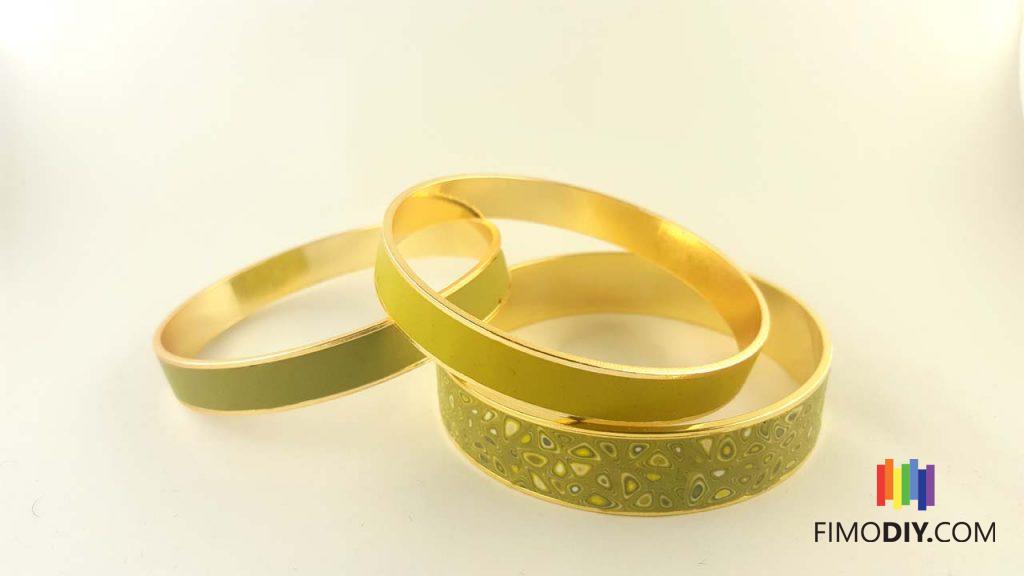
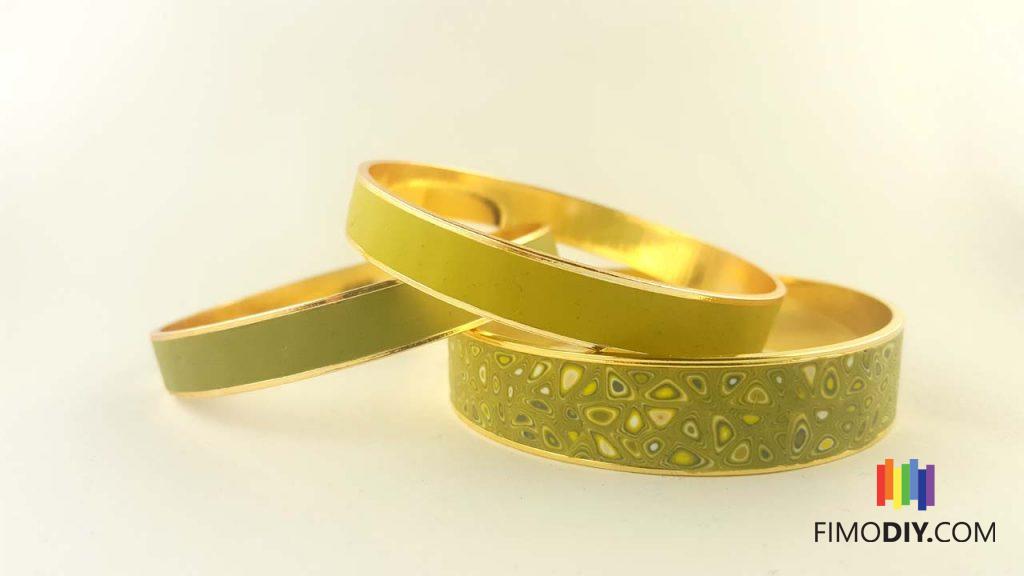
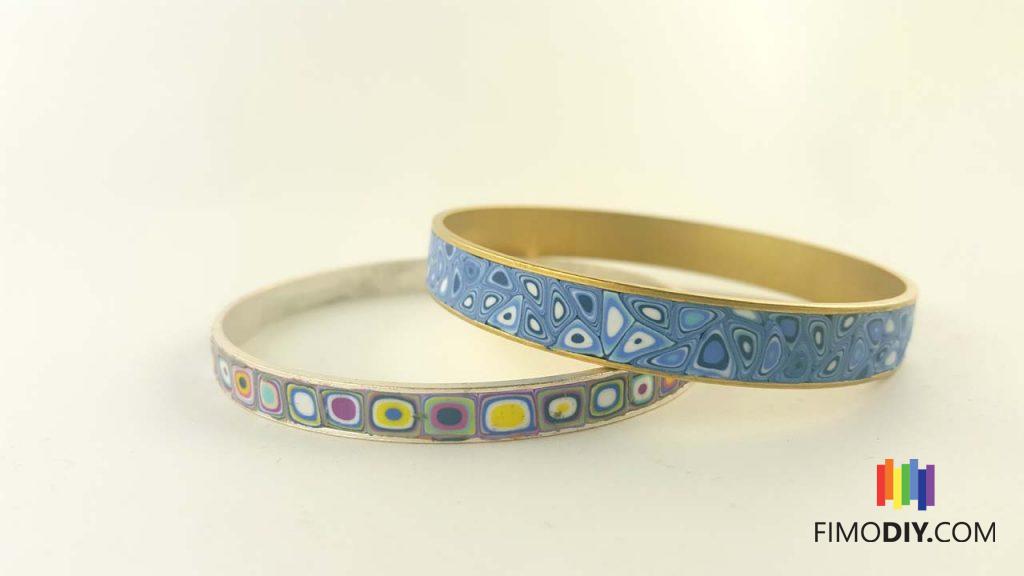
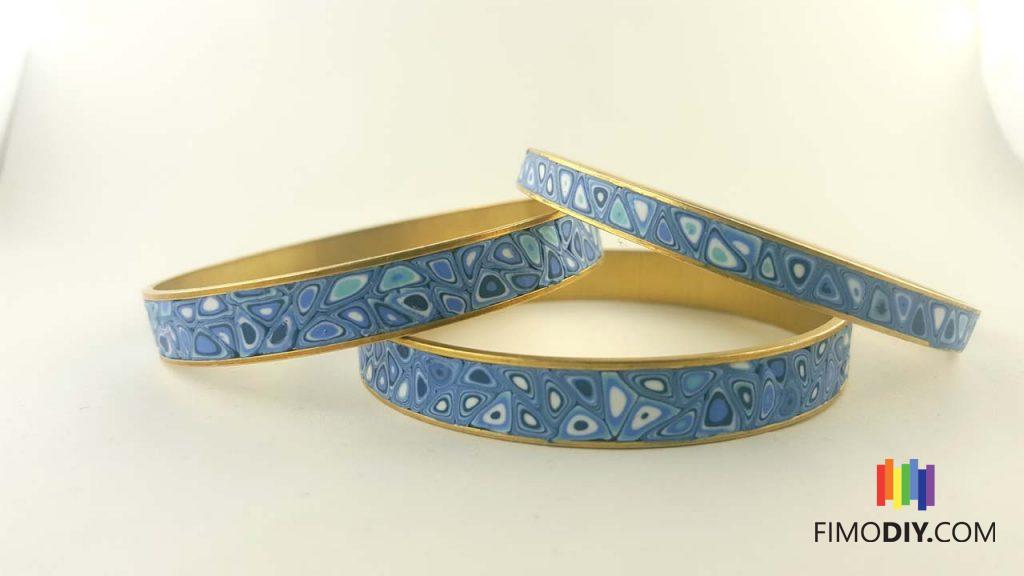
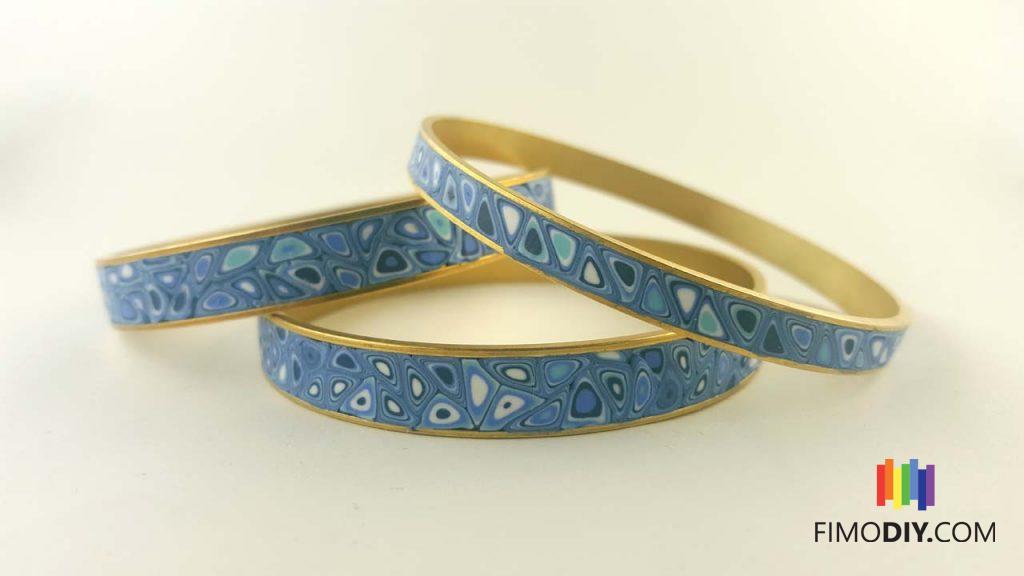
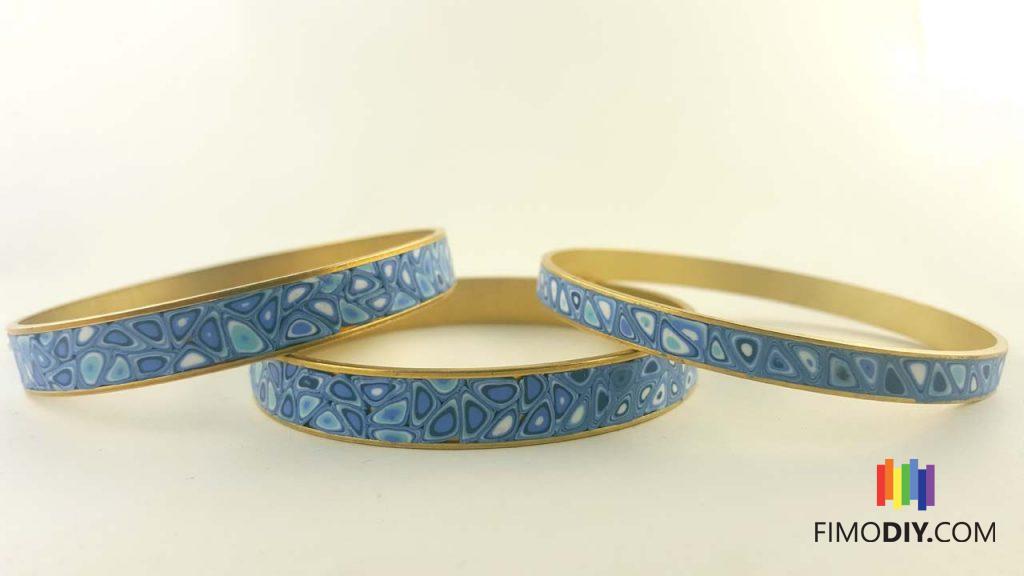
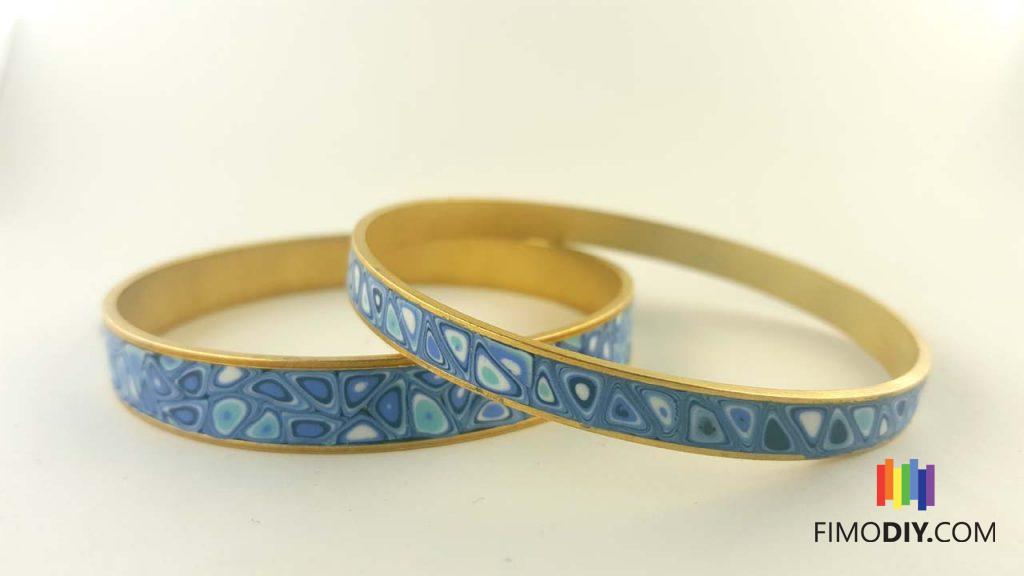
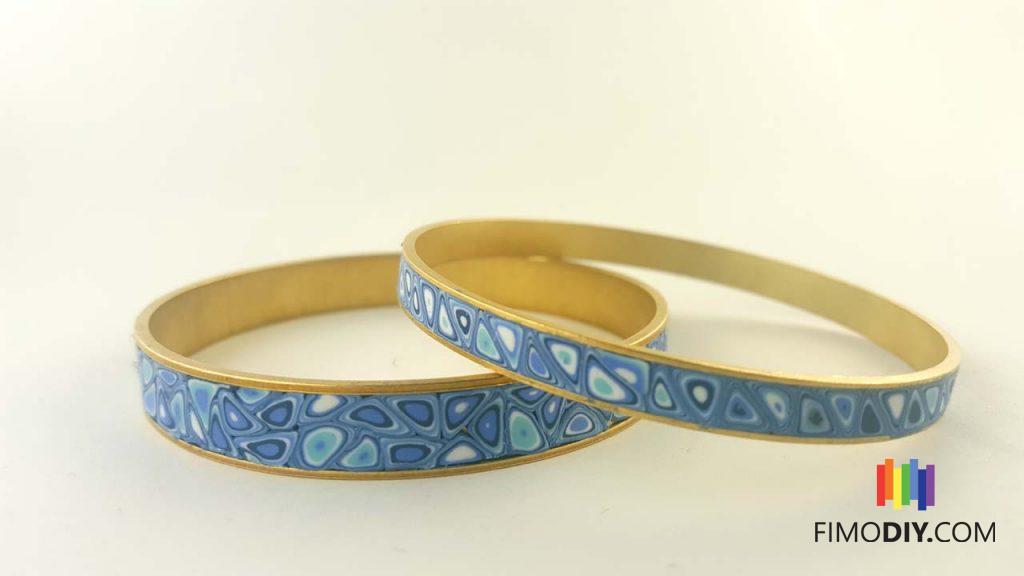
Another exciting technique in polymer clay jewelry is caning. Canes are created by layering and manipulating different colors of clay to form intricate patterns. From simple geometric designs to complex floral motifs, canes allow you to incorporate intricate patterns into your jewelry pieces. Slice the canes into thin sections and apply them to your clay surface for a mesmerizing effect.

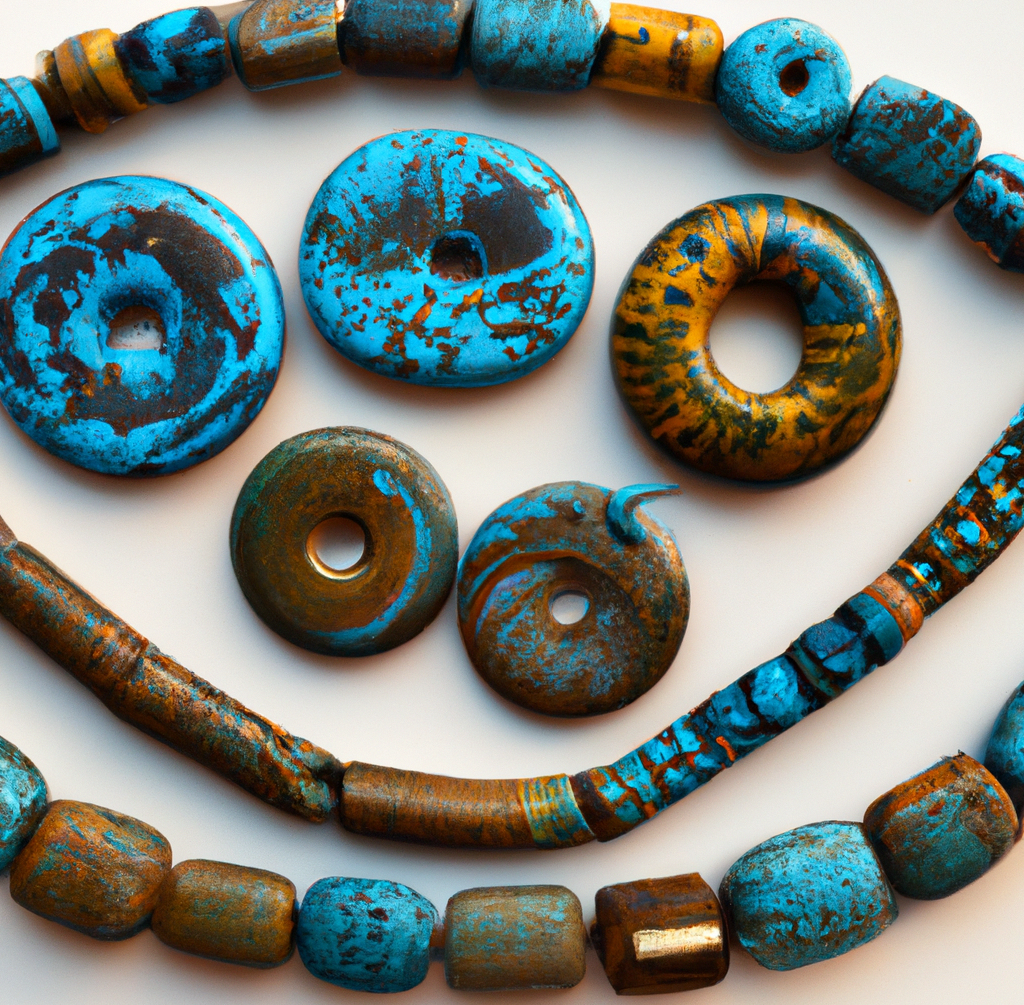
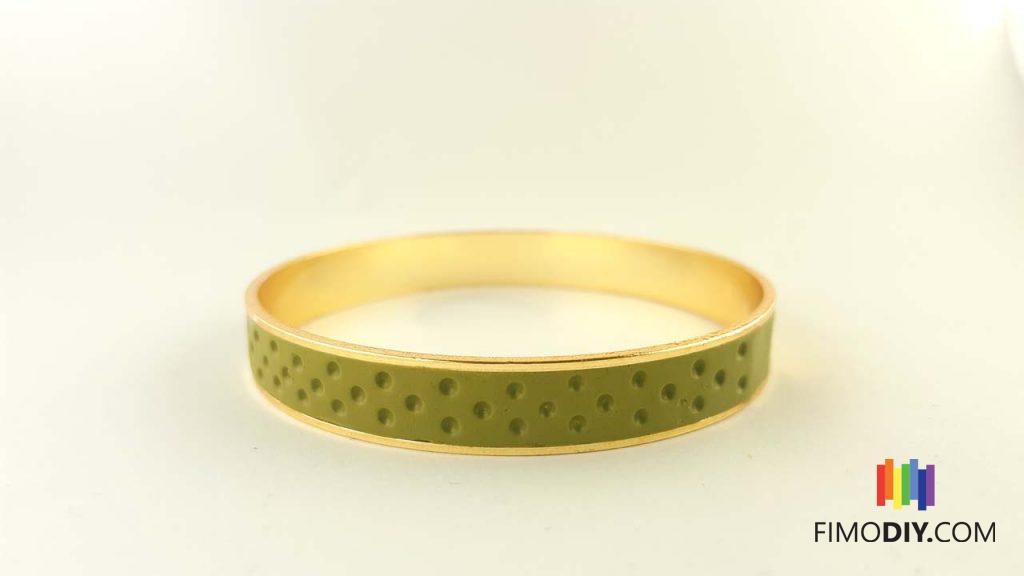
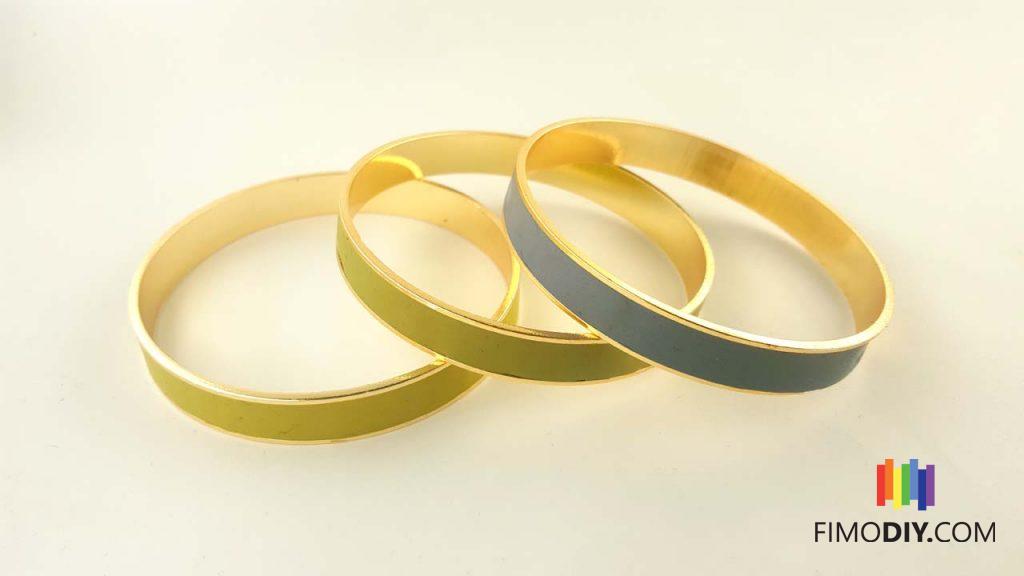
Adding textures and finishes to your polymer clay jewelry can also take your designs to the next level. Explore techniques like sanding, buffing, and polishing to achieve a smooth and professional finish. Experiment with surface treatments, such as mica powders, paints, and liquid clay, to create stunning color variations and visual interest.

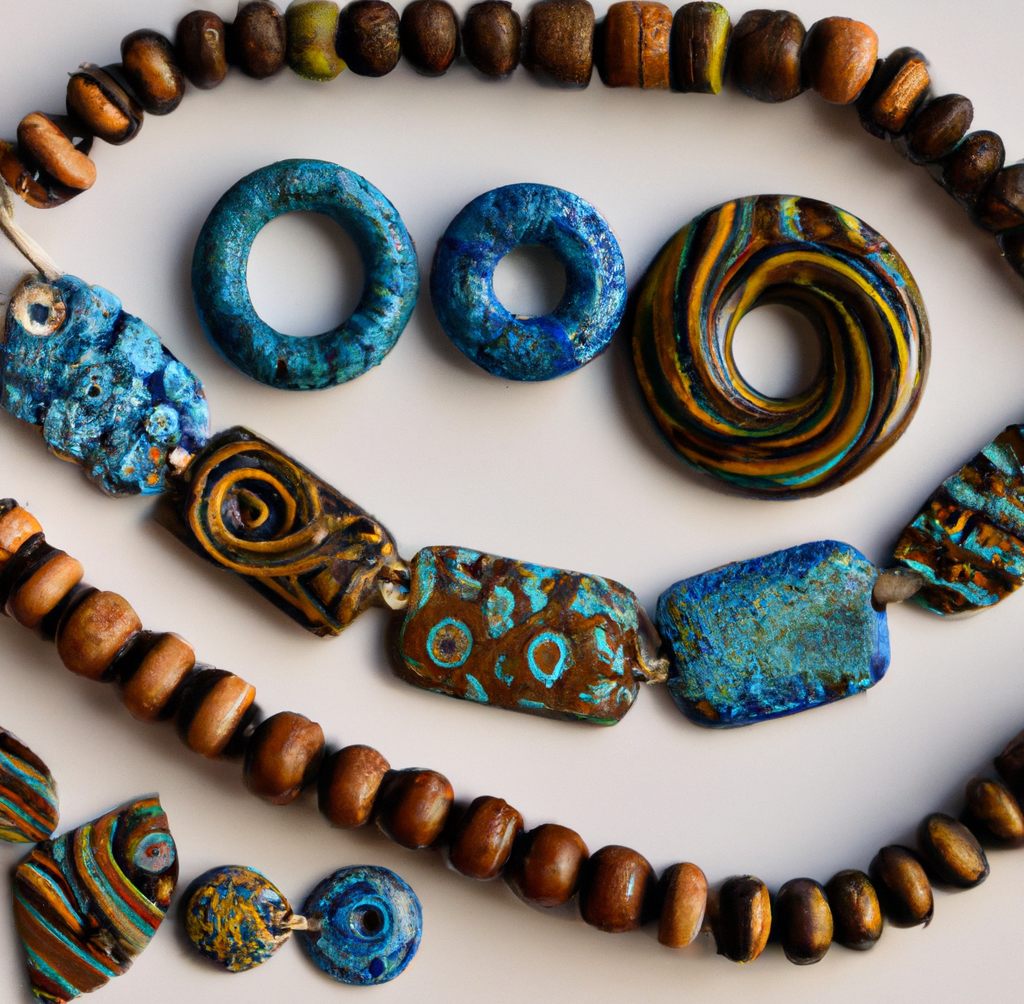
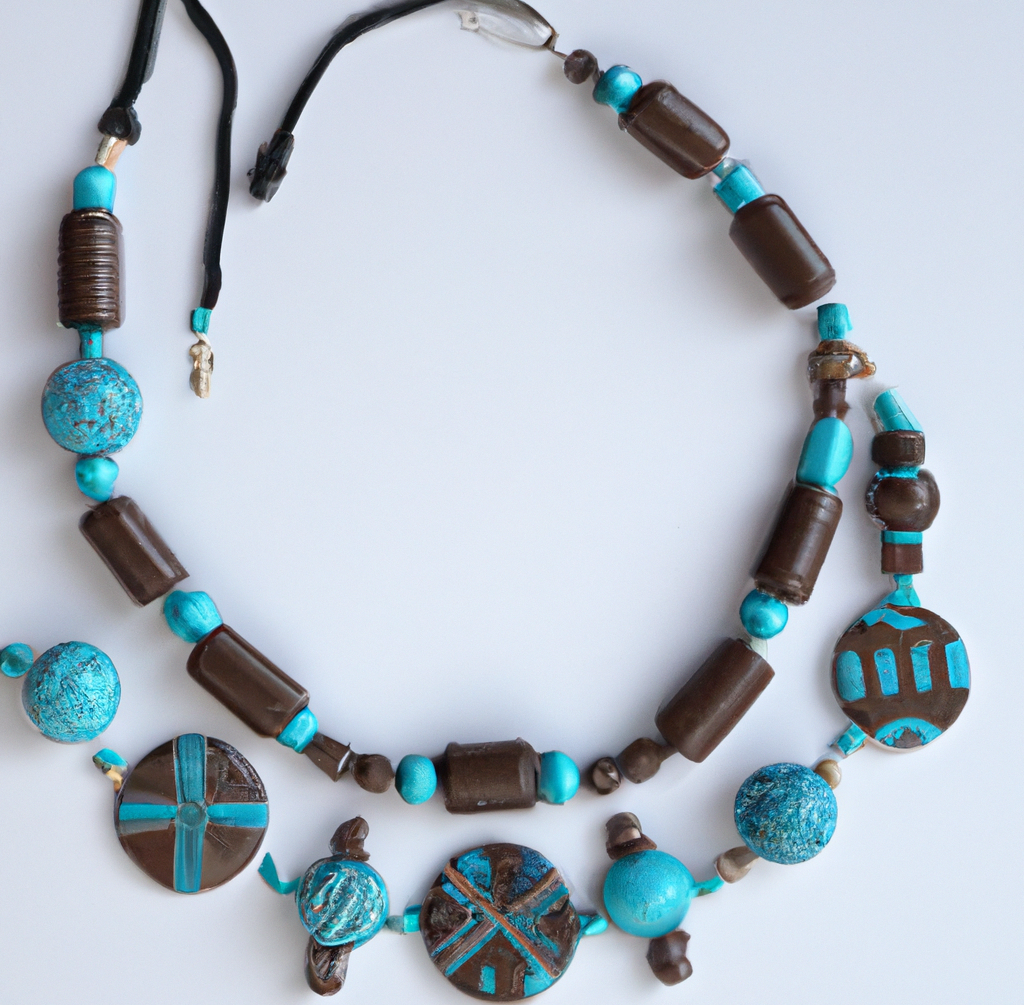
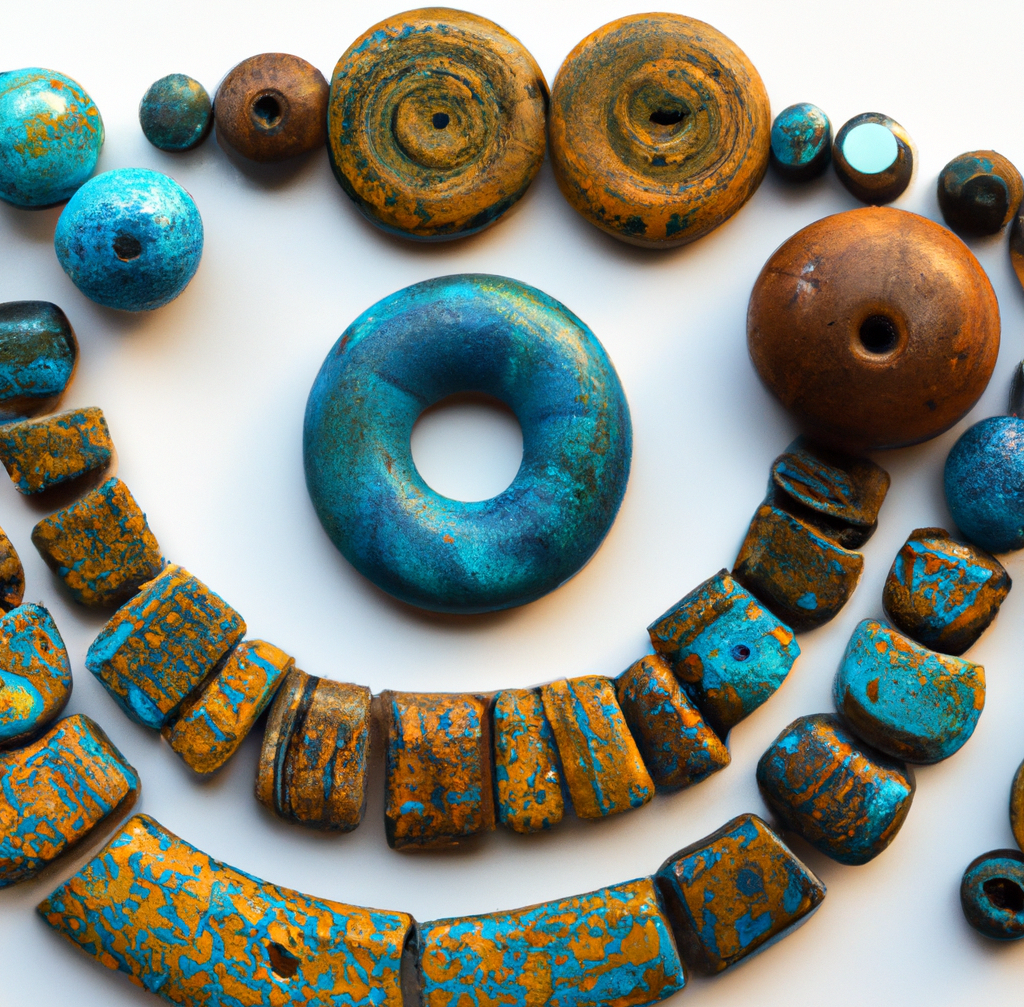
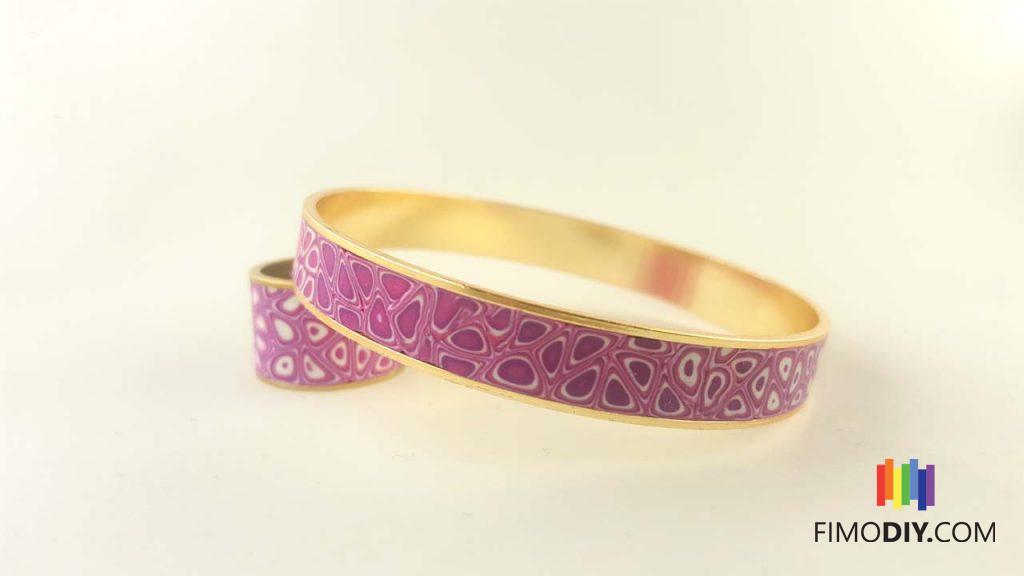
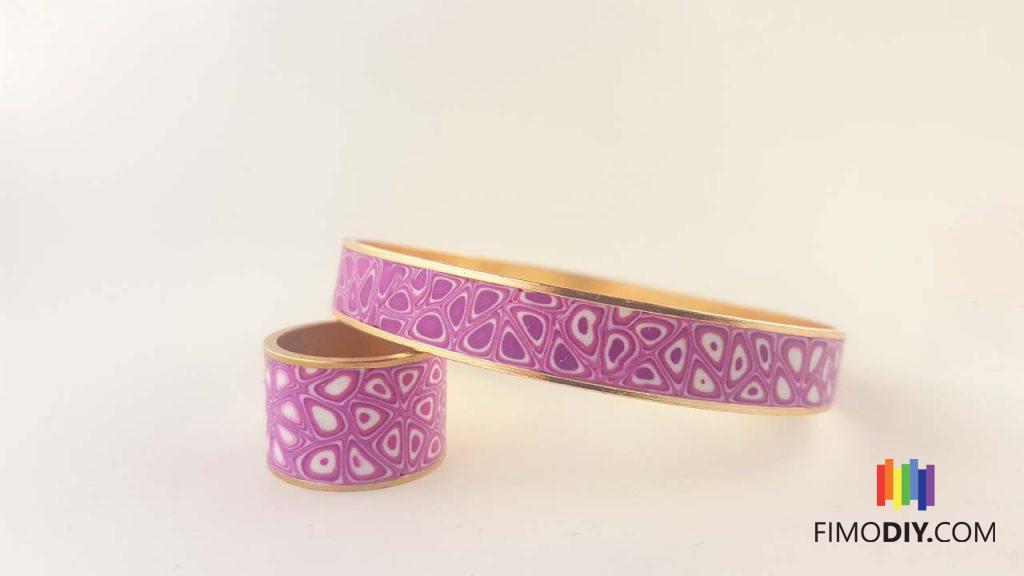
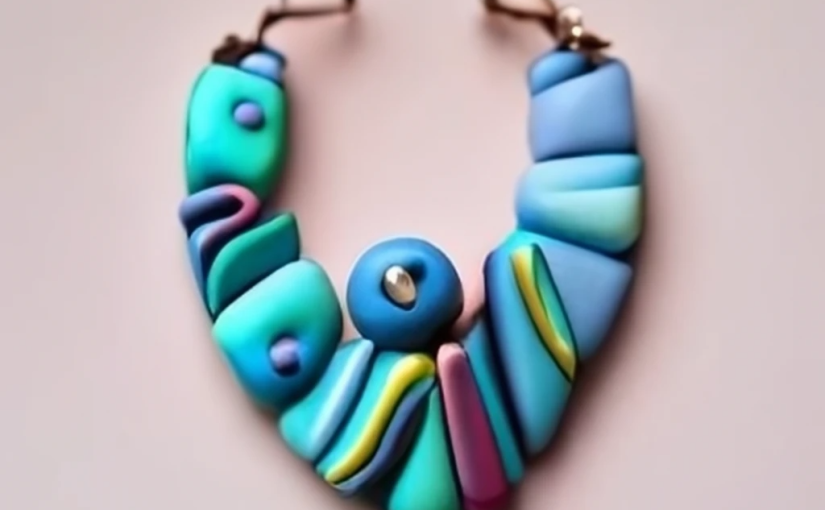
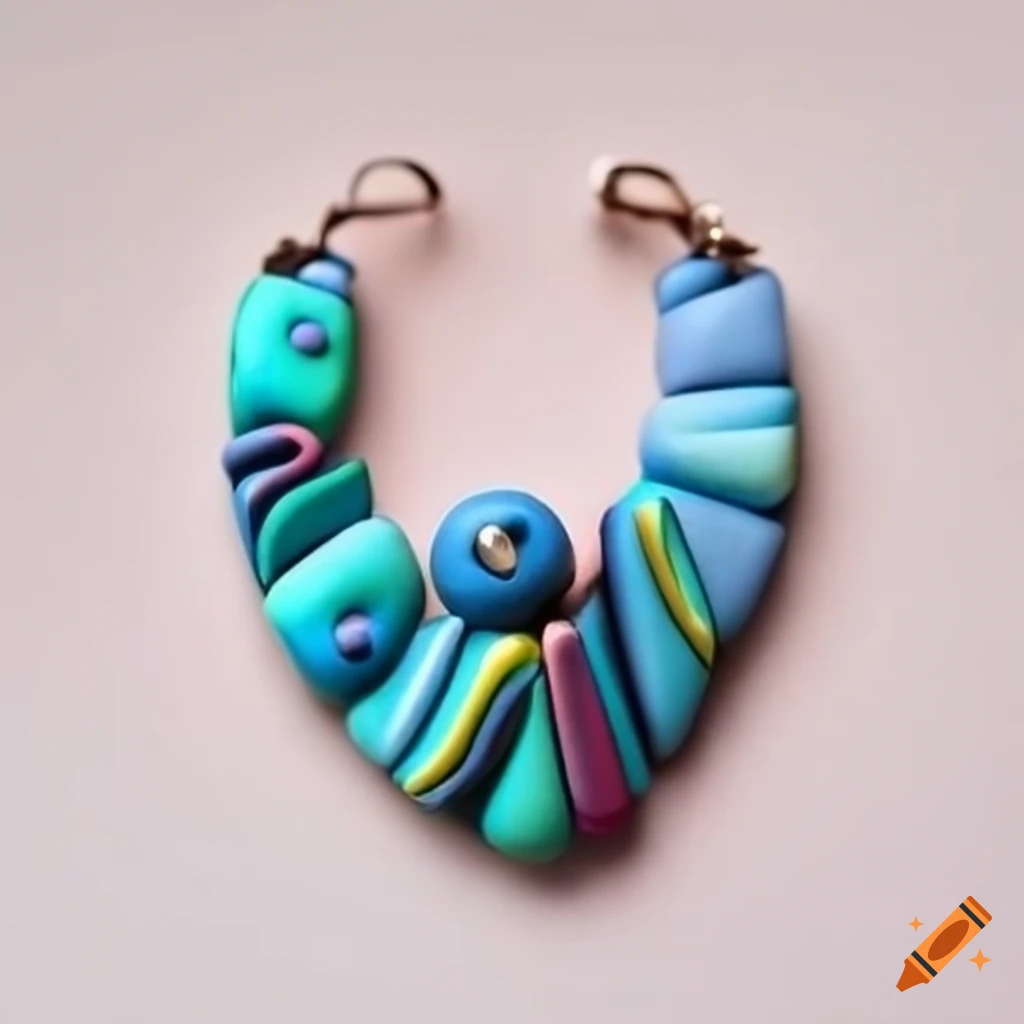
Furthermore, consider combining polymer clay with other materials to create mixed media jewelry pieces. Incorporate beads, metals, wirework, and gemstones to add depth and dimension to your designs. The combination of different materials can result in truly unique and eye-catching pieces that make a statement.

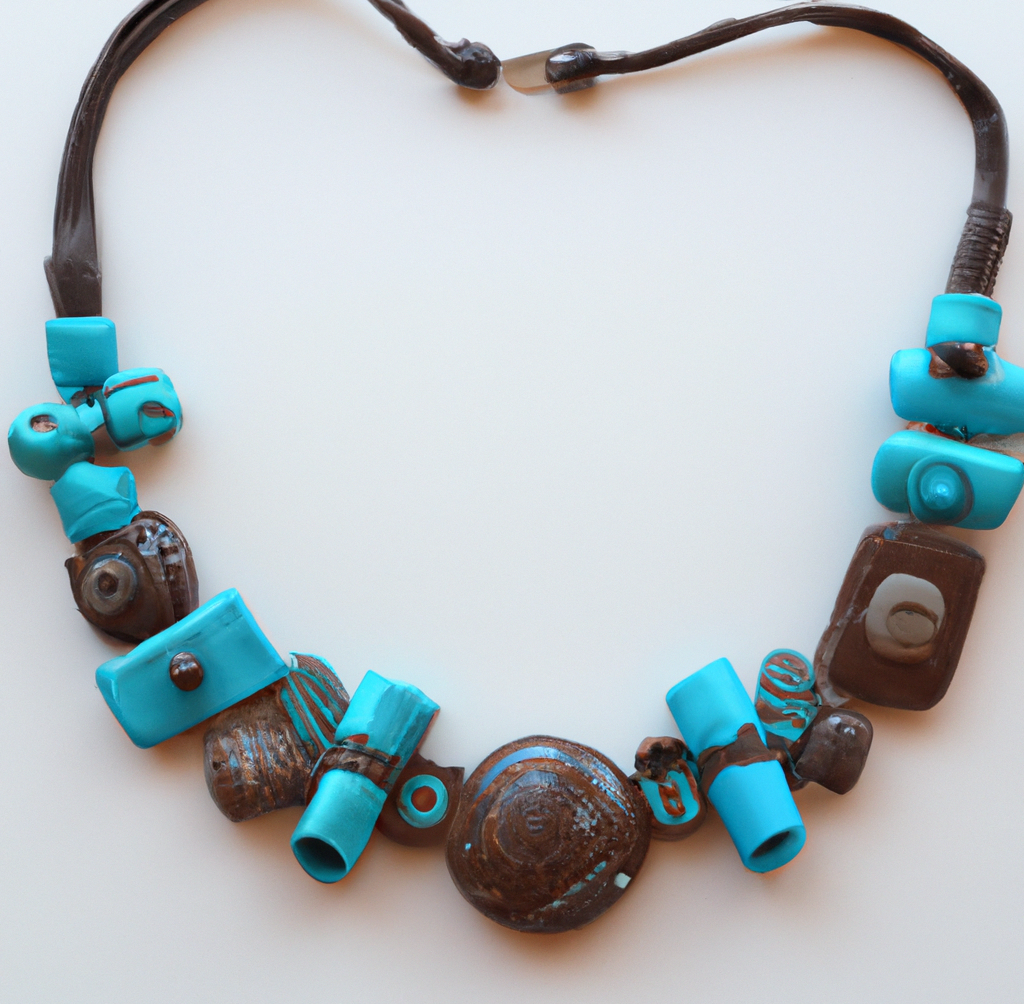
When it comes to polymer clay jewelry, the possibilities are endless. Whether you prefer minimalist designs or intricate statement pieces, polymer clay allows you to bring your vision to life. With a bit of practice, patience, and experimentation, you’ll be amazed at the stunning jewelry pieces you can create.

In conclusion, polymer clay jewelry offers a world of stunning designs and techniques for jewelry makers of all levels. The versatility of polymer clay allows for endless creativity, from intricate caning patterns to textured finishes and mixed media elements. Explore different techniques, experiment with colors and shapes, and let your imagination guide you as you craft your own unique and captivating polymer clay jewelry pieces. So grab your clay, tools, and let your creativity soar!

Keep in touch for more polymer clay/ fimo ideas /polymer clay jewelry inspiration and free step by step do it yourself tutorials! Click here for free dyi fimo/polymer clay tutorials and save the link on your bookmarks because you will definitely want to check it frequently for ideas and inspiration.

Until next time I wish you all to be creative! I’m always open to suggestion, please leave a comment. Your opinion is valuable for me.

Don’t forget to follow my Pinterest page. It’s the best way to keep updated with free polymer clay tutorials and clay ideas to increase your creativity.

clay owl

Polymer Clay Owl

In this DIY tutorial, we will learn how to create an adorable polymer clay owl. Owls are known for their wisdom and unique appearance, making them a popular subject for art and crafts. So let’s gather our materials and dive into the world of sculpting our own clay owl!

Materials Needed:

  1. Polymer clay in colors of your choice (brown, white, black, etc.)
  2. Clay sculpting tools
  3. Wire or armature for support (optional)
  4. Oven and baking tray

Reference Images

Begin by finding reference images of owls to guide you during the sculpting process. Look for different owl species to get inspiration for the shape, color, and features of your fimo owl.

Creating the Base

Start by shaping the body of the owl using brown clay. You can either use a solid piece of clay or create a wire armature for added stability. Form the body, head, and wings, making sure to maintain the proportions and shape of an owl.

Sculpting the Details

Using smaller pieces of clay, add details to the owl’s face, such as the eyes, beak, and feather patterns. Sculpt the wings and talons, paying attention to the intricate textures and shapes found in owl feathers.

Adding Texture and Finishing T

ouches Use clay sculpting tools to add texture to the owl’s feathers, creating a realistic and fluffy appearance. You can gently press the tools onto the clay to create feather-like patterns. Don’t forget to shape and refine the features of the owl’s face for a more lifelike effect.

Baking and Finishing your polymer clay owl

Place your owl sculpture on a baking tray and follow the instructions on your polymer clay package for baking. Once cooled, you can further enhance the sculpture by adding a touch of gloss or varnish to bring out the colors and protect the clay.

Congratulations! You have successfully created an adorable polymer clay owl. Whether you choose to display it as a standalone piece or incorporate it into other crafts, your clay owl will surely bring a touch of charm and whimsy to your creations.

Keep in touch for more polymer clay/ fimo ideas and free step by step do it yourself tutorials! Click here for free dyi fimo/polymer clay tutorials and save the link on your bookmarks because you will definitely want to check it frequently for ideas and inspiration.

Until next time I wish you all to be creative! I’m always open to suggestion, please leave a comment. Your opinion is valuable for me.

Don’t forget to follow my Pinterest page. It’s the best way to keep updated with free polymer clay tutorials and clay ideas to increase your creativity.

Earth Tones and Bohemian Vibes: How to Make a Stunning Polymer Clay Bead Necklace

Bohemian-style jewelry has a distinct, earthy feel that is perfect for adding a touch of boho chic to any outfit. One popular type of bohemian jewelry is a necklace made of polymer clay beads, which are lightweight and easy to customize. In this article, we’ll show you how to make a beautiful bohemian-style necklace using polymer clay beads in earthy colors and geometric patterns.

Stunning Polymer Clay Bead Necklace

Materials Needed:

  • Polymer clay in earthy colors such as browns, greens, and blues
  • Gold or silver leaf or paint for metallic accents
  • Thin leather cord
  • Clasp
  • Beading needle
  • Scissors
  • Ruler
  • Oven
  • Rolling pin or clay conditioning machine
  • Toothpick or needle for making holes in beads

Step 1: Prepare the Polymer Clay Start by conditioning the polymer clay to make it soft and pliable. This can be done by rolling it between your hands, or by using a rolling pin or clay conditioning machine. Make sure that the clay is rolled to an even thickness.

Step 2: Create the Beads To make the beads, roll small pieces of clay into balls, cylinders, or other shapes. Vary the sizes and shapes of the beads to add interest and texture to the necklace. Use a toothpick or needle to make holes in the center of each bead. For beads with geometric patterns, use a sharp blade or needle to carve out the design.

Step 3: Bake the Beads Place the beads on a baking sheet lined with parchment paper, and bake them in the oven according to the manufacturer’s instructions. Most polymer clay beads should be baked at a temperature of 265-275 degrees Fahrenheit for 10-20 minutes. Allow the beads to cool completely before handling them.

Step 4: Add Metallic Accents To add metallic accents to the beads, apply gold or silver leaf or paint to the surface of the beads using a small brush. Alternatively, you can mix gold or silver mica powder into the clay before baking it.

Step 5: String the Beads Cut a length of thin leather cord to the desired length of the necklace, and attach a clasp to one end. Use a beading needle to string the beads onto the cord, alternating between different shapes, sizes, and colors. For a bohemian look, don’t worry about making the pattern too uniform or symmetrical.

Step 6: Finish the Necklace Once all of the beads are strung onto the cord, tie a knot at the other end of the cord to secure the beads in place. Trim the excess cord with scissors, leaving a small tail. You can also add a decorative tassel or charm to the end of the necklace for extra flair.

Step 7: Wear and Enjoy Your bohemian-style polymer clay bead necklace is now complete! Wear it with a flowing dress, a peasant blouse, or a denim jacket for a relaxed, boho-inspired look.

In conclusion, making a bohemian-style necklace using polymer clay beads is a fun and easy DIY project that can be customized to suit your personal style. By choosing earthy colors, geometric patterns, and a mix of bead shapes and sizes, you can create a one-of-a-kind necklace that is perfect for any occasion. Whether you’re heading to a music festival, a beach party, or just running errands around town, your bohemian-style necklace will add a touch of free-spirited charm to your look.

Stunning Polymer Clay Bead Necklace

Earth Tones and Bohemian Vibes: How to Make a Stunning Polymer Clay Bead Necklace

Stunning Polymer Clay Bead Necklace

Stunning Polymer Clay Bead Necklace

Stunning Polymer Clay Bead Necklace

######

Gorgeous polymer clay canes bracelets and rings for this summer

Polymer clay canes are a great way to create stunning piece of jewelry.  We all know that accessories are the most important part of our outfits. Weather you are planning to wear them yourself or give them away as a present they are the best choice.

This set of bracelets and rings will look sophisticated, classy and modern in any occasion, weather you will were them on a cocktail party, barbecue with friends or pool party.

The color combination makes them easy to match to nearly any outfits. Or, if that is the case, they can be a nice color spot in your outfit.

Following this tutorial can help you make new patterns with the colors you like or the colors you feel fits best with your preferred outfits.

For the next polymer clay bracelet you’ll need a few items to work with:

  1. Polymer clay colors by choice
  2. Polymer clay extruder
  3. A bracelet / ring groove cuffs
  4. Will and focus

First of all select the cuffs you’ll be working with. I’ve selected a couple of rings and some bracelets, thin and thick.

Simple golden cuffs and ringGorgeous polymer clay canes bracelets and rings for this summer

The next step is to select the colors you will use. I’ve choose a combination of pink, blue and white.

I assume that all of you already know how to make canes, but just in case you are new to this you can learn from this great tutorial how to make polymer clay canes

Once you’ve got all of the canes ready to go you simply stitch them together on the cuffs. Try not to deform them in this process as they will look ugly and deformed.

After stitching the together and obtaining the desired result all you need to do is bake them for five minutes and they are ready to be the salt and pepper of your favorite outfit.

Enjoy the following polymer clay bracelets made with this technique.

Pink rings and bracelets are youthful and very easy to blend width almost any outfit you will were.


If you need a color color splash in your outfit you can add a blue or pink bracelet.


I simply love this simple olive cuff.

Check out this pink and olive rings, they certainly will stand out.


Olive rings area also a very nice choice for the summer days.


Check out this beautiful colorful bracelets.


Simple olive cuffs are also very good choices.


Very nice blue bracelets.

For more polymer clay bracelets ideas click here.

Get captivating polymer clay new ideas and tutorials by following my Pinterest page .


######